Our latest generation sensor is now available
Consistent golf starts with better feedback
Explore HackMotion
You can’t fix whatyou can’t measure
Swing faults often come from movements you can’t see or accurately feel.
That’s why progress can feel slow and inconsistent.

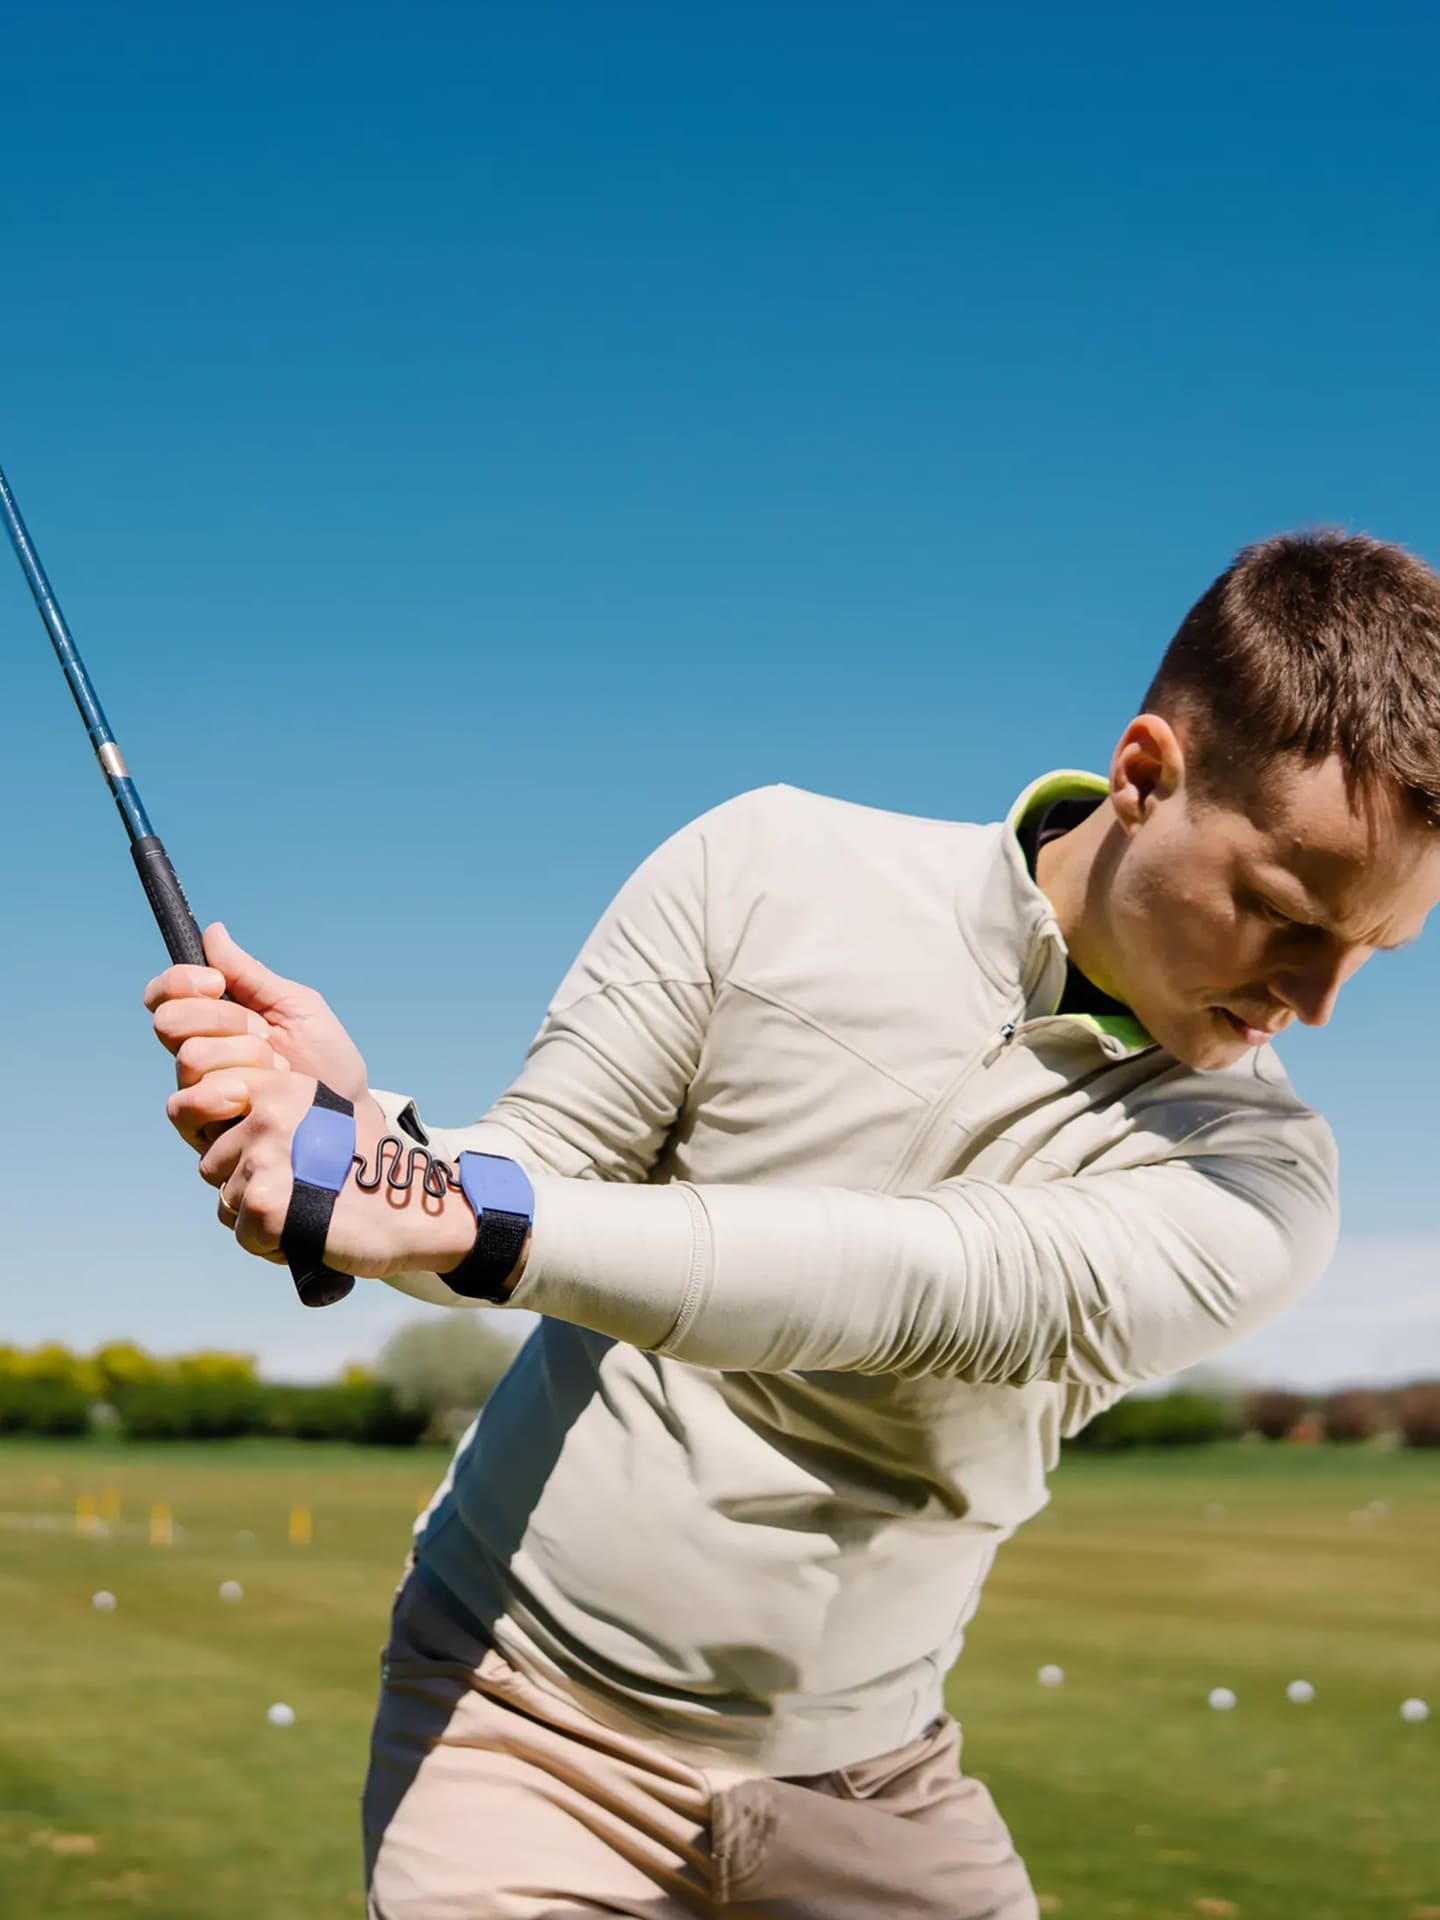
Meet HackMotion, the swing feedback system
A wrist sensor + mobile app that turns your movement into live coaching advice to help you improve.
How to improve
with HackMotion
The 4 easy steps ofpracticing with feedback

1. Measure your swing
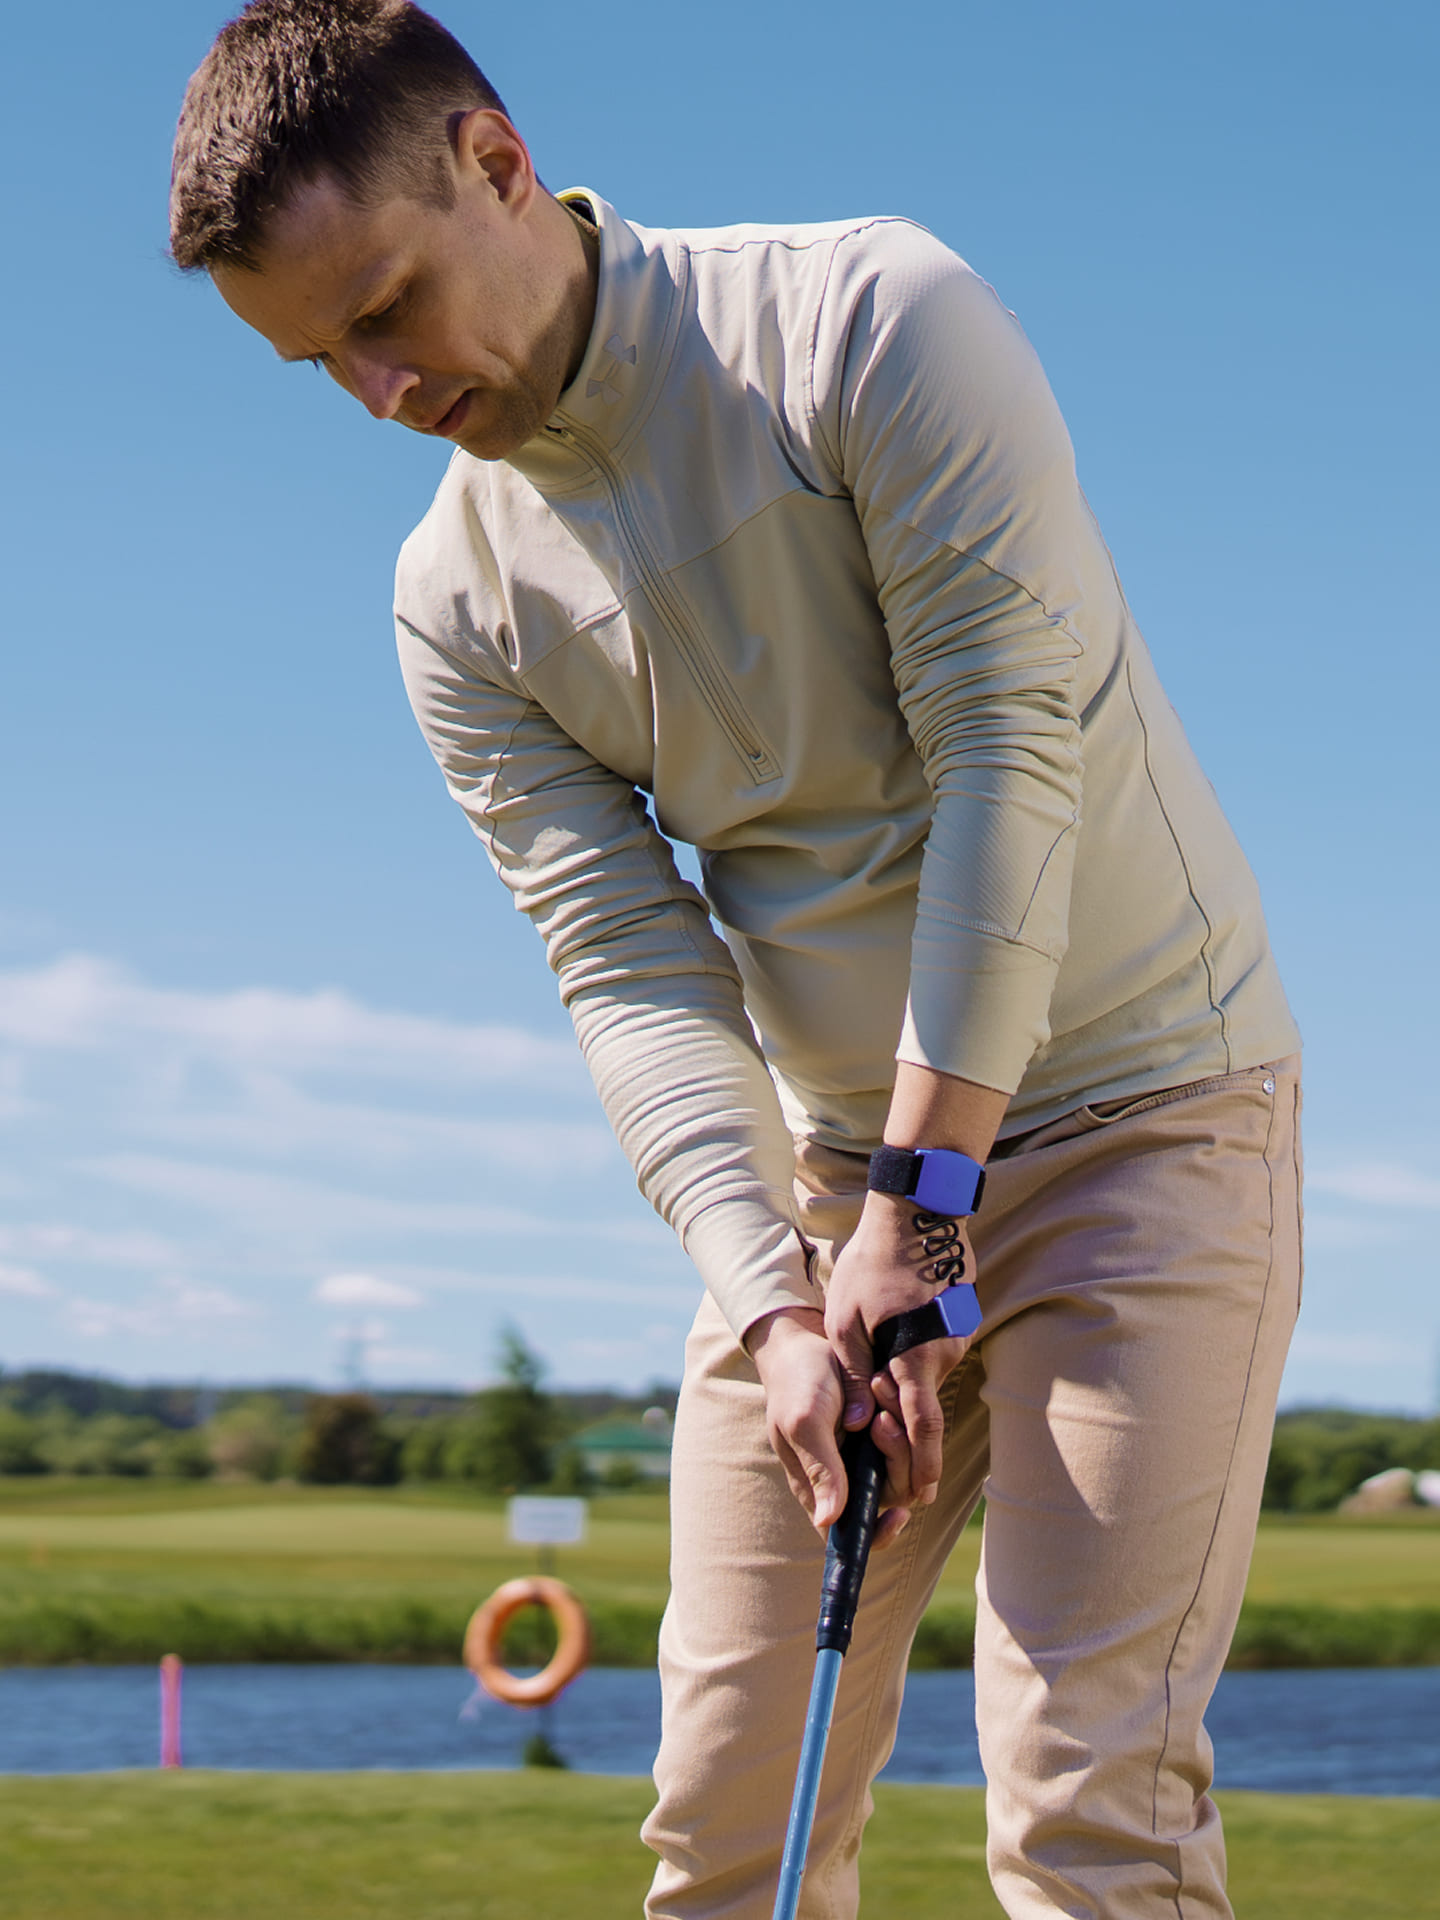
Wear the sensor and capture your wrist angles in real time.

2. Understand what's happening
The app analyzes your swing and highlights the faults holding you back.

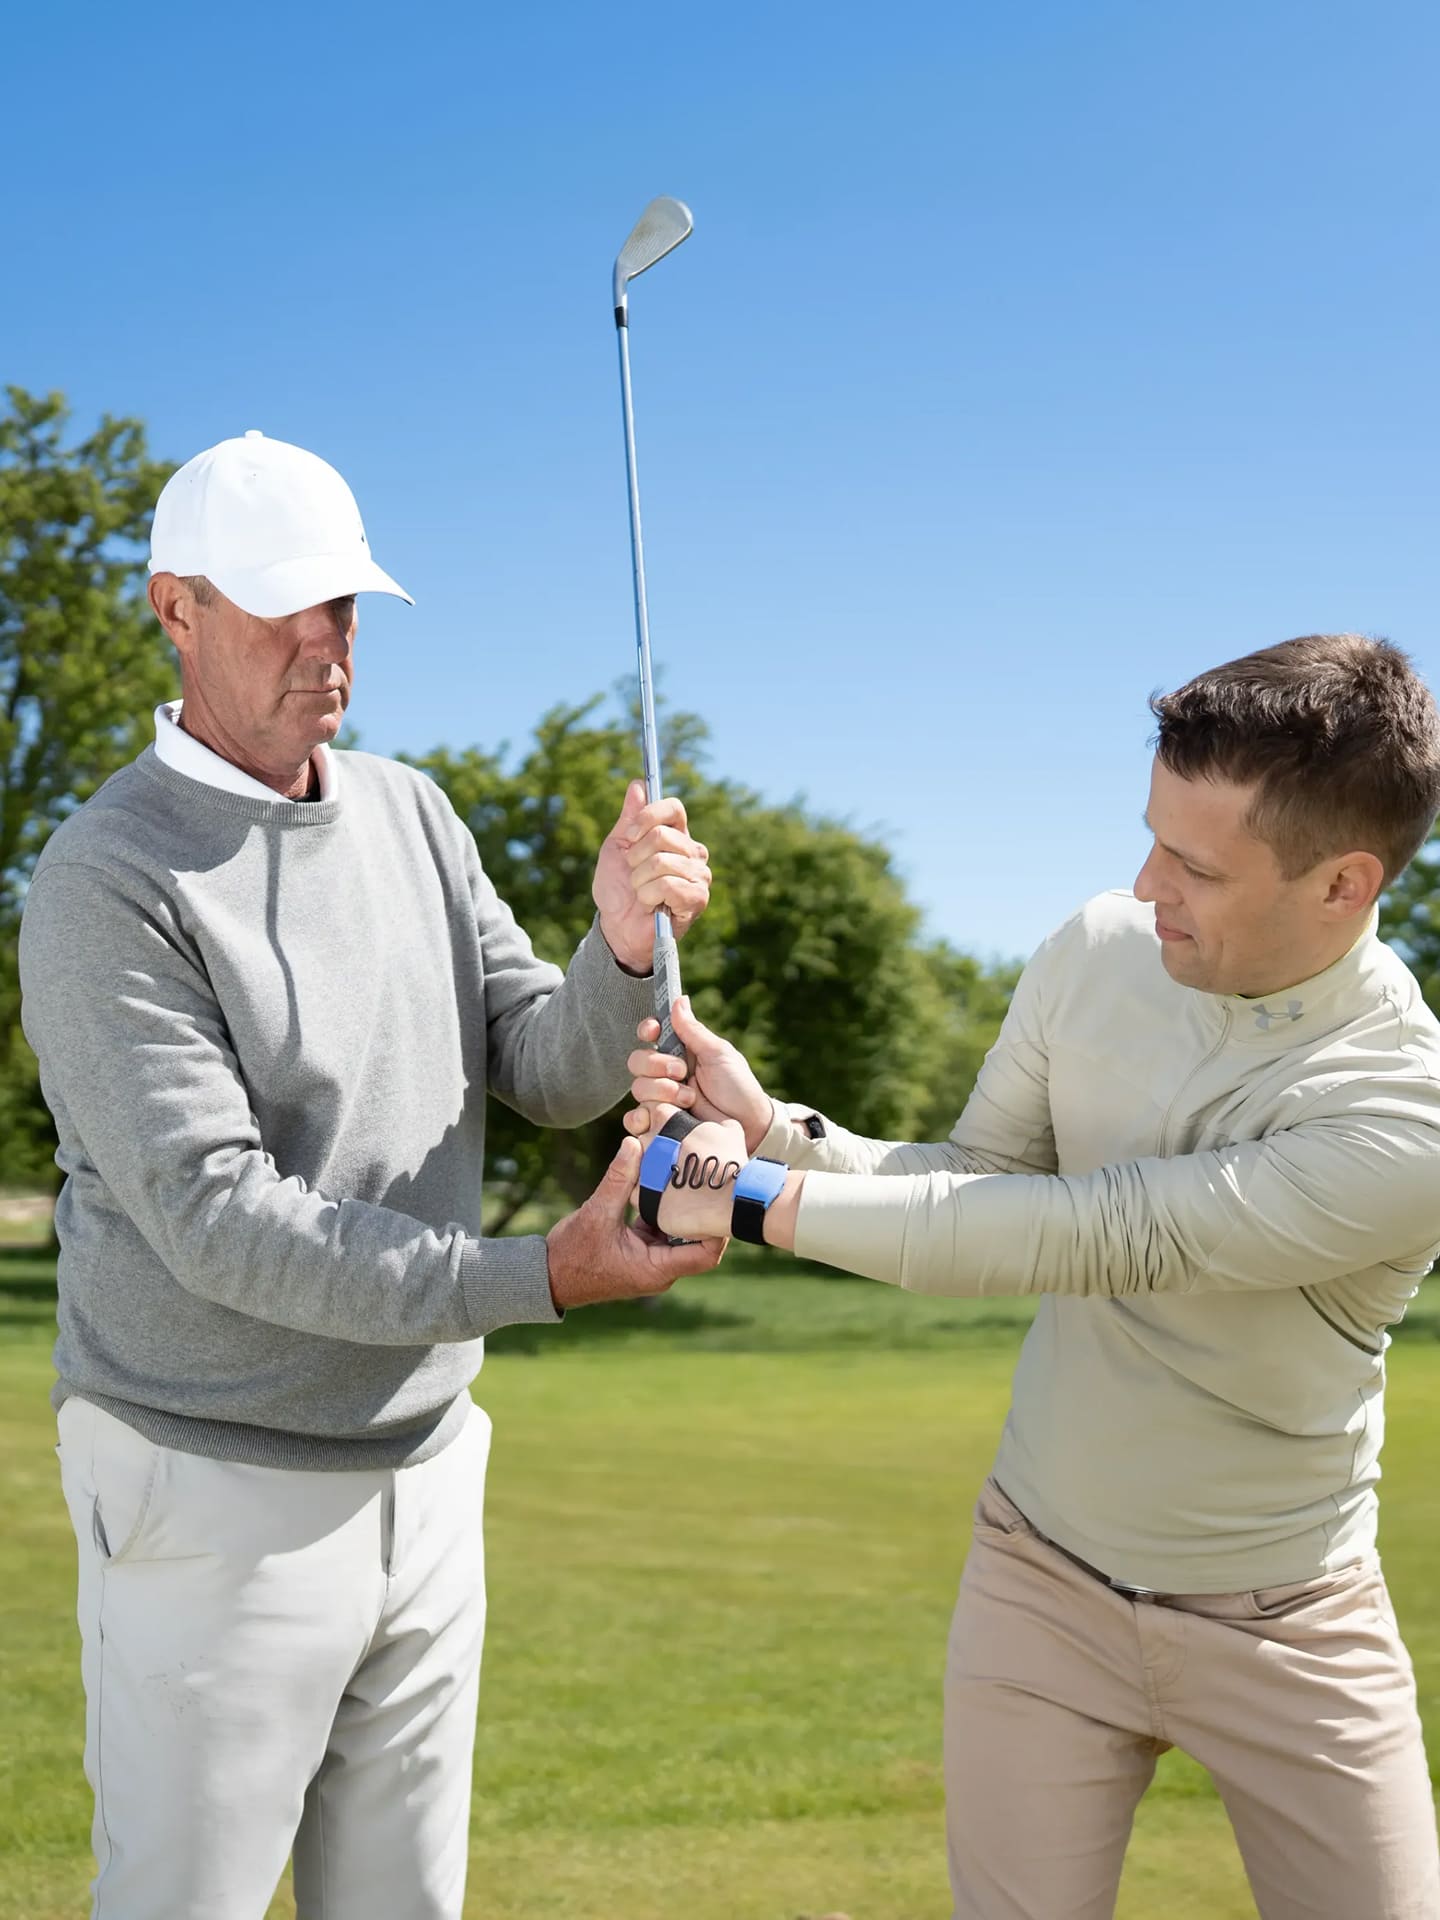
3. Fix it with feedback
Follow guided drills with real-time feedback and vibrations to build the right feel.

4. Track your improvement
See your progress over time and how you’re building a more consistent swing.
1. Measure your swing
Wear the sensor and capture your wrist angles in real time.
2. Understand what's happening
The app analyzes your swing and highlights the faults holding you back.
3. Fix it with feedback
Follow guided drills with real-time feedback and vibrations to build the right feel.
4. Track your improvement
See your progress over time and how you’re building a more consistent swing.
Everything you need to build a consistent swing

Understand your swing, not just feel it
Get clarity on what actually causes inconsistency.

Improve faster with guided feedback loops
Every session moves you closer to a repeatable swing.

Turn every practice session into structured improvement
Use guided drills that correct your swing in real time.

Practice anywhere, without losing feedback quality
Home, range, or simulator, your training stays effective.

See what changes when feedback becomes clear

"I was blown away by how much I was moving my wrists throughout the swing."
HackMotion helped Peter Galindez to stop making constant micro-adjustments throughout the swing and finally move more efficiently.

“Inside takeaway and wrist cupping at the top have been a constant challenge for me since I started golf 30 years ago”
HackMotion helped Adrian Bott to stop guessing during practice and finally train the correct wrist positions with confidence.

“Hackmotion helps me to improve systematically and gives me fast and honest feedback.”
Since Bjoern Drehmann started training with Hackmotion, their ball striking has improved dramatically, and their ball flight has stabilized.
"I was blown away by how much I was moving my wrists throughout the swing."
HackMotion helped Peter Galindez to stop making constant micro-adjustments throughout the swing and finally move more efficiently.
“Inside takeaway and wrist cupping at the top have been a constant challenge for me since I started golf 30 years ago”
HackMotion helped Adrian Bott to stop guessing during practice and finally train the correct wrist positions with confidence.
“Hackmotion helps me to improve systematically and gives me fast and honest feedback.”
Since Bjoern Drehmann started training with Hackmotion, their ball striking has improved dramatically, and their ball flight has stabilized.
Around 80.000+golfers
have tried HackMotion to improve their swing and consistency
89% of newusers improve
with their swing fault by following our recommended drills every month
More than 1Million swings
are recorded and analyzed each month to power our feedback quality and drills
Trusted by the best in the game
"It’s incredible for players who struggle with many of the most common swing faults because it gives real-time feedback that’s simple and easy to understand."
Chris Ryan
PGA Golf Coach & Influencer
"It’s like having a coach in your pocket, giving clear feedback so they can improve faster."
Kerrod Gray
Award-winning PGA Golf Coach and former Tour player
"It’s given me precise feedback I simply couldn’t feel on my own. it’s been a game-changer for my students of all abilities, helping them understand and fix their swing faults faster than ever before."
Alex Elliott
Golf Coach and voted Top 50 Golf Monthly coach
"With HackMotion’s real-time feedback, you start to recognize what’s actually happening in your swing, so once you can feel it, you can change it."
Danny Maude
PGA Golf Coach & Influencer
"By giving players objective data on what their wrists are actually doing, along with structured feedback to guide improvement, it helps bridge the gap between feel and real."
Athletic Motion Golf
Data-driven golf instruction platform
"Instant feedback allows you to connect a specific feel to a real movement, making practice more productive and helping you improve in the right direction. That’s where HackMotion becomes such a powerful training tool; it gives you objective feedback and guided practice so you can build real, measurable improvement instead of relying on guesswork."
Me and my Golf
PGA Golf Professionals & PGA Coaches
Start building a moreconsistent swing
Master yourfull swing
Master your full swingand your putting
All the data and toolsfor coaches and Pro's
Master yourfull swing
Master your full swingand your putting
All the data and toolsfor coaches and Pro's
Can't decide?
Compare HackMotion packages
One-time payment. No subscriptions.