7 Steps to Fix Your Slice with HackMotion
Ready to fix your slice? Follow this 7-step mini-series to take control of your clubface, improve your consistency, and eliminate that slice.
If you’ve committed to fixing your slice and are ready to hit straighter shots, you’re in the right place.
At some point in your golf swing, the clubface opens excessively, causing you to hit a slice. This video course breaks down exactly how to identify that point and how to correct the clubface.
We cover everything from grip to wrist angles, setup, and ball position.
Even if you don’t have HackMotion yet, these videos will still help you fix your slice and improve your shots.
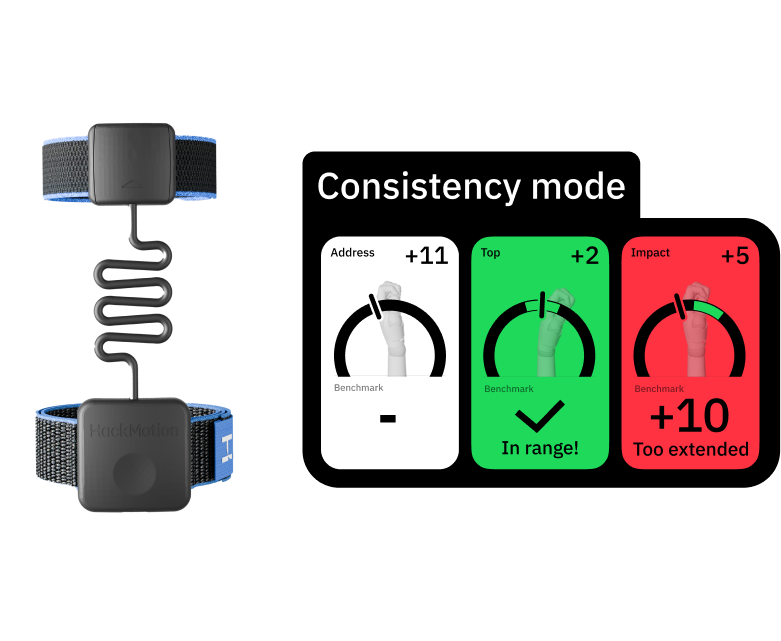
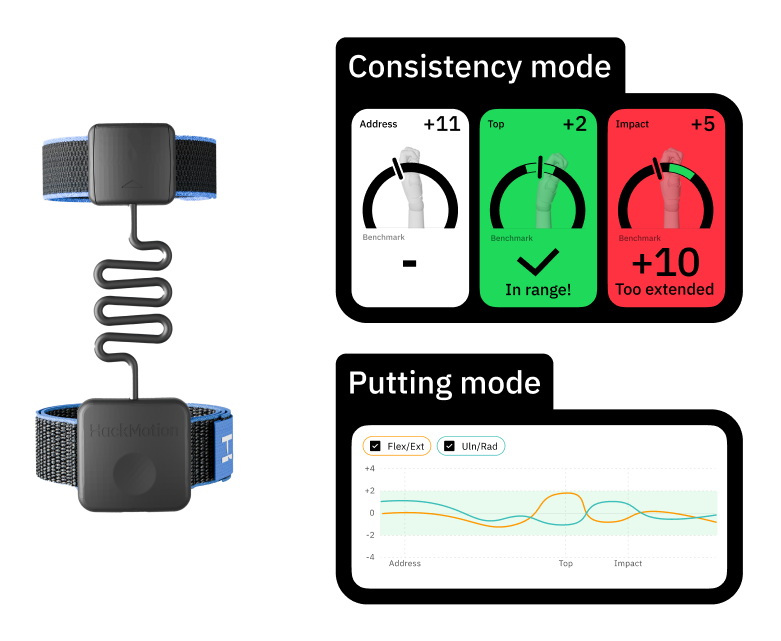
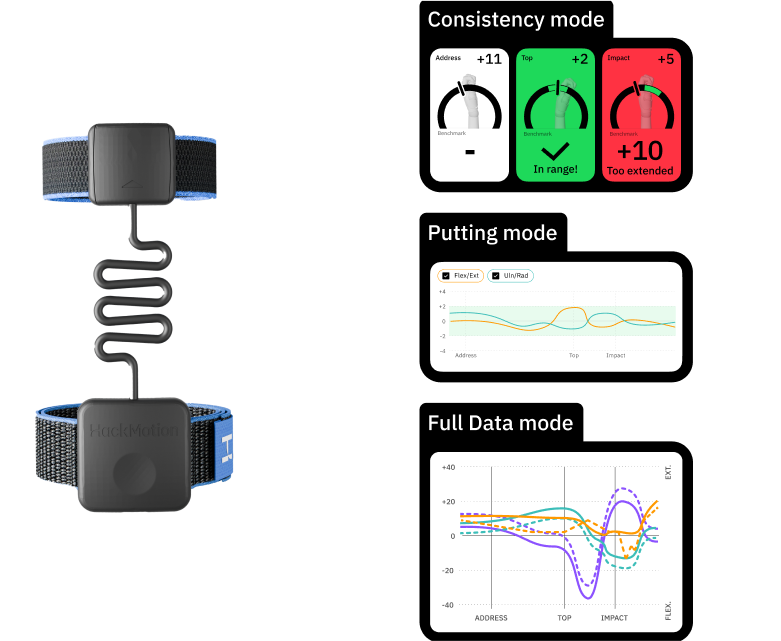
Using HackMotion while working through the video course will provide you with valuable data and feedback to help you pinpoint and resolve this slice issue.
Step 1: The Grip
Are you still struggling to get your hands to a neutral position?
Rob Cheney explains that not all slicers can control their clubface when playing with a neutral grip position.
Sometimes, it takes a stronger grip with the lead hand turned more to the right (for a right-handed player) to properly control the clubface through the swing.
Video Breakdown:
- Learn the position of a standard golf grip and how much wrist extension is acceptable in the grip.
- Determine how much a weak or strong grip impacts the clubface position and your tendency to slice or hook the golf ball.
- Steps to position the hands in the setup to give you the best chance to deliver the clubface square at impact.
Step 2: The Setup
The grip by itself won’t eliminate your slice.
However, now that your hands are positioned properly on the club, we can move to the setup position.
Two mistakes golfers make in the setup can lead to a slice: They have the club handle too low and too far behind the ball.
Rob shows you how to raise the handle and push it forward slightly to set up in a perfect position to draw the ball.
Video Breakdown:
- Push the handle forward and up to close the clubface and gain more flexion in the lead wrist.
- Understand the relationship between increased ulnar deviation in the lead wrist and a clubface that is square to the target.
- Learn to build a draw into your setup position to make it easier to achieve.
Step 3: Backswing
Now, we are ready to take the club back. This is where things start to get a bit more complicated.
It’s important to remember that during your swing, your wrists are always moving and twisting, and slicers move the wrists in incorrect ways throughout the golf swing.
Feeling something different or foreign as you practice these drills and movements is normal and positive.
The first step is to check the club when it is parallel to the ground.
Is the clubface angle pointing up or down in your swing? To eliminate the slice, we want the clubface angle pointed somewhat down.
The second step is to check the wrist position at the top of the backswing.
Having flexion as opposed to extension in the lead wrist position at the top of the backswing will make eliminating the slice possible.
Video Breakdown:
- Understand that the clubface will twist and turn throughout the entire swing. Most amateur golfers have developed incorrect twisting.
- Use the checkpoint at P2 to check the clubface position and ensure flexion in the lead wrist.
- A secondary checkpoint at the top of the swing will help you check the flexion in the lead wrist and understand how important clubface angle is in correcting a slice (more than path!).
Step 4: Downswing
Golfers get the concept of adding power and speed through the downswing. This transition causes players to make movements that feel powerful, but many of them cause the clubface to open in incorrect ways.
Pulling the handle down or using the hands to attack the ball will likely cause your clubface to open.
Golfers who slice need to practice spinning the club into a more closed position by twisting their wrists into flexion.
Rob will show you exactly what you should feel in transition to square the clubface through impact.
Video Breakdown:
- Pulling the club down can cause the clubface to open, learn what this pull looks like and how to avoid it.
- Discover the key move in transition to take the lead wrist from a position of extension to one of flexion.
- Drill to feel the deliberate twisting of the wrists towards flexion as the first move on the downswing.
Step 5: Impact
Impact happens because of the movements you have made in your golf swing. However, knowing what impact looks and feels like can also encourage a better position for ball striking and lower chances of a slice.
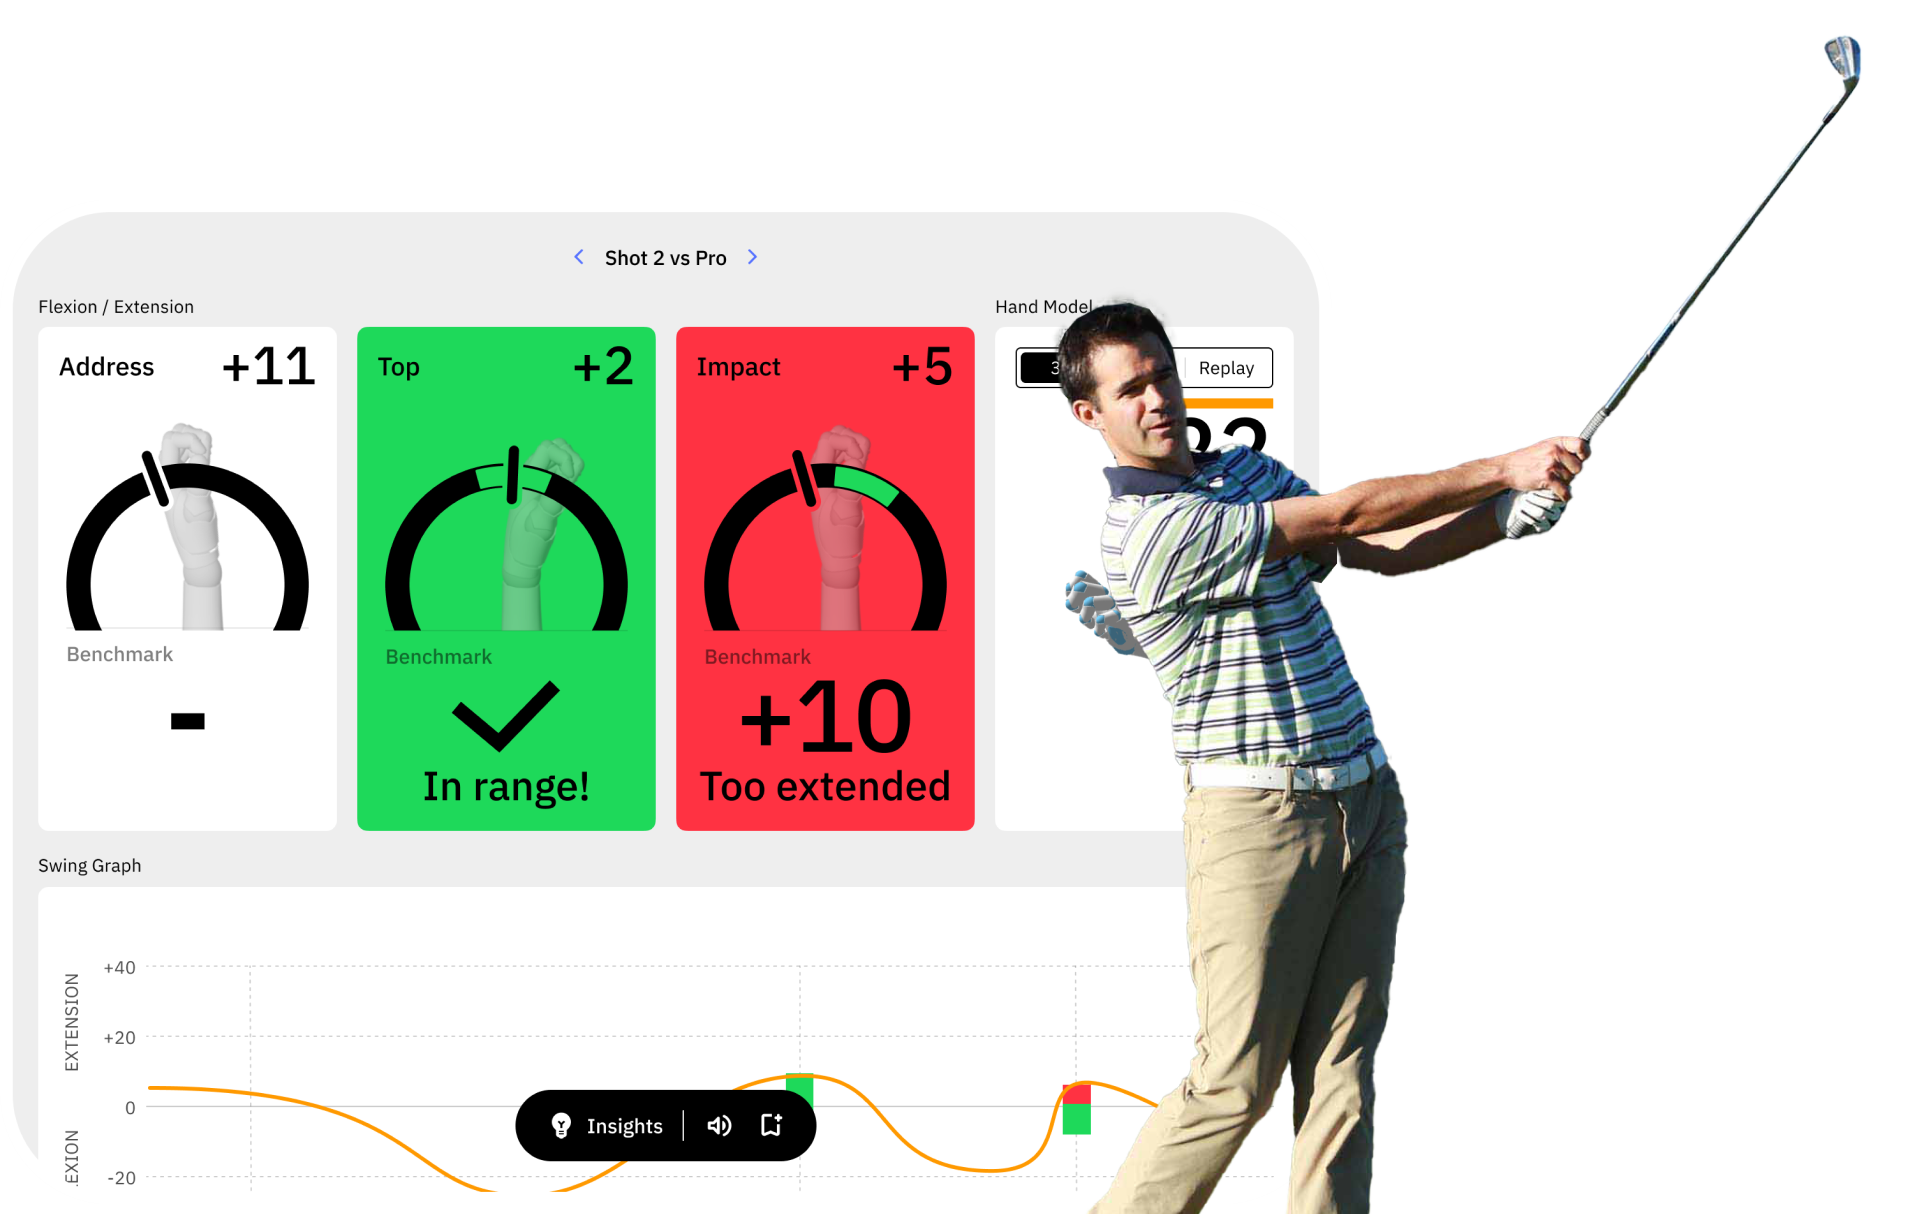
To fix the slice, you’ll need less extension (and more flexion) in the lead wrist at impact than you had at setup.
The hit-hard and stop-quick golf drill is great for practicing the impact position.
Video Breakdown:
- Learn how to get more wrist flexion in the lead wrist at impact than you had at setup.
- Drill to feel the handle forward and up and what lead wrist flexion feels like at impact (stop over impact drill).
- Exaggerate the feeling, and then let the HackMotion data and ball flight tell you if you have taken the feeling too far.
Step 6: Follow-Through
Don’t think that just because the follow-through occurs after impact, it doesn’t matter. The follow-through matters.
Pushing that feeling of flexion in the lead wrist through the impact position gives you the best chance of consistently hitting straight shots.
Rob gives you some checkpoints and drills to make sure your follow-through is in line with the rest of your slice fix adjustments.
Video Breakdown:
- Take the hit-hard stop-quick drill and expand it to improve the follow-through
- Learn how to push the lead wrist through impact and into the follow-through for better extension and more consistent ball striking.
- Turn the slice into a draw you can take to the course with you.
Step 7: Applying It to the Driver
Although the movements required to fix a slice are the same with the driver as with the irons, the feeling you will need to fix the slice with the driver may be slightly different.
You’ll want to make the same tweaks to your setup that get the club’s handle a little higher and slightly forward.
In addition, the club needs to travel through impact slightly closed with a flexed lead wrist.
Video Breakdown:
- The driver is the hardest club to fix the slice.
- Setup and grip checkpoints (handle up and slightly forward) to ensure you have the proper start to hit a straight drive.
- Feel is more exaggerated when trying to fix the slice in the driver; feel a more extreme closing or flexion to get the clubface square at impact.
Summary
Take your time working through the “How to Fix a Slice with HackMotion” mini-course.
Test out the drills, follow Rob Cheney’s step-by-step breakdown, and watch as your slice starts to disappear.
We’d love to hear your thoughts on the course—feel free to leave feedback below.
Your input helps us improve this series and create even more content tailored to your needs.
Free Bonus: Unlock Tour-Level Wrist Action with These 3 Drills
Now that you’ve watched the “How to Fix a Slice with HackMotion” mini-series, you understand just how important your wrists are in controlling the clubface and fixing your slice. But why stop there?
Take your game to the next level by watching the video below.
Rob Cheney shares three easy-to-follow drills designed to improve your wrist mechanics.
These drills will help you hit longer drives, compress your irons, and sharpen your short game for more consistent and accurate shots.
If you’re looking for more content like this or additional drills, visit our Drills Library, where you can find exercises to enhance every aspect of your game.
And when you’re ready to practice these drills on the driving range, our Interactive Customized Driving Range Plan will be a valuable resource.
Limited time offer
Order now and unlock over $196 in free bonuses.
Free HackMotion Video Training by Athletic Motion Golf
Learn from Golf Digest Top 50 and Golf Magazine Top 100 instructors Mike Granato and Shaun Webb. In this 5-module course, they break down the wrist mechanics that control clubface, speed, and consistency—and show you how to maximize your HackMotion training.
Worth: $99

Free Access to HackMotion Course by Tyler Ferrell
HackMotion intro course by Tyler Ferrel. He is the only person in the world named to Golf Digest’s list of Best Young Teachers in America AND its list of Best Golf Fitness Professionals in America.
Worth: $97

Free Worldwide Shipping
No matter where you live, we will cover the shipping cost. Expect your product to reach you in 2-5 days, with the express worldwide shipping cost on us.
Risk-Free for 30 Days
Train with HackMotion for a full 30 days, and if it’s not helping your game, send it back for a full refund – no questions asked.
Unlock $196 in Free Bonuses + Try HackMotion Risk-Free
Secure your HackMotion today and get free access to exclusive HackMotion video training course by Athletic Motion Golf and the Swing Improvement Course by Tyler Ferrell – a combined $196 value, absolutely FREE.
You’ll also enjoy free worldwide shipping in just 2–5 days and our 30-day money-back guarantee.
That means you can train with HackMotion completely risk-free for two full months — if it’s not helping your game, send it back.
Like Having a Coach on Your Wrist, Anytime You Need
Train smarter with HackMotion—your personal coach on your wrist, guiding you to better shots, sharper mechanics, and real progress every time you practice.
