Stop Flipping Wrists with HackMotion
Master your wrists at impact to take control of your clubface. This 8-lesson video course teaches you how to stop flipping, square the face, and strike with precision every time.
Flipping your wrists costs you distance, accuracy, and consistency.
This 8-video course focuses on fixing the real issue: controlling the clubface at impact.
By addressing the root cause of wrist flipping, you’ll develop a swing that’s more reliable, powerful, and dependable.
Whether you already have HackMotion or not, these step-by-step lessons will guide you toward mastering your wrists at impact.
With the use of HackMotion, you’ll gain critical insights to track your progress and see faster results.
Step 1: Fix the Face First
Flipping your wrists at impact comes down to one primary issue: an open clubface.
Without proper clubface control, your swing becomes a series of compensations, leading to weak contact, poor ball flight, and inconsistent results.
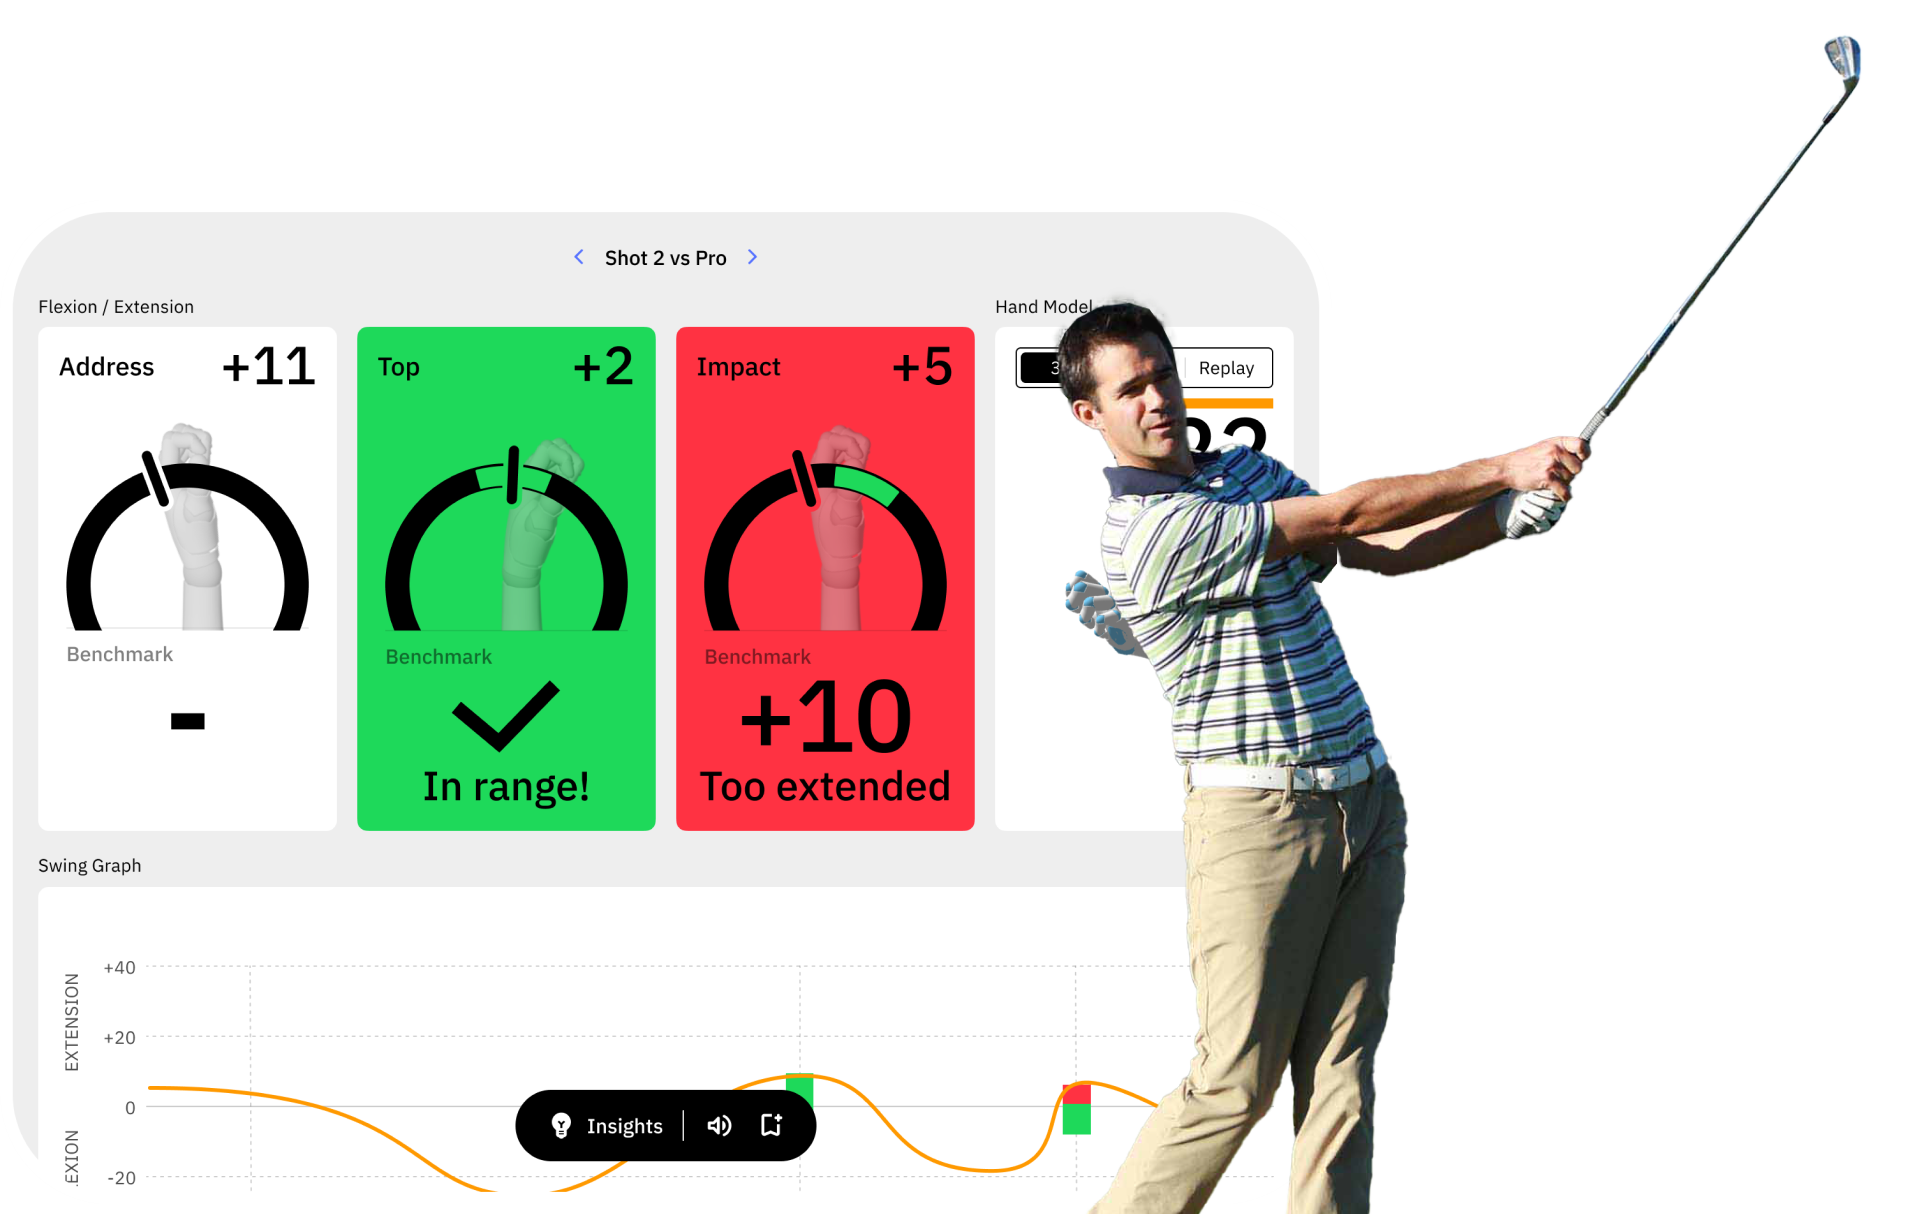
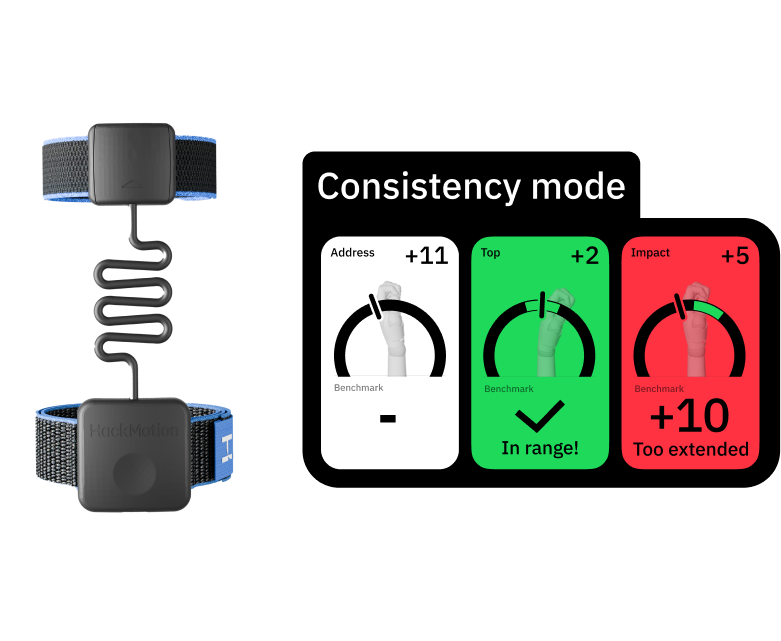
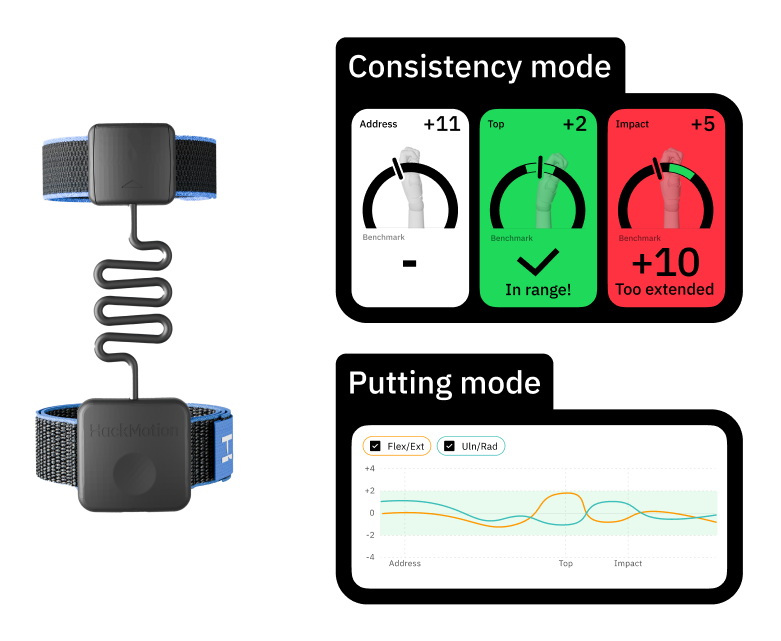
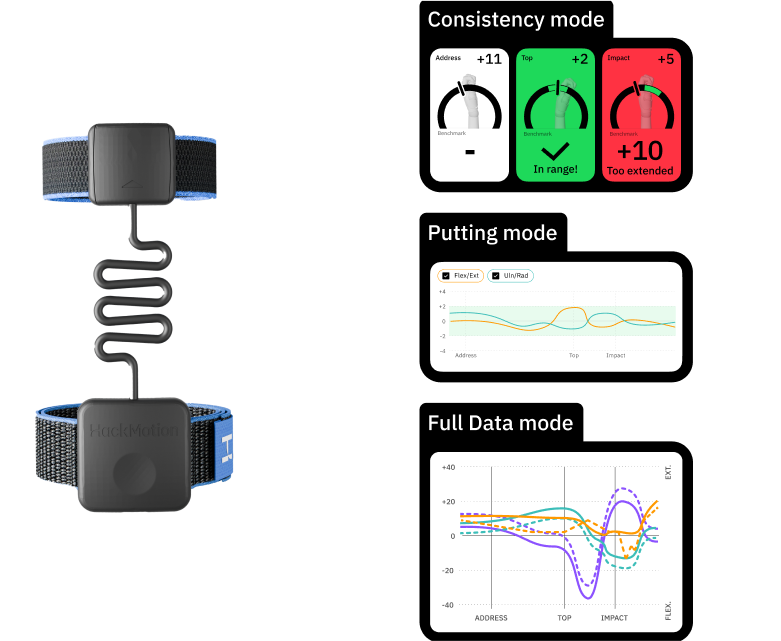
Using HackMotion, you can pinpoint the root cause of your flip—excessive lead wrist extension.
The clubface opens when the lead wrist is too extended during the swing. To compensate, the clubhead overtakes the lead arm at impact, causing a loss of shaft lean, reduced compression, added loft, and fat or thin shots.
To fix the flip, you must first fix the face. Wrist control is clubface control, and learning to manage your wrist angles is the key to consistent, powerful ball striking.
Video Breakdown:
- Visualized the effect of an open clubface during the swing and how it leads to wrist flipping.
- Explained how HackMotion’s swing dynamics testing can measure lead wrist extension and highlight how it ties to clubface angle.
- Demonstrated how controlling your wrist angles improves clubface control, leading to better shots with more compression and less loft.
Step 2: Grip and Setup
Reducing wrist flipping starts with getting the basics right, your grip and setup.
When it comes to grip, the lead hand should have a small amount of extension, typically between 15 to 30 degrees. This range provides enough room for wrist rotation and club movement throughout the swing.
While grip styles may vary from player to player, consistency is critical. HackMotion can be a valuable tool for checking the consistency of your grip position.
The second key element of the setup is shaft lean. Aim to align the lead arm and shaft in a straight line.
When pushing the handle forward, be cautious not to inadvertently open the clubface too far to the right.
Video Breakdown:
- Demonstrated the ideal grip position, including proper lead hand extension (15–30 degrees) and thumb placement, to maximize wrist control and range of motion.
- Provided a grip consistency drill to ensure players maintain the correct grip every time.
- The correct setup position with neutral shaft lean for optimal loft and a square clubface was highlighted.
Step 3: P6 Drill (Release drill)
The P6 drill is critical in eliminating wrist flipping by addressing the root cause: an open clubface.
This drill helps you remove the incentive to flip by training proper wrist control through a short, slow swing.
P6 is where the shaft is parallel to the ground in the downswing.
This drill focuses on keeping your lead wrist flexed and maintaining that feeling through impact. Starting slow is essential. Try to avoid taking the club back too far. Keep it small and controlled.
Once you’ve mastered this drill, you’ll be ready to move on to the P5 drill and further refine your swing mechanics.
Please note: In the current HackMotion app version, this drill is called “Release drill”
Video Breakdown:
- Demonstrated how to execute the P6 drill with a short, controlled swing focused on maintaining wrist flexion through impact.
- Emphasized starting slowly to build correct wrist mechanics before moving to full-speed swings.
- Highlighted the sensation of flexing the wrist down and keeping it flexed to ensure proper clubface control.
Step 4: P5 Drill (Transition drill)
Once you’ve mastered the P6 drill, you can move on to the P5 drill. At P5, the lead arm is parallel to the ground in the backswing.
This drill builds on the motions you’ve already established. The swing just gets a little longer.
As with the P6 drill, avoid taking the club back too far.
Focus on gradual progress while reinforcing the consistent, controlled wrist movements that eliminate flipping.
Please note: In the current HackMotion app version, this drill is called “Transition drill”
Video Breakdown:
- Explained the transition to P5, where the lead arm is parallel to the ground in the backswing.
- Emphasized building on the controlled motion of the P6 drill with a slightly longer swing.
- Demonstrated how HackMotion helps monitor wrist flexion and maintain the correct position (green zone) throughout the swing.
Step 5: Motorcycle Drill
The motorcycle drill, or the transition drill, targets the change from backswing to downswing.
This is where many golfers lose their wrist angles and over-twist, leading to inconsistent ball striking and wrist flipping.
This drill aims to help you feel the lead wrist stay flexed from the top of the backswing through the transition into the downswing.
Using HackMotion, you can monitor your wrist angles and ensure the correct motion. It feels like twisting the shaft like you’re turning the throttle on a motorcycle.
Video Breakdown:
- Demonstrated the motorcycle drill to improve wrist control during the transition from backswing to downswing.
- Showed how HackMotion provides real-time feedback to ensure correct wrist flexion and twisting motions.
- Highlighted the importance of starting without a golf ball to build consistency before progressing to hitting shots.
Step 6: Hit Hard, Stop Quick Drill
The Hit Hard, Stop Quick drill is designed to coordinate the movement of your body, wrists, arms, and club through impact. The best part is that it eliminates complicated swings without overthinking.
It’s a powerful exercise that refines wrist control, maintains a square clubface, and eliminates flipping.
This drill addresses common swing flaws, such as the forearms and elbows getting too far apart during the swing, which leads to wrist angle inconsistencies.
Doing the Hit Hard Stop Quick drill correctly, should produce a slight draw, indicating a square clubface and proper wrist angles.
Video Breakdown:
- Demonstrated the Hit Hard, Stop Quick drill to improve wrist, arm, and body coordination through impact.
- Showed how using an inflatable ball helps maintain proper forearm spacing and reduce unnecessary wrist angle changes.
- Highlighted the importance of the stopping motion after impact to reinforce wrist control and shaft lean.
Step 7: Body Movement & Weight Transfer
While wrist mechanics are key to fixing a flip, poor body rotation and weight transfer can also play a role.
If you struggle with topping shots or inconsistent ball striking, these issues may stem from improper weight movement during the swing.
One key to addressing this is ensuring your arms and body work together. Using an inflatable ball between your arms can help you feel how the body must rotate to keep the ball in place. Once you have everything working together, focus on weight transfer.
To practice weight transfer, use the Wrench Drill as seen in the video. This drill encourages rotation around a stable axis while making it easier to shift weight forward
Video Breakdown:
- Demonstrated how to use an inflatable ball between the arms to synchronize body movement and arm control.
- Showed the Wrench Drill to teach proper weight transfer from the back foot to the front foot while maintaining balance and rotation.
- Emphasized how effective weight transfer can reduce the need for wrist flipping and improves contact for cleaner, straighter shots.
Practice Plan: Building Consistency Over Time
Breaking ingrained swing patterns takes time and patience. It’s rare to be able to fix wrist flipping overnight.
The drills in this course are designed to help you gradually retrain your wrists and body to move in a way that eliminates flipping.
Remember: if you can’t execute these drills slowly and with control, you won’t be able to do them at full speed.
Be patient, stick to the plan, and the results will come.
The number one focus in your practice is wrist control because the wrists dictate the clubface position.
Use HackMotion to help track your practice and work interactively through the process.
We’d love to hear your thoughts on the course—feel free to leave feedback below.
Your input helps us improve this series and create even more content tailored to your needs.
If you’re looking for more content like this or additional drills, visit our Drills Library, where you can find exercises to enhance every aspect of your game.
And when you’re ready to practice these drills on the driving range, our Interactive Customized Driving Range Plan will be a valuable resource.
Limited time offer
Order now and unlock over $196 in free bonuses.
Free HackMotion Video Training by Athletic Motion Golf

Learn from Golf Digest Top 50 and Golf Magazine Top 100 instructors Mike Granato and Shaun Webb. In this 5-module course, they break down the wrist mechanics that control clubface, speed, and consistency—and show you how to maximize your HackMotion training.
Worth: $99

Free Access to HackMotion Course by Tyler Ferrell

HackMotion intro course by Tyler Ferrel. He is the only person in the world named to Golf Digest’s list of Best Young Teachers in America AND its list of Best Golf Fitness Professionals in America.
Worth: $97

Free Worldwide Shipping
No matter where you live, we will cover the shipping cost. Expect your product to reach you in 2-5 days, with the express worldwide shipping cost on us.
Risk-Free for 30 Days
Train with HackMotion for a full 30 days, and if it’s not helping your game, send it back for a full refund – no questions asked.
Unlock $196 in Free Bonuses + Try HackMotion Risk-Free
Secure your HackMotion today and get free access to exclusive HackMotion video training course by Athletic Motion Golf and the Swing Improvement Course by Tyler Ferrell – a combined $196 value, absolutely FREE.
You’ll also enjoy free worldwide shipping in just 2–5 days and our 30-day money-back guarantee.
That means you can train with HackMotion completely risk-free for two full months — if it’s not helping your game, send it back.
Like Having a Coach on Your Wrist, Anytime You Need
Train smarter with HackMotion—your personal coach on your wrist, guiding you to better shots, sharper mechanics, and real progress every time you practice.


