Chipping vs Pitching in Golf: Key Differences & When to Use Each Shot
Chip and pitch shots are often talked about as if they are the same thing. They are not.
Understanding the difference between chipping and pitching, and how they impact your ball flight, is one of the fastest ways to improve your short game.
By the end of this post, you’ll know exactly how to set up and execute each shot, plus when to use them on the course. You’ll also see how ball position, wrist action, and weight distribution change depending on whether you’re hitting a chip or a pitch.
Chipping vs Pitching (Key Takeaways)
If you don’t have time to read the entire guide, here are the essentials:
- A chip shot flies low and rolls out more once it lands.
- A pitch shot flies higher, has more spin, and stops quicker.
- Chips require the ball back in the stance, more weight forward, and quiet wrists.
- Pitches are played with the ball centered, balanced weight, and more wrist hinge.
- Chips can be hit with wedges or even mid-irons; pitches are almost always played with wedges.
Contents
What is the Difference Between a Chip and a Pitch?
The main differences between chipping and pitching show up in the ball flight, wrist mechanics, and roll after landing.
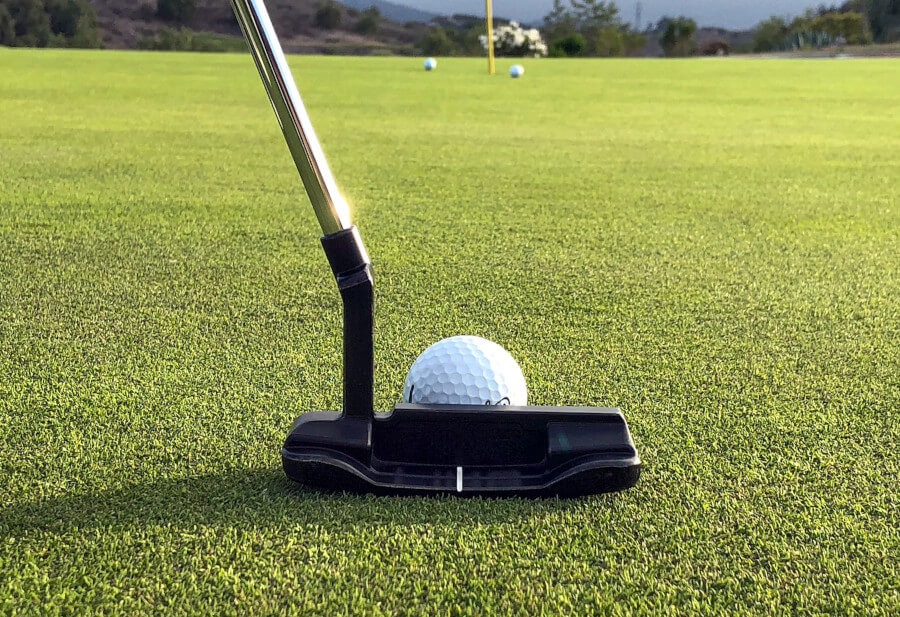
A chip shot is a low, controlled shot that spends very little time in the air before rolling most of the way to the hole.
To set up for a chip, you stand closer to the ball, keep your wrists quiet, and lean slightly onto your lead side.
This puts the shaft in a more upright position, limits wrist hinge, and makes the strike very predictable. The ball comes out low and runs along the ground.
A pitch shot, on the other hand, is designed to fly higher and stop quicker.
The stance is wider, the ball is positioned in the middle, and the wrists are allowed to hinge on the backswing.
This creates the “L” shape you see with better players. With more loft and spin delivered at impact, the ball carries farther and stops faster on the green.
There’s also the lob shot, which is essentially an exaggerated pitch.
Here, the wrists hinge more, the lead wrist stays extended (cupped), and the face stays open to maximize loft. It’s the shot you’ll use when you need the ball to go high and land softly, like escaping a bunker or hitting to a tight pin.
HackMotion makes these differences crystal clear. When you look at the data, you’ll see a stable wrist pattern in chip shots, moderate hinge in pitches, and heavy extension in lob shots. That’s why wrist control is such a reliable way to separate the two.
When Should I Hit a Chip Shot?
A chip is your safest play when you’re close to the green and don’t need to carry anything in the air. The goal is to get the ball rolling quickly and let the green do most of the work.
Because the shot is lower and runs out, it’s highly predictable and doesn’t require as much precision as a pitch.
Here are the most common times to reach for a chip:
- From the fringe or just off the green – when there’s plenty of green to work with between you and the hole.
- On tight lies – the upright shaft and quiet wrists reduce the risk of chunking.
- When you want the “percentage play,” chips keep things simple and eliminate the risk of overcomplicating the shot.
Think of the chip as your low-maintenance option. It’s not flashy, but it’s reliable and gives you a chance to save strokes without adding unnecessary risk.
When Should I Hit a Pitch Shot?
Pitch shots come into play when you need the ball to spend more time in the air and stop quickly on the green. Unlike chips, they carry farther, spin more, and are ideal when you can’t just roll the ball out.
Here are the best times to use a pitch:
- From 20–70 yards away – when you’re too far for a chip but not far enough for a full swing.
- When you need to carry trouble, like bunkers, rough, or a ridge in the green.
- On firm greens – where a chip might roll too much, the extra spin from a pitch helps the ball grab.
- When you need stopping power, pitches allow you to land it near the flag without worrying about too much rollout.
Pitches do come with more risk since you’re adding wrist hinge and loft, but they also give you the most versatility.
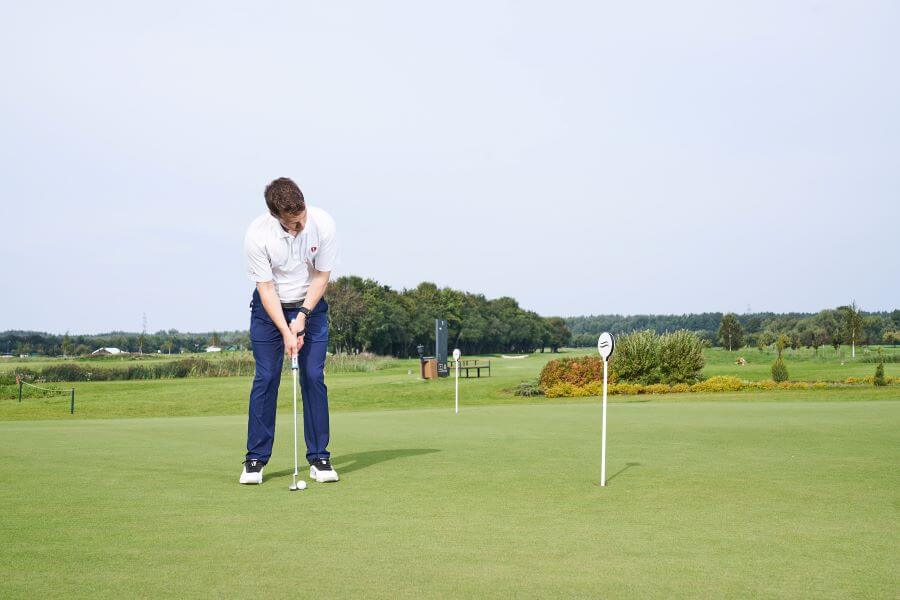
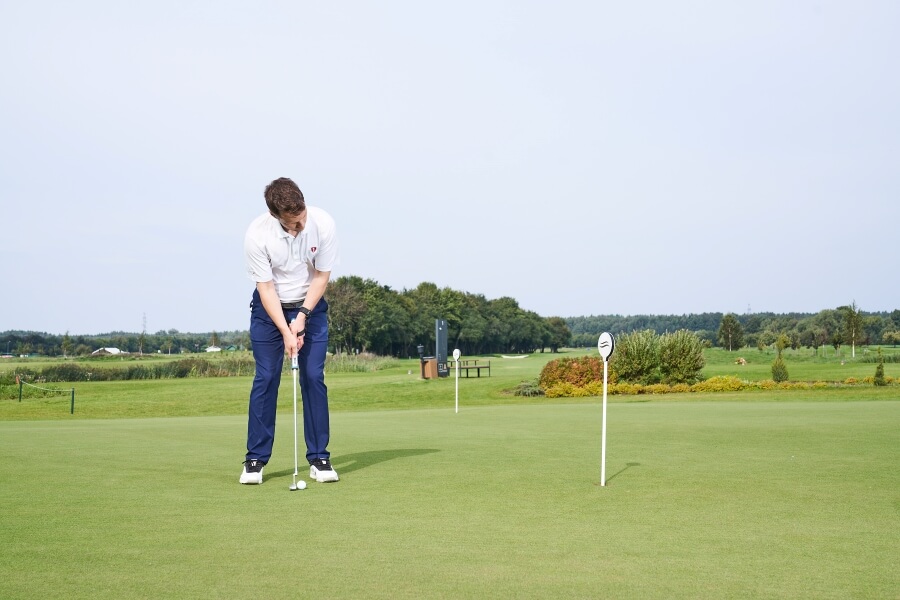
How to Hit a Chip Shot
Here are the basics on how to hit a chip shot. You’ll notice the process requires minimal wrist movement and a stable and repeatable base.
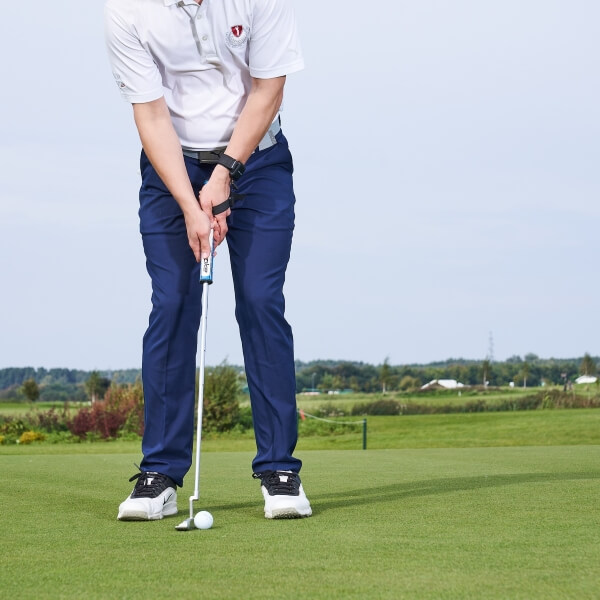
- Stand a little closer to the ball. Set up almost like a putting stroke. Standing closer helps you keep the shaft more upright and your wrists in a stable, downward (ulnar deviation) position.
- Play the ball slightly back and lean forward.Place the ball just behind center and set about 55–60% of your weight on your lead foot. This creates forward shaft lean, encourages a downward strike, and produces the low-running trajectory you want.
- Keep the wrists quiet through the swing. Imagine your thumbs and fingers pointing toward the ground as you move the club. Quiet wrists reduce clubface rotation and improve strike consistency.
Tip: If you’re wearing HackMotion, aim for stable lead-wrist ulnar deviation throughout the motion to verify you’re keeping the wrists quiet.
How to Hit a Pitch Shot
Here are the details you need to hit a great pitch shot. Although these shots are higher risk sometimes you’ll need the height from them when you are in certain positions on the course.
- Set up with a normal wedge stance. Stand slightly farther from the ball than you would for a chip. Keep your feet about shoulder-width apart for stability.
- Play the ball in the center of your stance. This position allows the club to slide under the ball and deliver loft, producing the higher flight you’re looking for.
- Keep your weight balanced or slightly forward. Distribute your weight evenly, or lean just a touch onto your lead side. This helps prevent hanging back and topping the ball.
- Add wrist hinge on the backswing. Allow the wrists to hinge upward (radial deviation) while maintaining a bit of extension in the lead wrist. This creates the classic “L” shape at the top of the swing.
- Release the club under the ball. On the downswing, let the face slide under the ball with loft and spin. This produces the higher flight and softer landing that separates a pitch from a chip.
Tip: With HackMotion, you can monitor the amount of wrist hinge and extension you’re creating, ensuring your pitch shot mechanics stay consistent.
Drills to Work on Chipping and Pitching
Here are three drills to help you improve your pitching and chipping around the greens. Try these to get more accurate and improve your consistency.
Cross Handed Chipping Drill
If you struggle with controlling your wrists during chip shots and find yourself hitting inconsistent or mis-struck shots, this drill can help stabilize your motion.
Many pros, including Matt Fitzpatrick, use a cross-handed grip for chipping to quiet the wrists and improve strike consistency.
Cross Handed Chipping Drill – Step by Step
- Switch your grip. Place your lead hand lower on the club and your trail hand higher (cross-handed).
- Create a straight line. Feel like your lead arm and the shaft form almost one straight line throughout the stroke.
- Add trail wrist extension. Keep a slight cupping in your trail wrist at setup and maintain it through the motion.
- Practice ground contact. Make rehearsal swings where the club brushes the turf evenly, back and through with equal length.
- Hold your finish. After impact, check that your lead arm and club are still in line and that trail wrist extension remains.
- Hit short chips. Start with small shots, focusing on solid, centered contact and consistent rollout.
This grip removes excess wrist action, stabilizes the clubface, and gives you a better chance of striking the ball cleanly, perfect for golfers who struggle with conventional chipping mechanics.
Trail Arm Only Drill
This drill isolates the right arm and wrist to help you feel proper motion, improve contact, and build better connection between your body, arm, and club.
By removing the lead arm, you’ll quickly notice whether your trail wrist is working correctly to keep the club on plane.
Trail Arm Only Drill – Step by Step
- Set up normally. Grip the club with both hands, then remove your lead hand. Place it on your trail bicep or let it rest by your side.
- Maintain connection. Keep your trail arm close to your body so the swing doesn’t become just hands and wrist.
- Swing with the right arm only. Use your wrist to keep the club moving “up” on plane rather than letting it get sucked inside.
- Brush the ground. Focus on striking the turf in the middle of your stance. Start without a ball until you can repeat solid contact.
- Finish the swing. Pivot your body so your chest faces the target, holding the trail wrist angles through the finish.
- Add a ball (optional). When ready, place a ball on a low tee to give yourself a margin of error, then progress to normal lies.
This exercise sharpens wrist control, stabilizes the clubface, and makes clean contact more consistent, key ingredients for a reliable short game.
Ladder Game
If you want to sharpen your touch and feel around the greens, this ladder drill is one of the simplest and most effective ways to improve distance control.
It challenges you to progressively land chip shots farther without going past your final target.
Ladder Game – Step by Step
- Set up your target. Pick a flag, a tee, or even a spot on the green as your end goal.
- Start with the first ball. Hit it as close to you as possible while still landing on the green.
- Progress further each time. Each new ball must finish beyond the previous one but still short of the target.
- Keep spacing tight. Try to land each ball just a little farther than the last, building a “ladder” of shots.
- Know when you fail. The drill ends if a ball finishes shorter than the previous one or rolls past the target.
- Reverse it (optional). Start near the flag and work backward, hitting each shot progressively shorter.
This drill teaches you touch, tempo, and sensitivity with your wedges, skills that directly translate to lower scores on the course.
Final Thoughts
Chipping and pitching both fall under the short game umbrella, but they’re not interchangeable. Chips are low and rolling, while pitches are higher, spinnier, and designed to stop quickly.
Knowing the difference, and practicing both gives you more options and better scoring chances around the green.
To master these shots, pay attention to your wrists. The HackMotion sensor shows you exactly how your lead wrist is moving during chips, pitches, and lob shots, so you can practice with confidence and see progress faster.