Mastering Difficult Greens from 100 Yards And In (8 Tips You Need)
Some golf courses are known for their difficult greens. If you have experienced this, you probably made quite a few three putts or struggled to get up and down.
Mastering difficult greens starts from the 100 yard marker (and sometimes further).
The key is to know what to look for, what to avoid, and how to ensure you don’t set yourself up for a bogey or worse! Here are 8 tips you can incorporate into your game today to help you master difficult greens.
Key Takeaways
If you don’t have time to read all of our advice about mastering difficult greens from 100 yards and in, here are the key points you can walk away with right now.
- Learn to control your swing speed; it will help with accuracy and distance control; always accelerate through the ball, but be capable of doing it at different speeds.
- The green slope should be analyzed regardless of where you are approaching from; it will make all the difference when trying to improve your putting.
- A proper wrist hinge is essential to keep the ball straight but also get the trajectory and flight you want.
- Learn to draw and fade so you can control the landing and roll of your golf shots more.
- Visualize all shots from 100 yards and in, especially when approaching difficult greens.
Want to improve your control from 100 yards and in? Work with a golf instructor who can help sharpen your approach and short-game skills.
8 Tips for Mastering Difficult Greens from 100 Yards
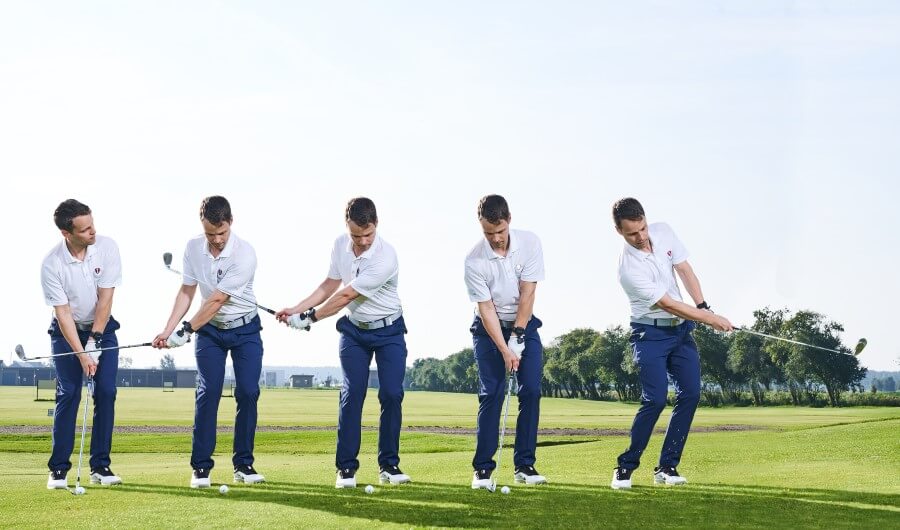
Learn To Control Your Swing Speed
You are the only one who has control of your swing speed. If you are a fast player who’s determined to get power on every shot, that’s great. However, around the greens, you need to know how to control it.
This doesn’t always mean to slow down. Instead, you must create a consistent and controlled speed that improves accuracy and distance control.
Let’s face it: the faster you swing the club, the further it will go. For a 10 yard pitch shot, do we really want a lot of speed? Acceleration through the ball and consistent tempo are necessary, but not a ton of speed.
Here is our favorite drill to work on this:
Distance Control Ladder Drill – Step by Step:
- Setup Targets: Place markers or visualize targets at 125, 100, 75, 50, and 25 yards. Use a rangefinder or on-course landmarks if needed.
- Start with a Full Swing: Use your pitching wedge to hit a full swing shot to the 125-yard target.
- Work Down the Ladder: Hit the next shots to 100, then 75, 50, and finally 25 yards. Gradually reduce your swing length and tempo for each shorter distance.
- Focus on Speed Control: Notice how each shorter shot requires not just a smaller swing, but better control over your swing speed and rhythm.
- Repeat the Ladder: After reaching 25 yards, work your way back up to 125 yards, trying to maintain the same feel and precision.
- Track Your Feel: Mentally note how each swing feels at each distance. This will help develop consistent touch for partial shots on the course.
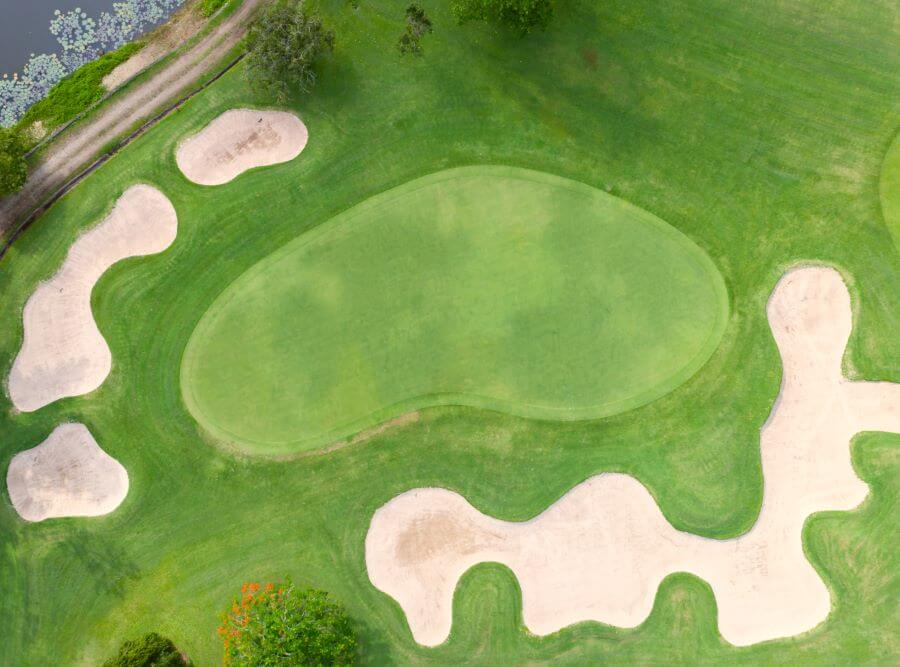
Understand Green Slope
When standing on the green, you have to take into consideration the slope of the green.
However, this should start well before you go to the green.
Look for general direction, the green slopes, or tiers (and which tier the pin is on). Your ideal stopping location for your shot is a few feet from the pin, where you can leave yourself an uphill putt.
If a green slopes from the back to the front, it may make sense to hit just enough club to get you to the pin so you have an uphill putt at it. For other greens, you may want to go directly to the center.
Using a GPS app can help ensure your approach shots leave you in the right place.
Once on the green, make sure you walk from your ball to the hole at least once. You’ll feel the slope under your feet and be able to make the appropriate adjustments to your stroke.
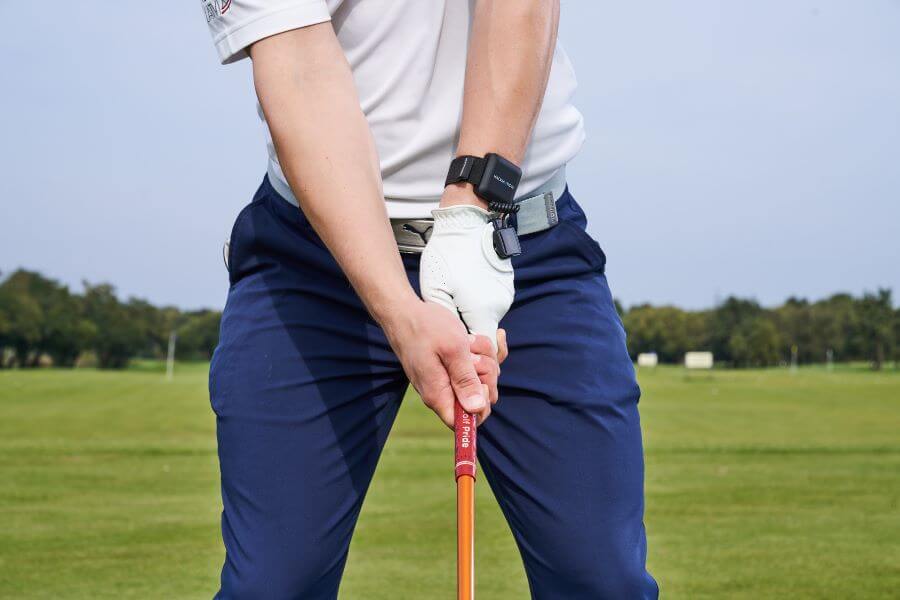
Master The Wrist Hinge
One of the most common mistakes players make when approaching difficult greens from 100 yards in is an incorrect wrist hinge. Many golfers feel that shorter shots require an excessive wrist hinge to help get the ball in the air.
Adding wrist hinge will also add extension to the lead wrist. Therefore, if you add too much wrist hinge, you’ll leave your clubface angle wide open.
This video from Rob Cheney does a deep dive on how much wrist hinge your golf game needs. You may be surprised to find out that some of the best players in the world added very little hinge to their wrists in their swing.
Use HackMotion, you can measure your wrist angles in real time and see exactly how much hinge and extension you’re using.
It gives you instant feedback so you can feel and train the proper motion.
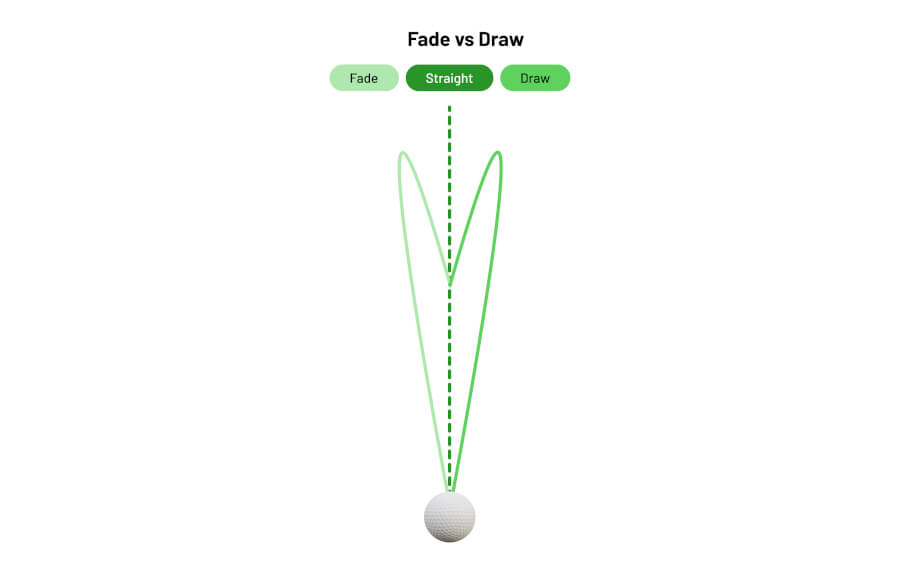
Learn To Shape Your Shots
We’ve told you it’s important to land the ball in a specific spot on the green.
That process gets much easier if you know how to hit a draw and a fade. For these shorter shots, you don’t need a ton of turn on the ball; what you need is the spin.
A fade shot has higher spin rates, higher ball flight, and the ability to land softly and stop near the pin.
A draw, on the other hand, is your distance shot. You can put this one on the front corner of the green and let it roll back towards the left pin.
To shape your shots, you must have control of the clubface at impact. This is done with the wrists.
Here’s our complete guide on draw vs. fade and the changes you can make in your swing to perfect these.
For a great visual representation of why you may struggle to get the ball flight you need, Matt Blois shows how you can use HackMotion to learn to shape your shots.
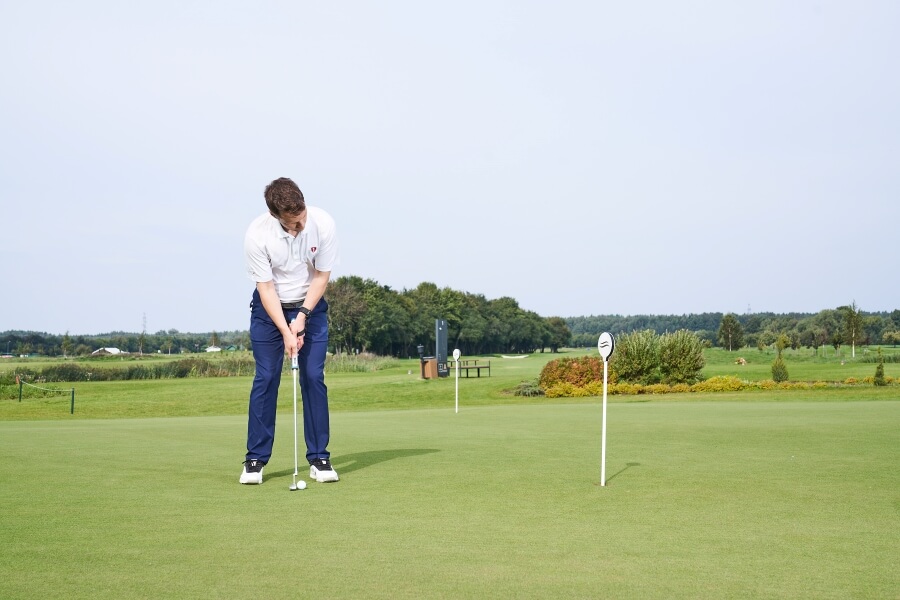
Visualize The Shot
If you aren’t already visualizing your shots from 100 yards and in, you need to start doing that. With these difficult golf greens, the key is shot placement.
If you are visualizing your shot just flying directly into the cup, it’s not accurate.
Instead, visualizing the shot requires you to think about how the ball will land and how it will react when it lands.

Visualize the slope, the speed of the greens, and the ball flight and trajectory of your golf shot. As you swing, this visualization will help the swing to match your plan.
Don’t Practice From The Fairway
The fairway is an ideal place from which to approach a difficult green.
Why?

The lie is perfect, you can get spin on the ball, and you are the one in control. The problem, of course, is that we won’t always be hitting our shots from the fairway.
Many times, when you approach from the sand or the rough.
Sand shots aren’t bad because you can develop quite a bit of spin when you learn the basics.

However, shots out of the rough lack control. The ball has very little, if any, backspin, so it hits the green and then just rolls.

You’ll have to know how much it will roll and where you can land your shot. To do this, simply start practicing from the rough.
In addition, don’t put the ball on top of a perfect lie and hit it out of the rough; let it be buried and troubleshoot this situation, which you’ll find on the course.
For close greenside shots, you can use a little extra wrist extension through impact to sort of pop the ball out of the rough, as shown in this video.
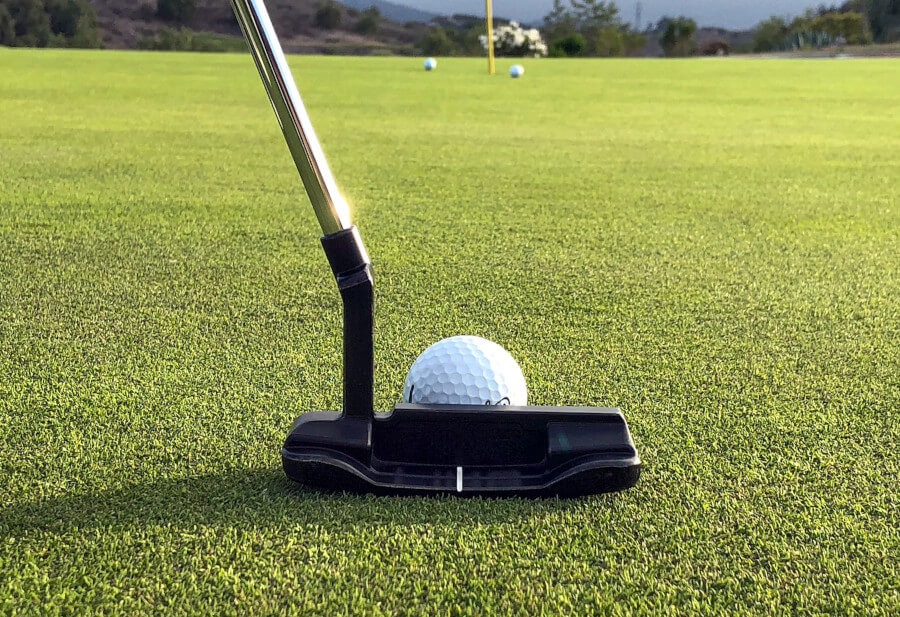
Soften The Hands
Hands should always be soft when approaching a difficult green. The more tension you add to your hands, the harder it is to control the clubface and hit a high lofted soft shot.
One of the best ways to decrease tension in the hands is to avoid keeping them on the golf club too long.
Grip your club, but regrip it a few times and move your hands around slightly as you work through your pre-shot routine.
If you remember the Sergio Garcia regrip, he would do this 20 or 30 times before hitting.
That may be a little (or very!) extreme, but his concept was to decrease pressure in the hands and let the larger muscles take over.
Keep your hands soft even when you make it to the putting green!
Focus On Stance
Your golf stance makes a big difference in these 100 yards and in shots. The more open your stance is to the target, the easier it is to hit the ball high.
Players find that when approaching greens that have a lot of speed and slope, these open-type shots improve control.
In addition, pay close attention to your ball position.
The ball is placed back in the stance for chip shots, comes out at a lower angle, and rolls a bit more. Keep the pitch shots (higher lofted shots) toward the middle of the stance.
On the driving range, play around with different stances and see how they impact your ball’s flight, alignment, and distance control.
This video from Lee Trevino gives some great advice on how the short game stance can impact where your golf ball ends up.
Frequently Asked Questions
What club is best to use when approaching difficult greens?
When approaching a difficult green, it’s best to have loft on your side. Use a golf club like a 56 degree wedge that allows for a softer landing and more control.
Are uphill or downhill putts easier?
Uphill putts are easier. When playing difficult golf courses with tough greens, always try to leave your ball under the pin with a chance to be aggressive when you putt.
Is the center of the green the best target?
The center of the green is often the best target. However, when playing difficult golf greens, you must consider the slope and the pin location to ensure the center does not put you in a poor position.
Final Thoughts
At this point, you should be ready to take these strategies out on the golf course. You now know the importance of wrist control, visualization, soft hands, and a perfect golf stance.
Look at these difficult golf greens as a challenge, not something that will add to your score. See how good you can get now that you have the right tools in place.