wrist mechanics online course featured image

Unlock the #1 Secret to Stop Skulling Your Wedges!

Typically $95, FREE Today!

3 Proven Drills to Unlock Tour Level Wrist Action
Unlock Tour-Level Wrist Action
All Posts / Articles / Swing Faults & Troubleshoot /

Stop Skulling Wedges: 7 Simple Fixes for Pure Contact

It shouldn’t be a big deal when your approach shot misses the green. A quick up and down and you’ll be on your way to the next hole. However, if you’ve been known to skull your wedges, that’s probably not the case.

You’re probably worried about where the shot could end up, what the results could look like, and whether you’ll even be able to escape with a bogey. 

We will show you how to stop skulling wedges and why your wrist action may be the culprit behind your skulled wedge shot.

These tips and drills will give you actionable information you can use to run to the range and work on your wedges right now. 

Key Takeaways 

If you don’t have time to work on any of these drills and tips right now, here are a few key takeaways giving you some insight into why you are skulling your wedges. 

  • Favor Your Lead Foot: Poor low point control or last-second wrist flips are the top reasons for skulls, shift weight slightly left and maintain a stable lead wrist.
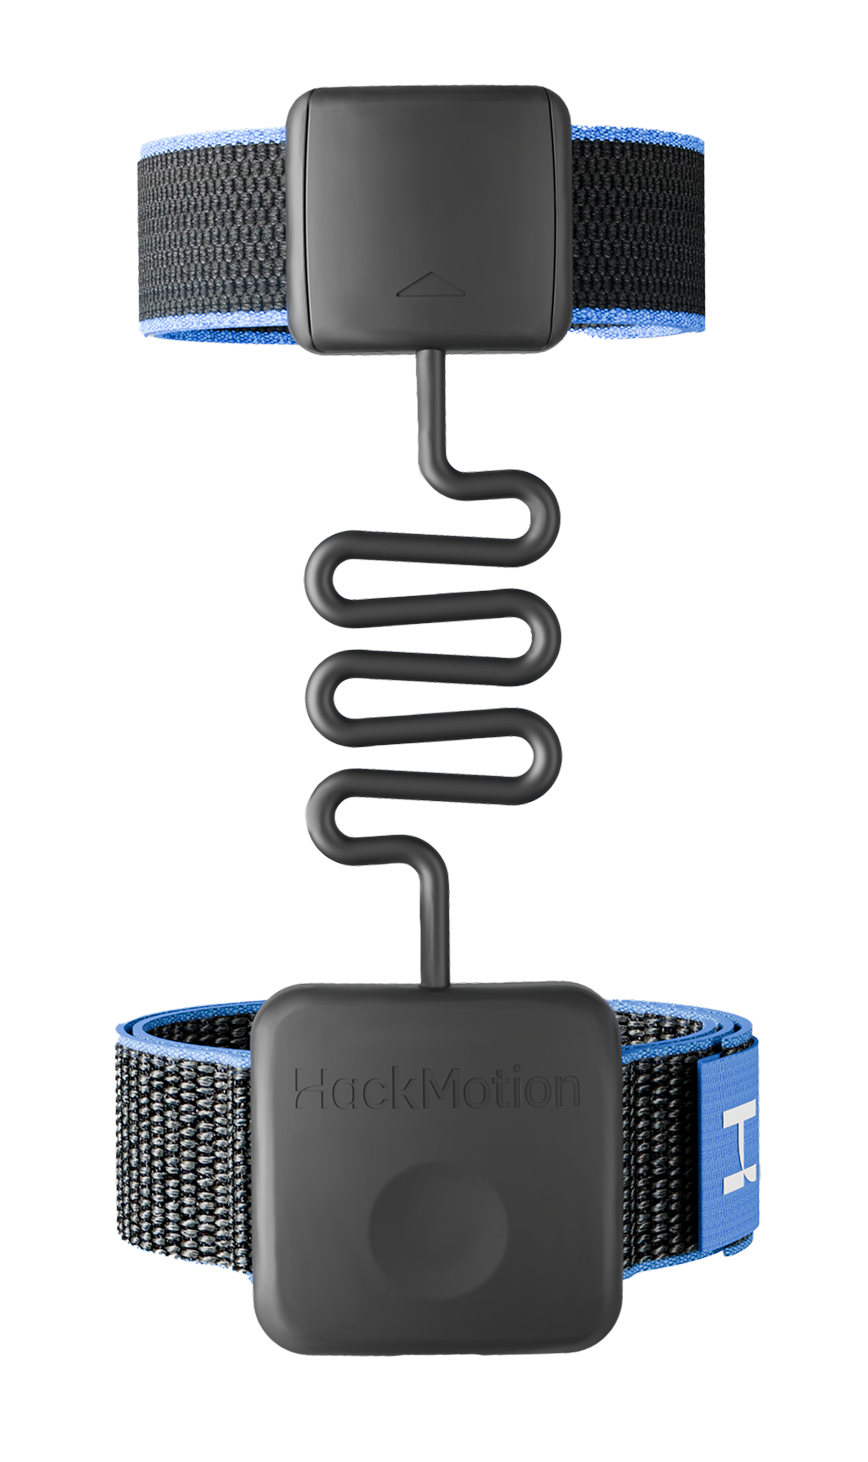
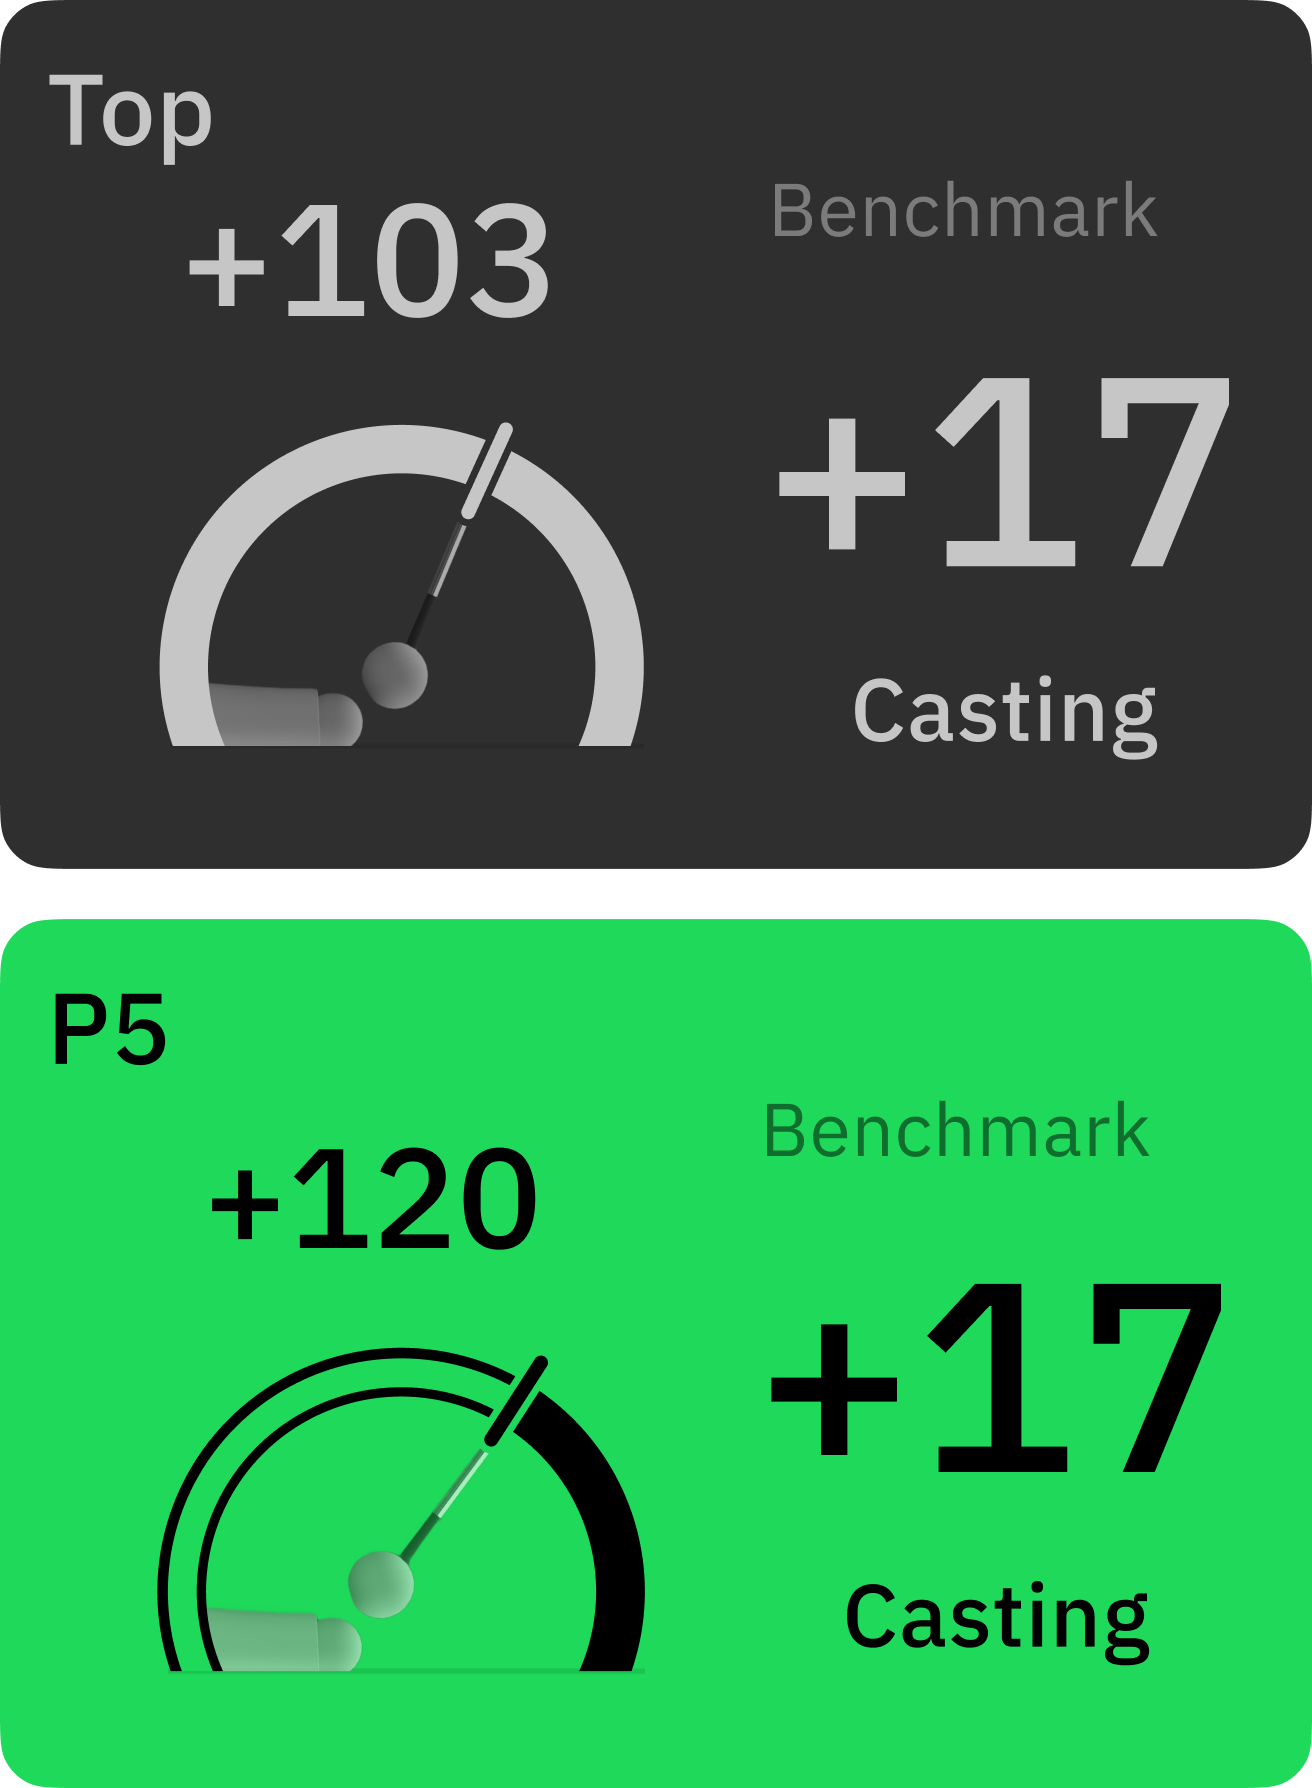
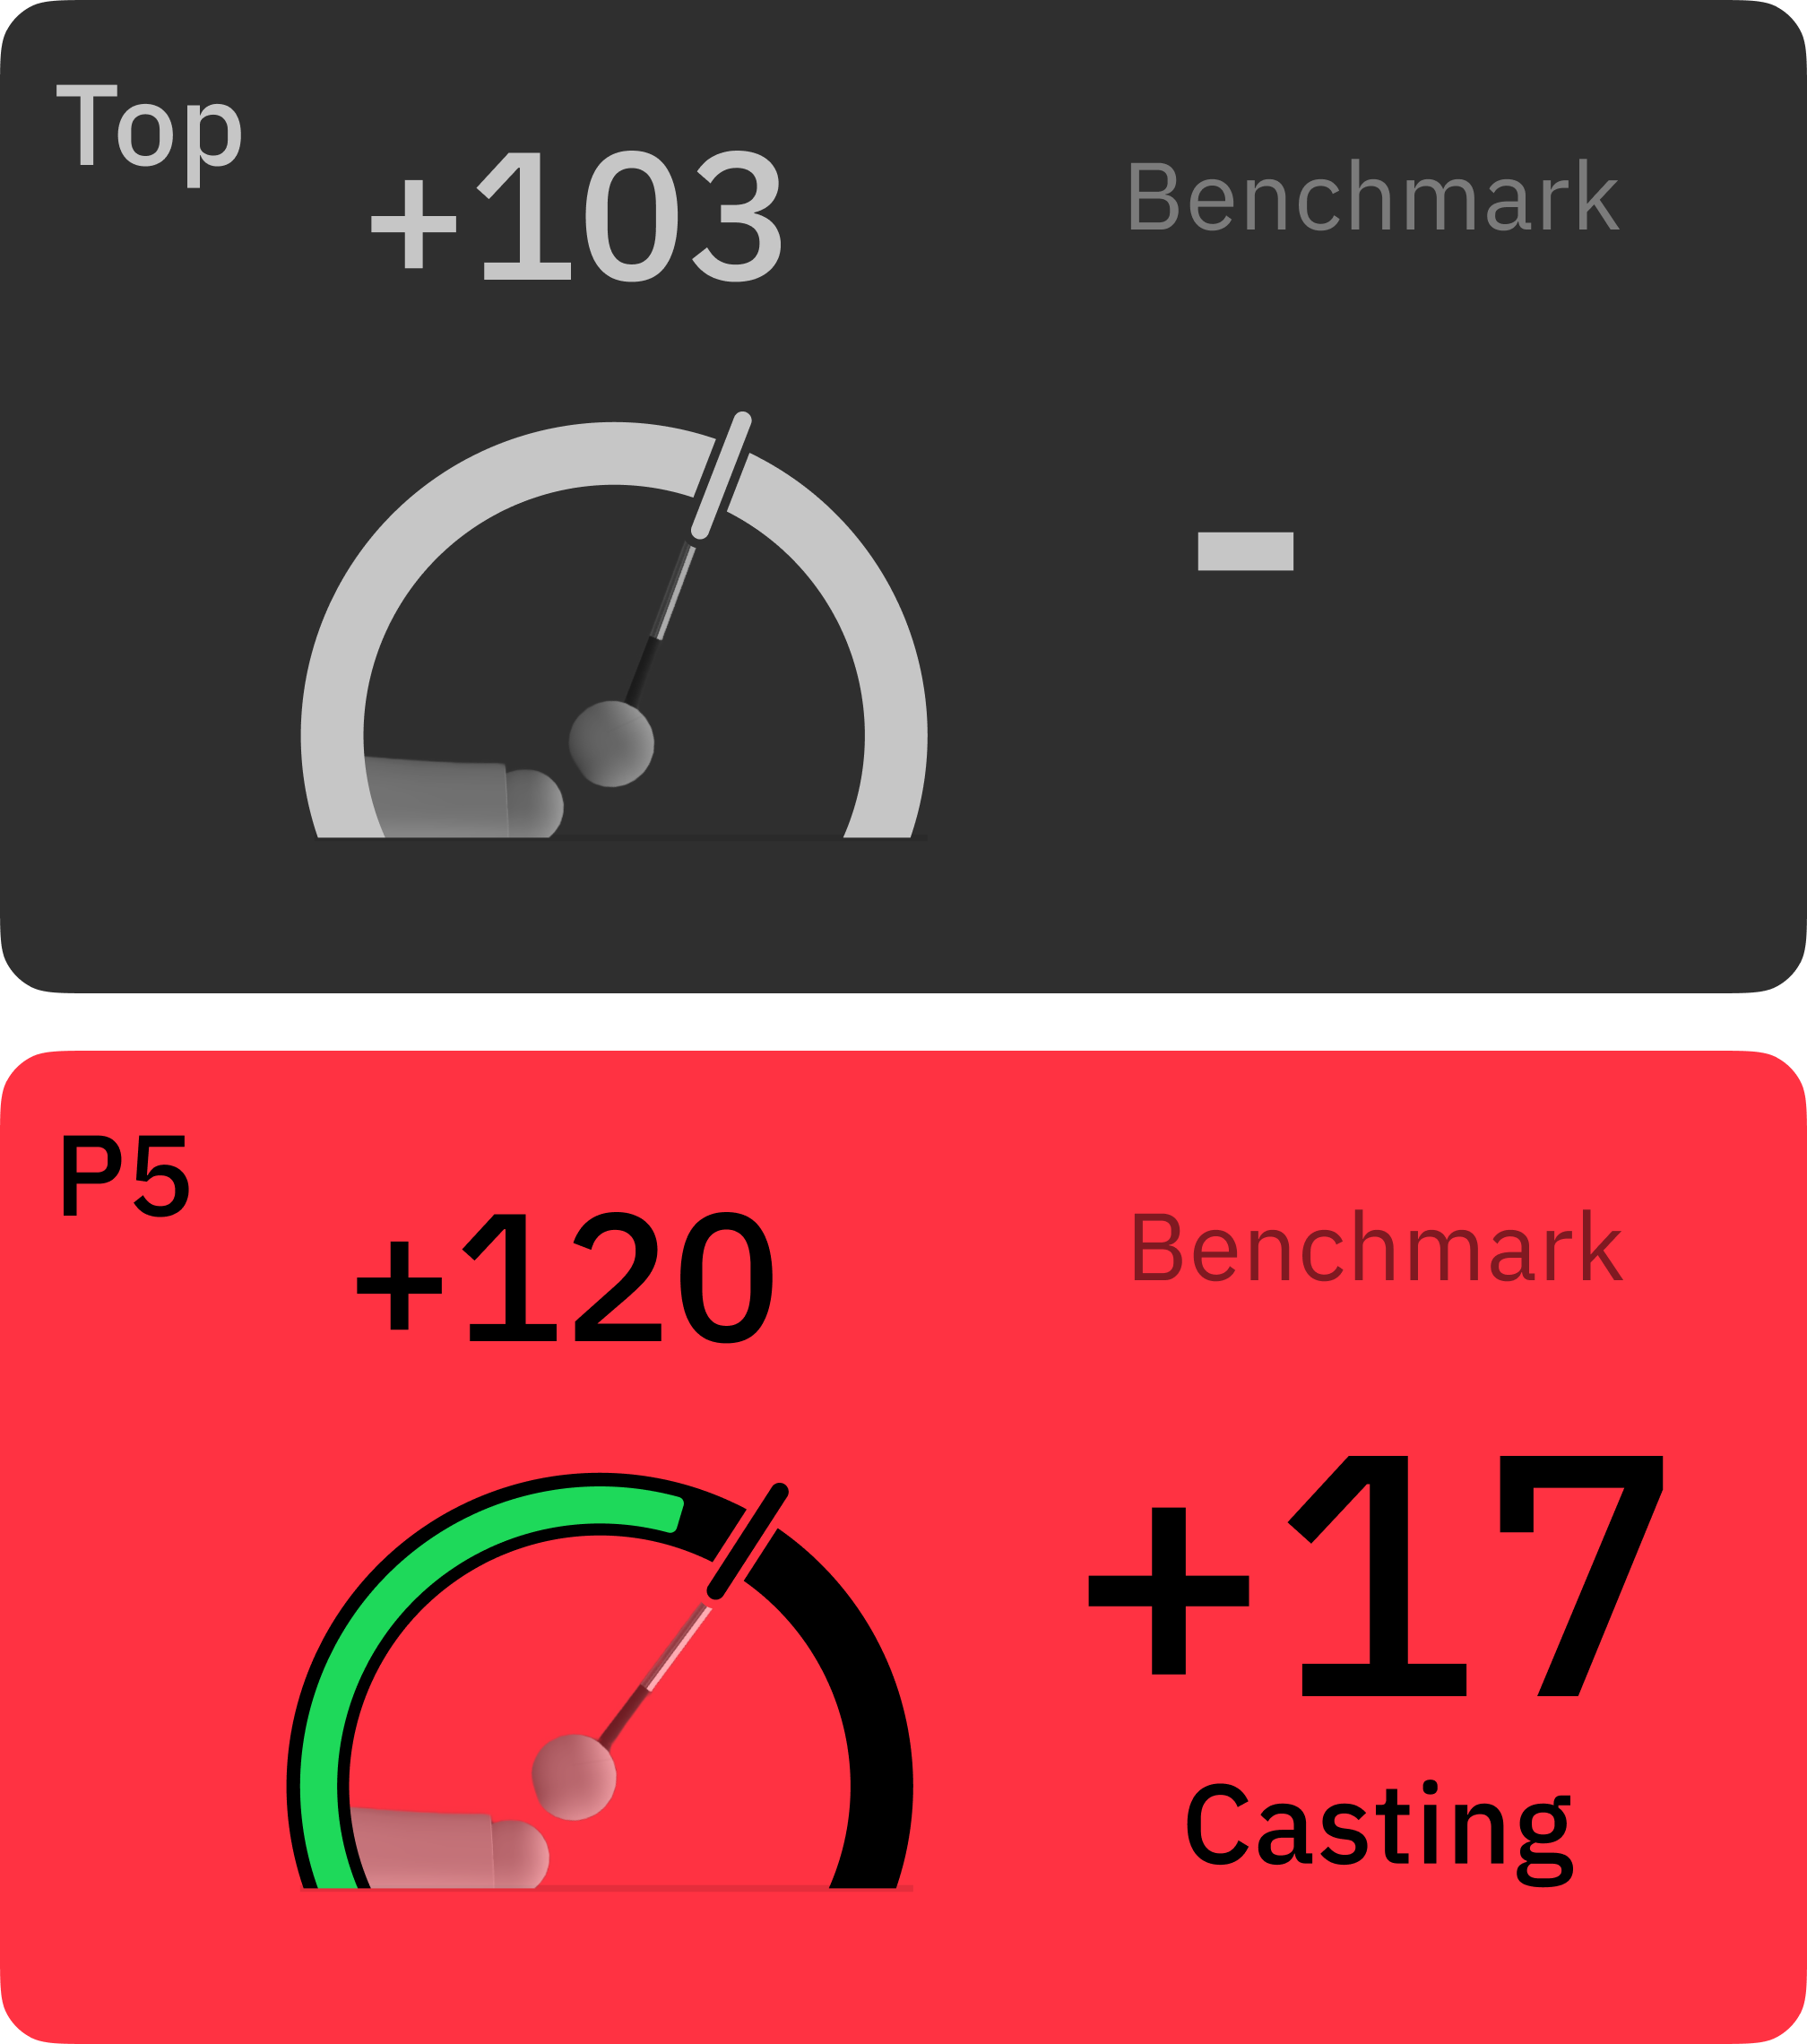
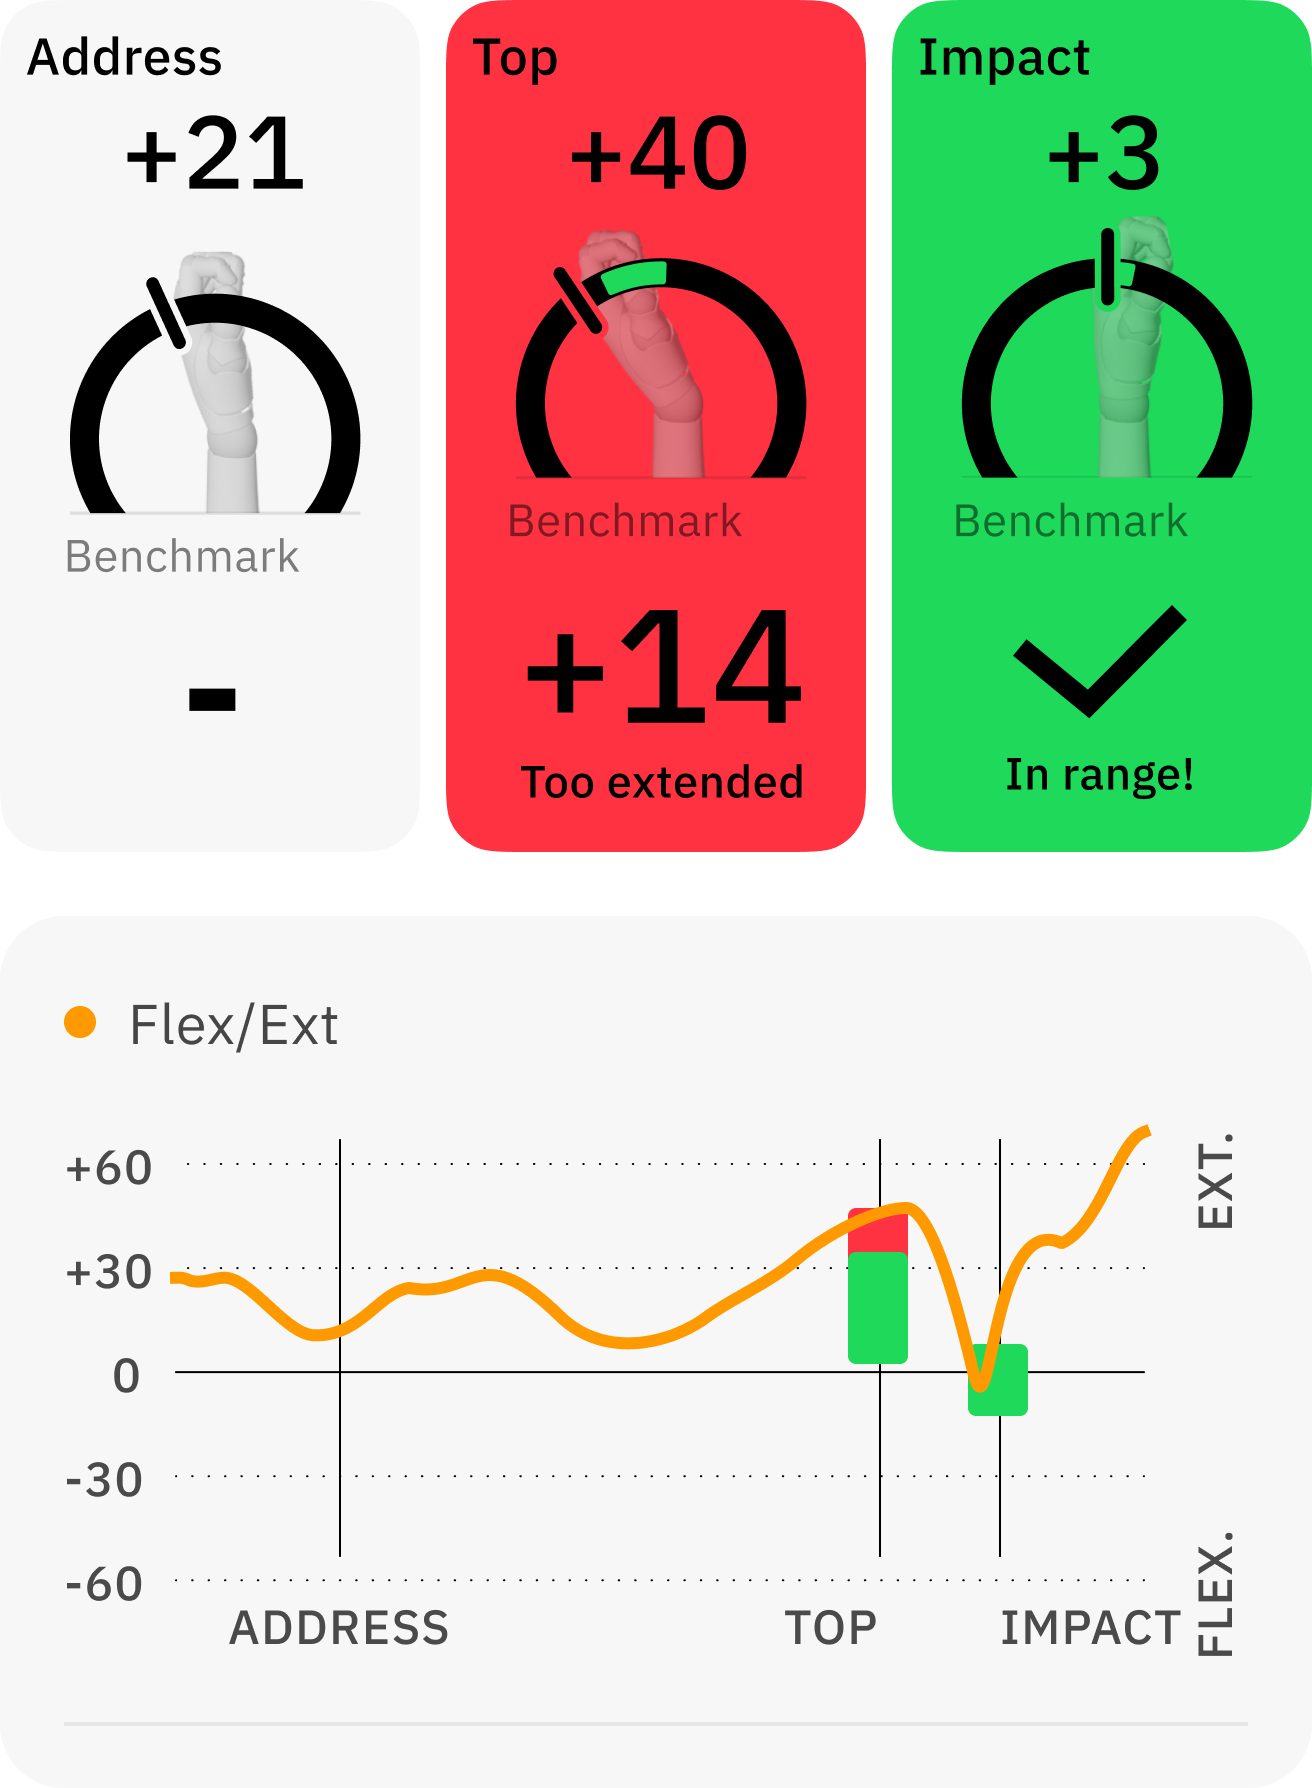
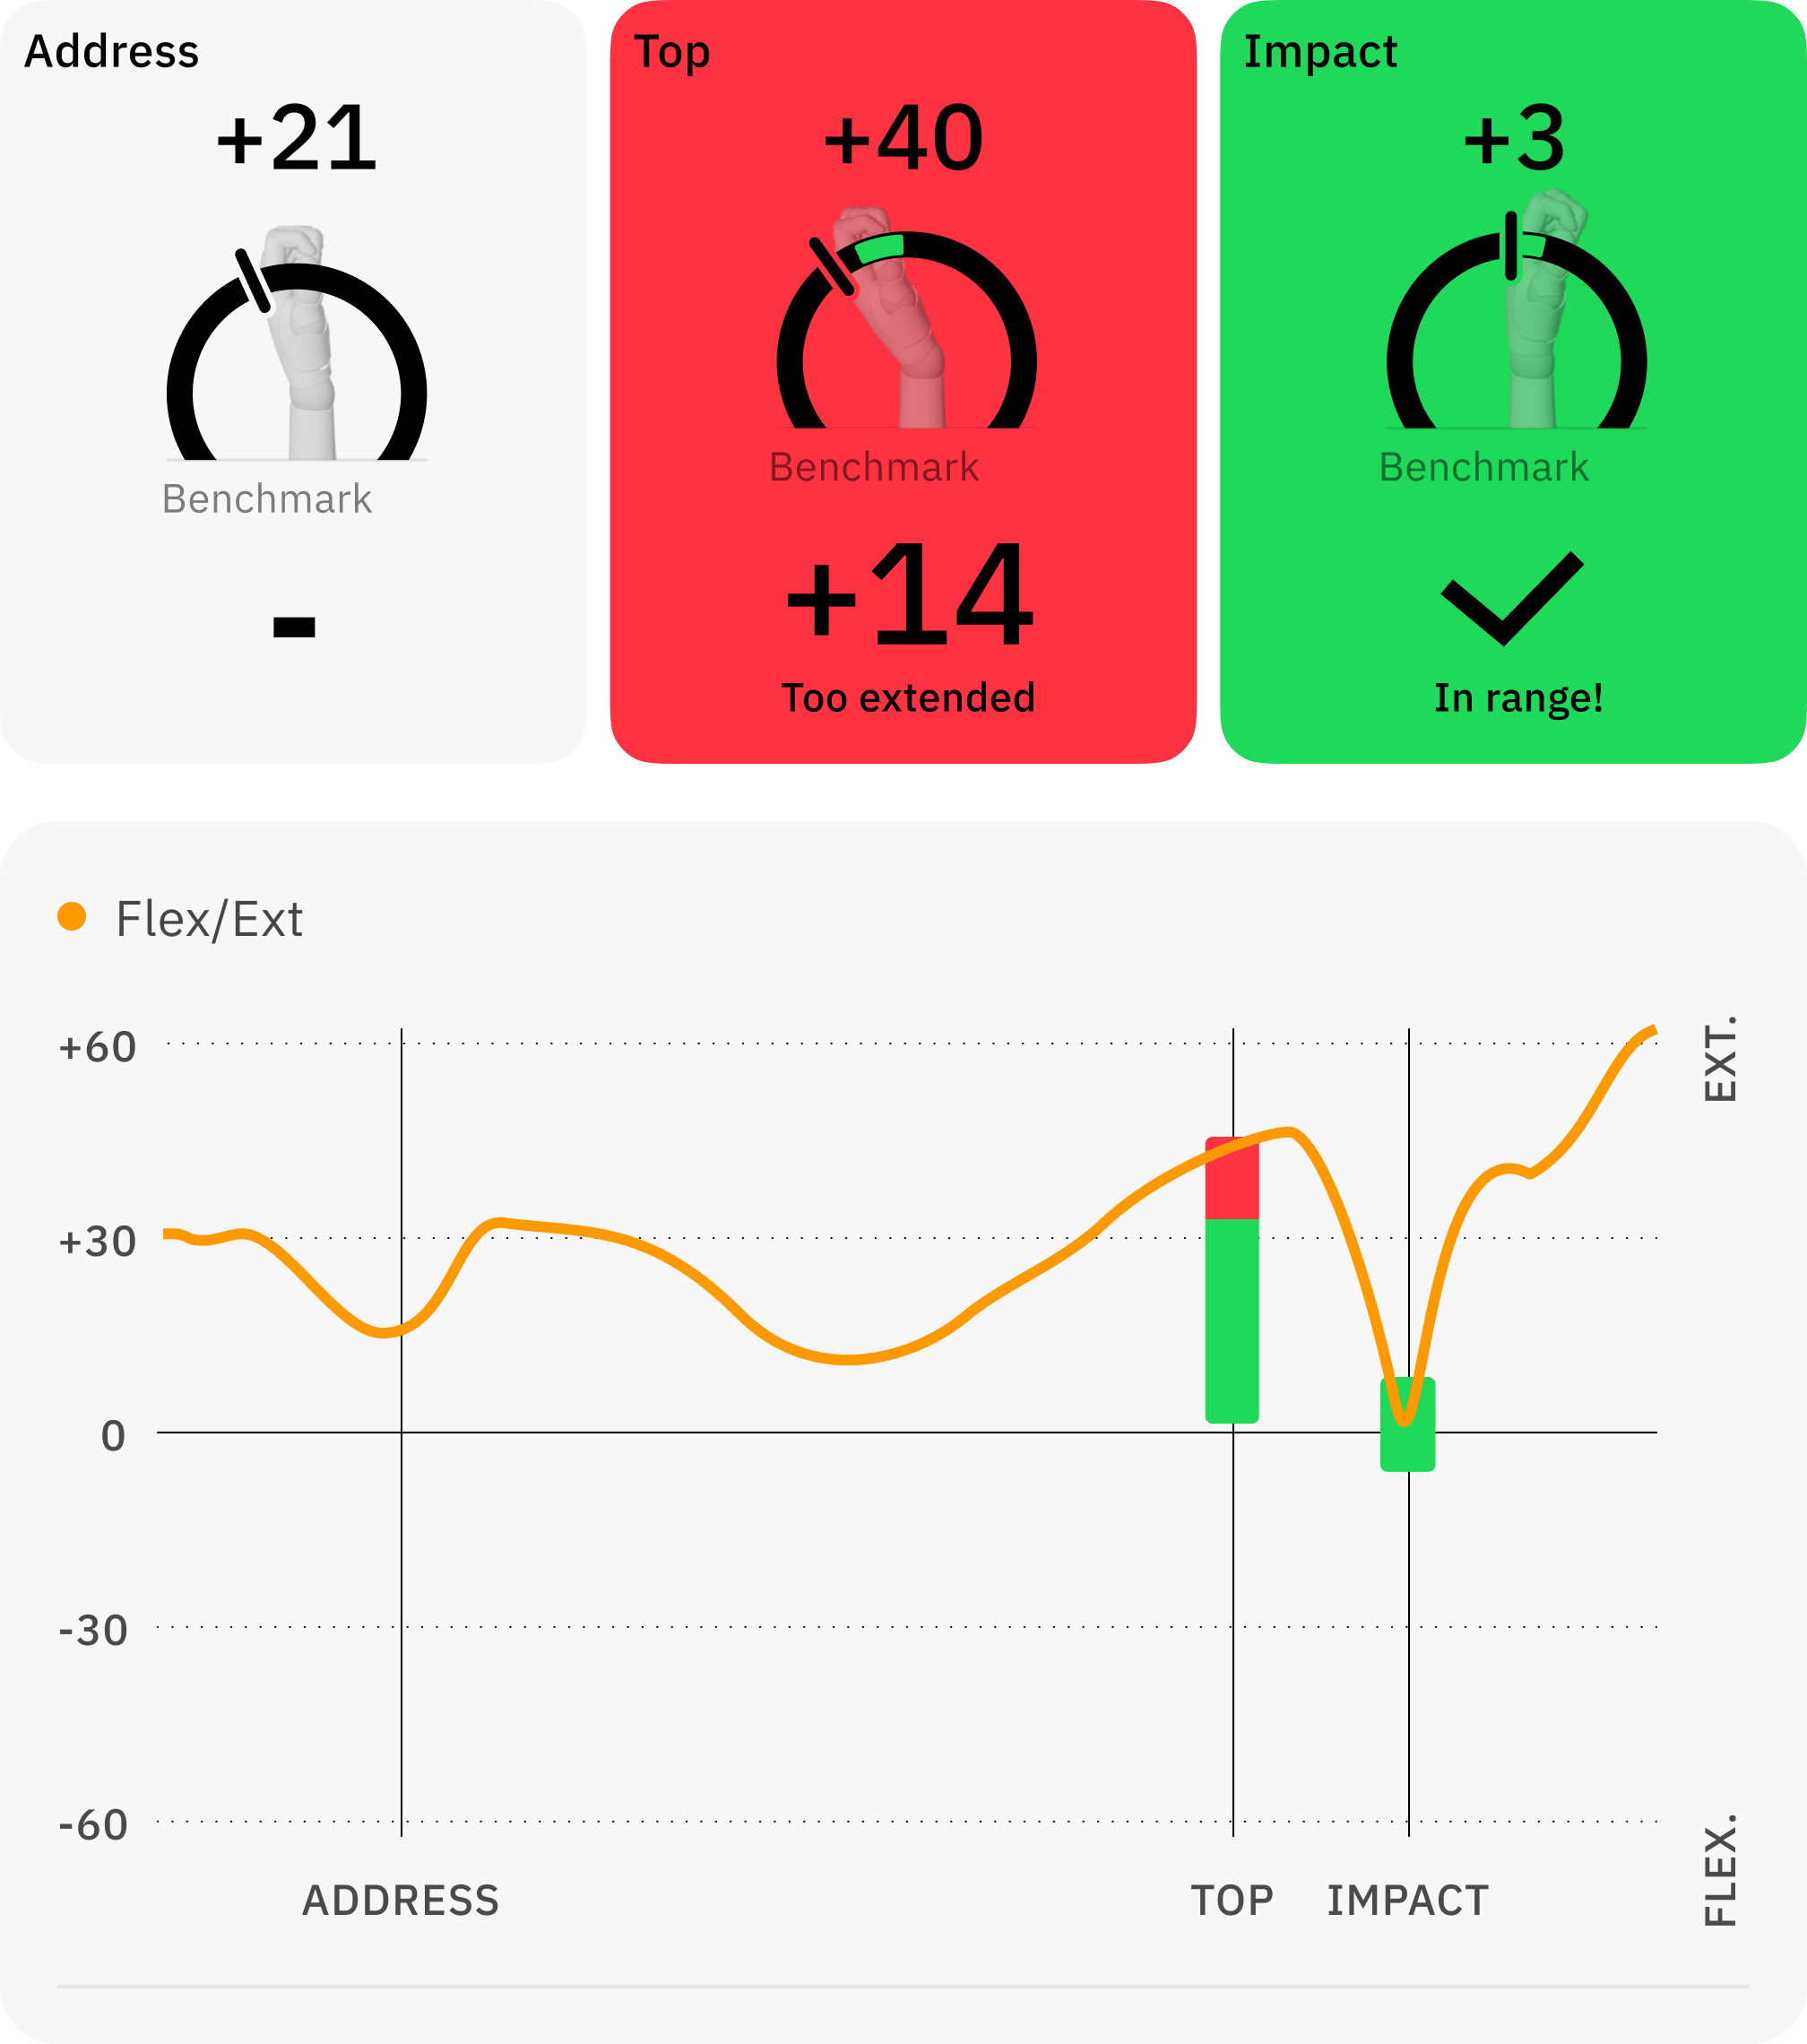
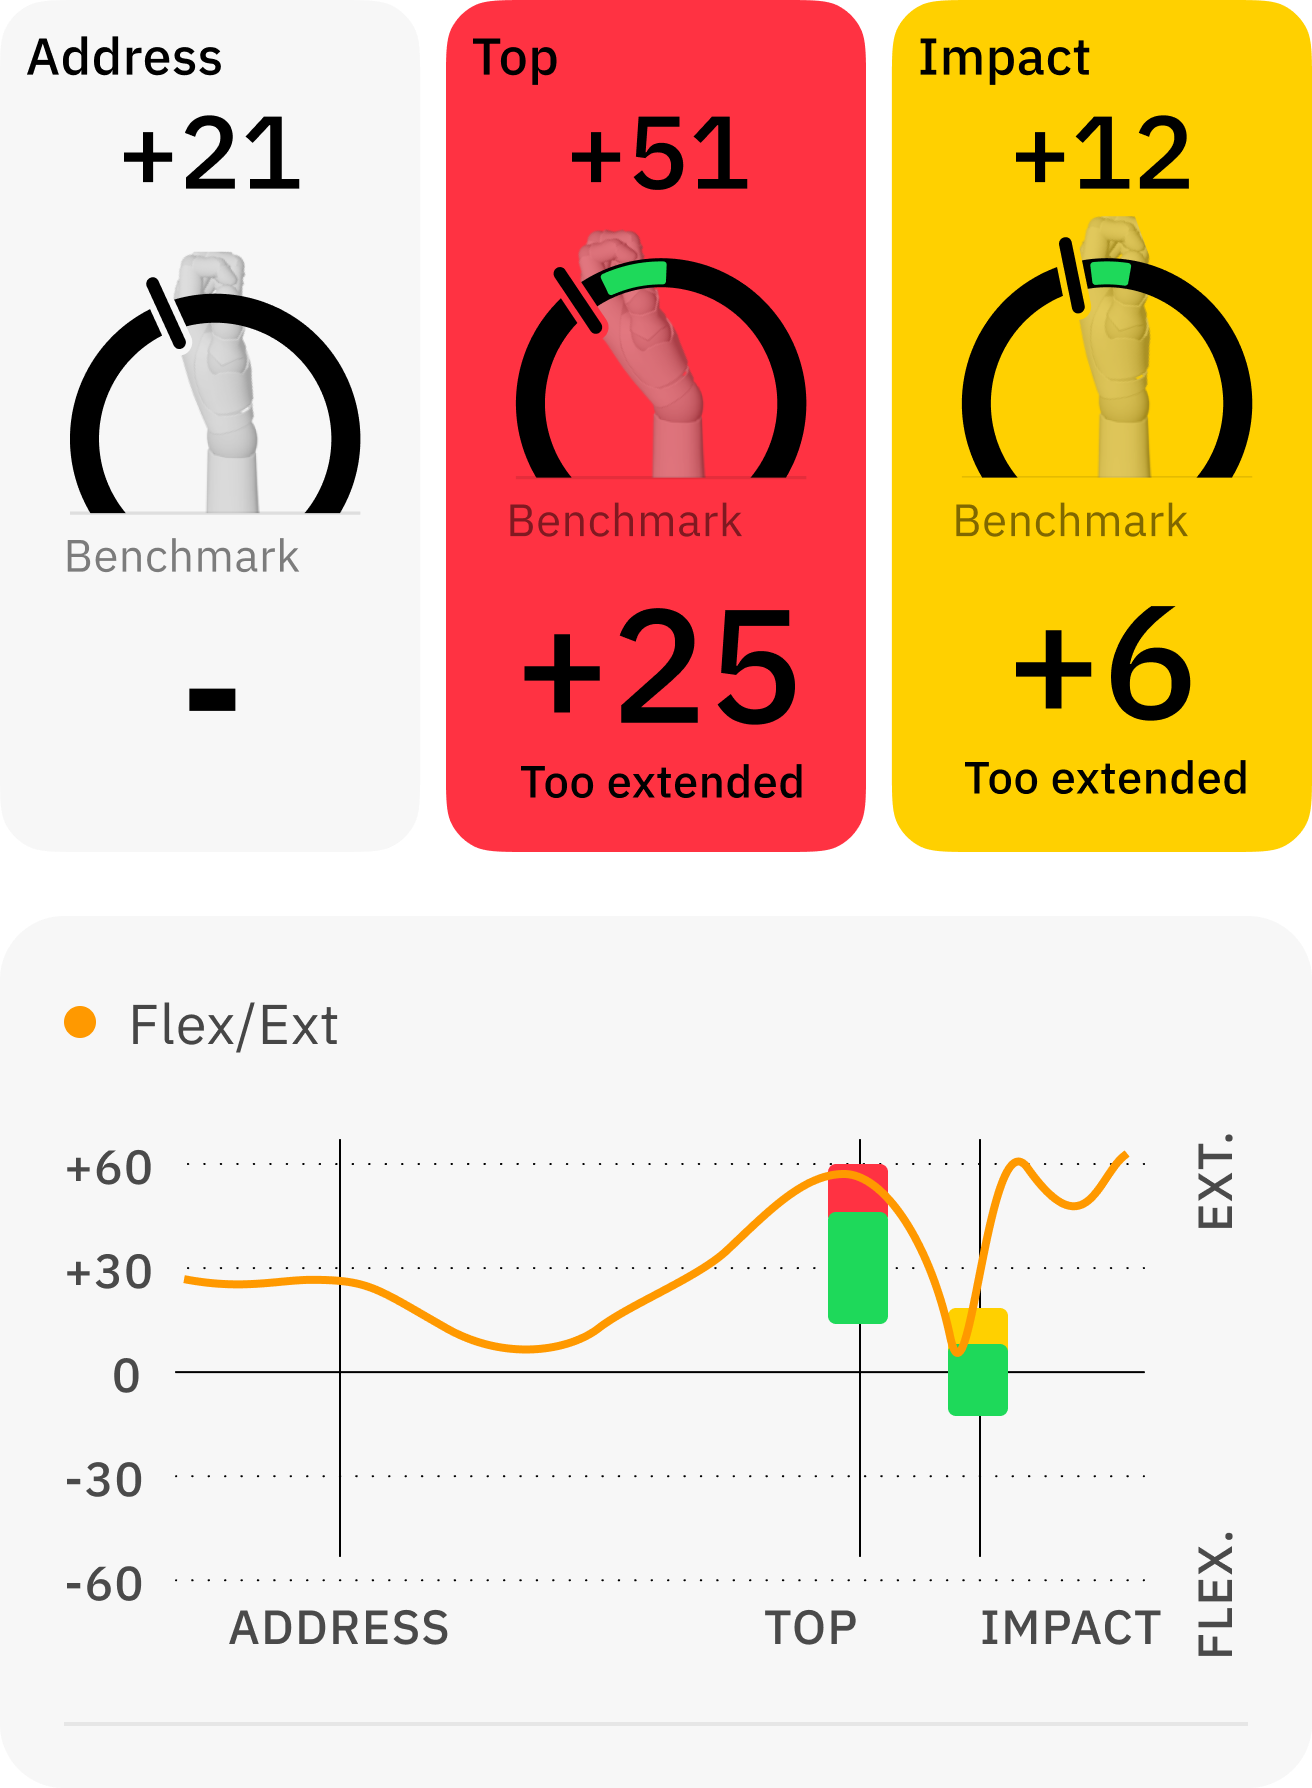
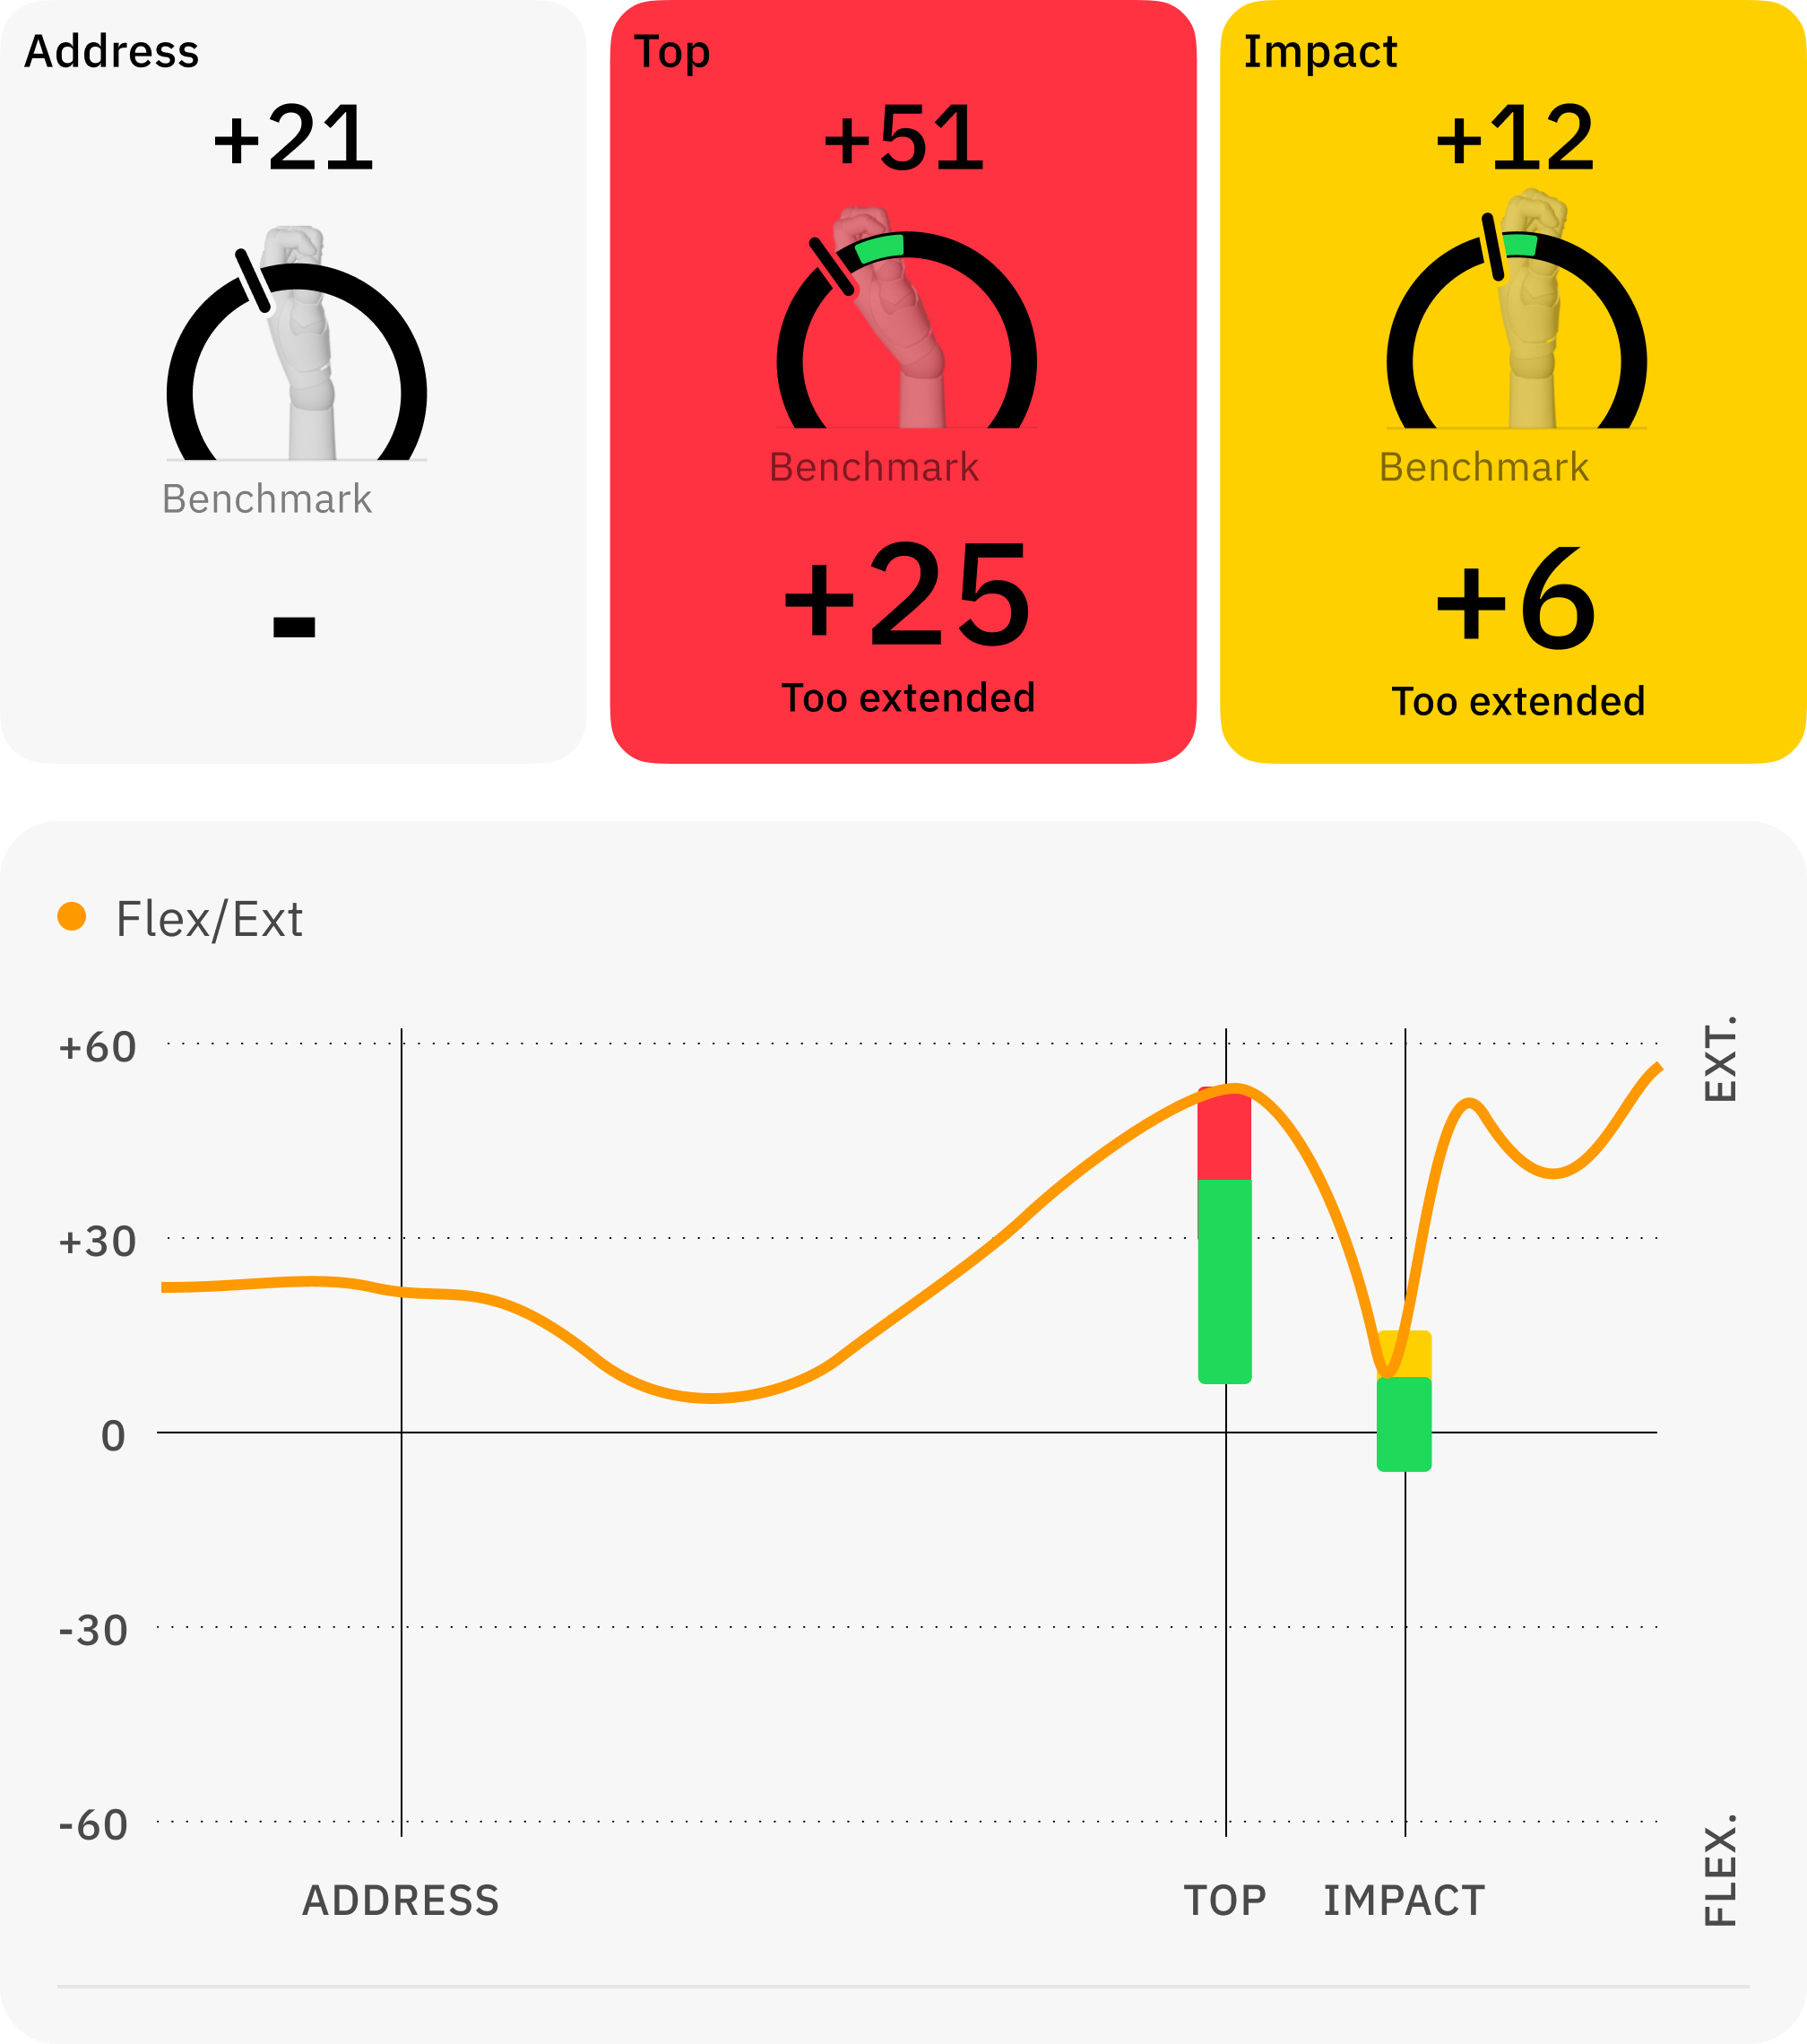
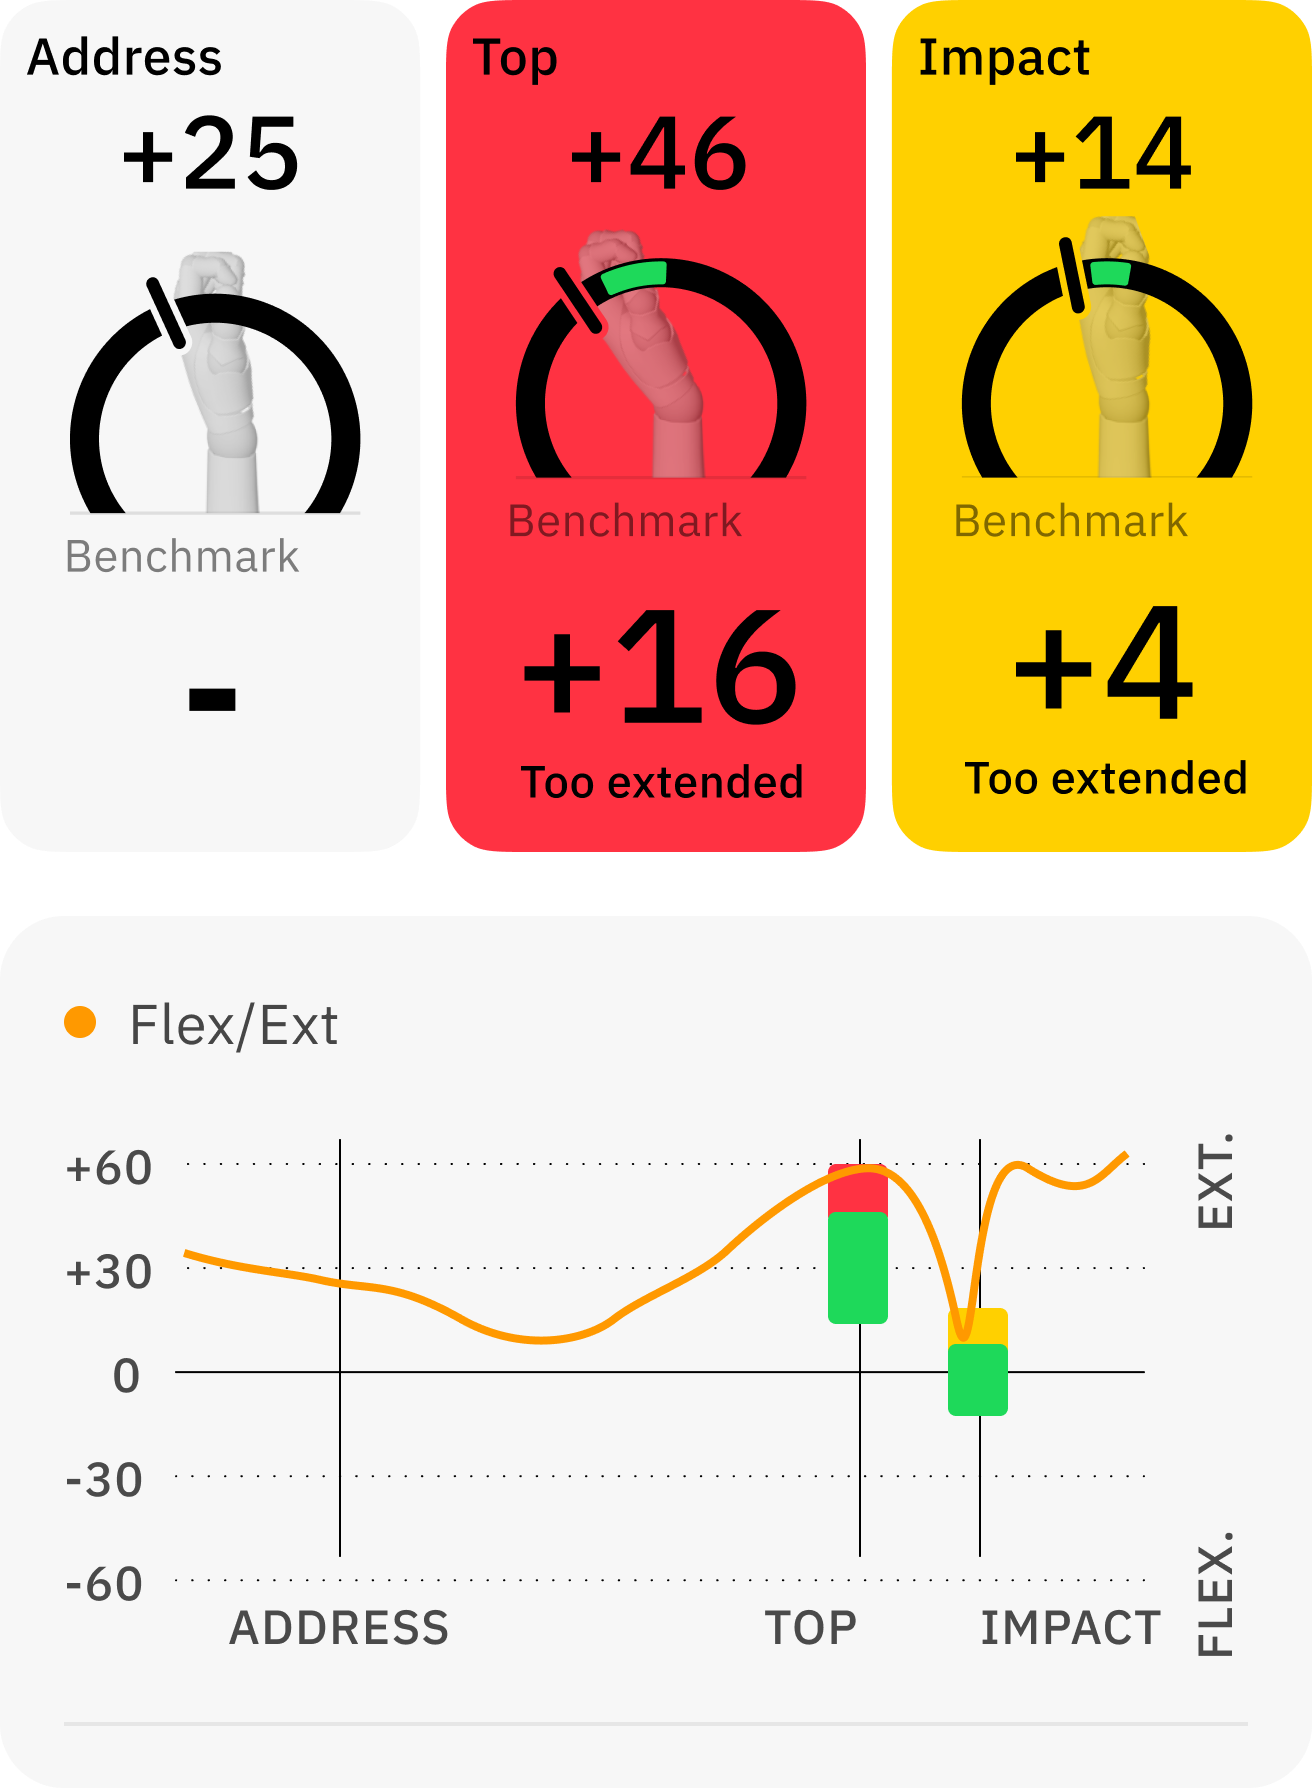
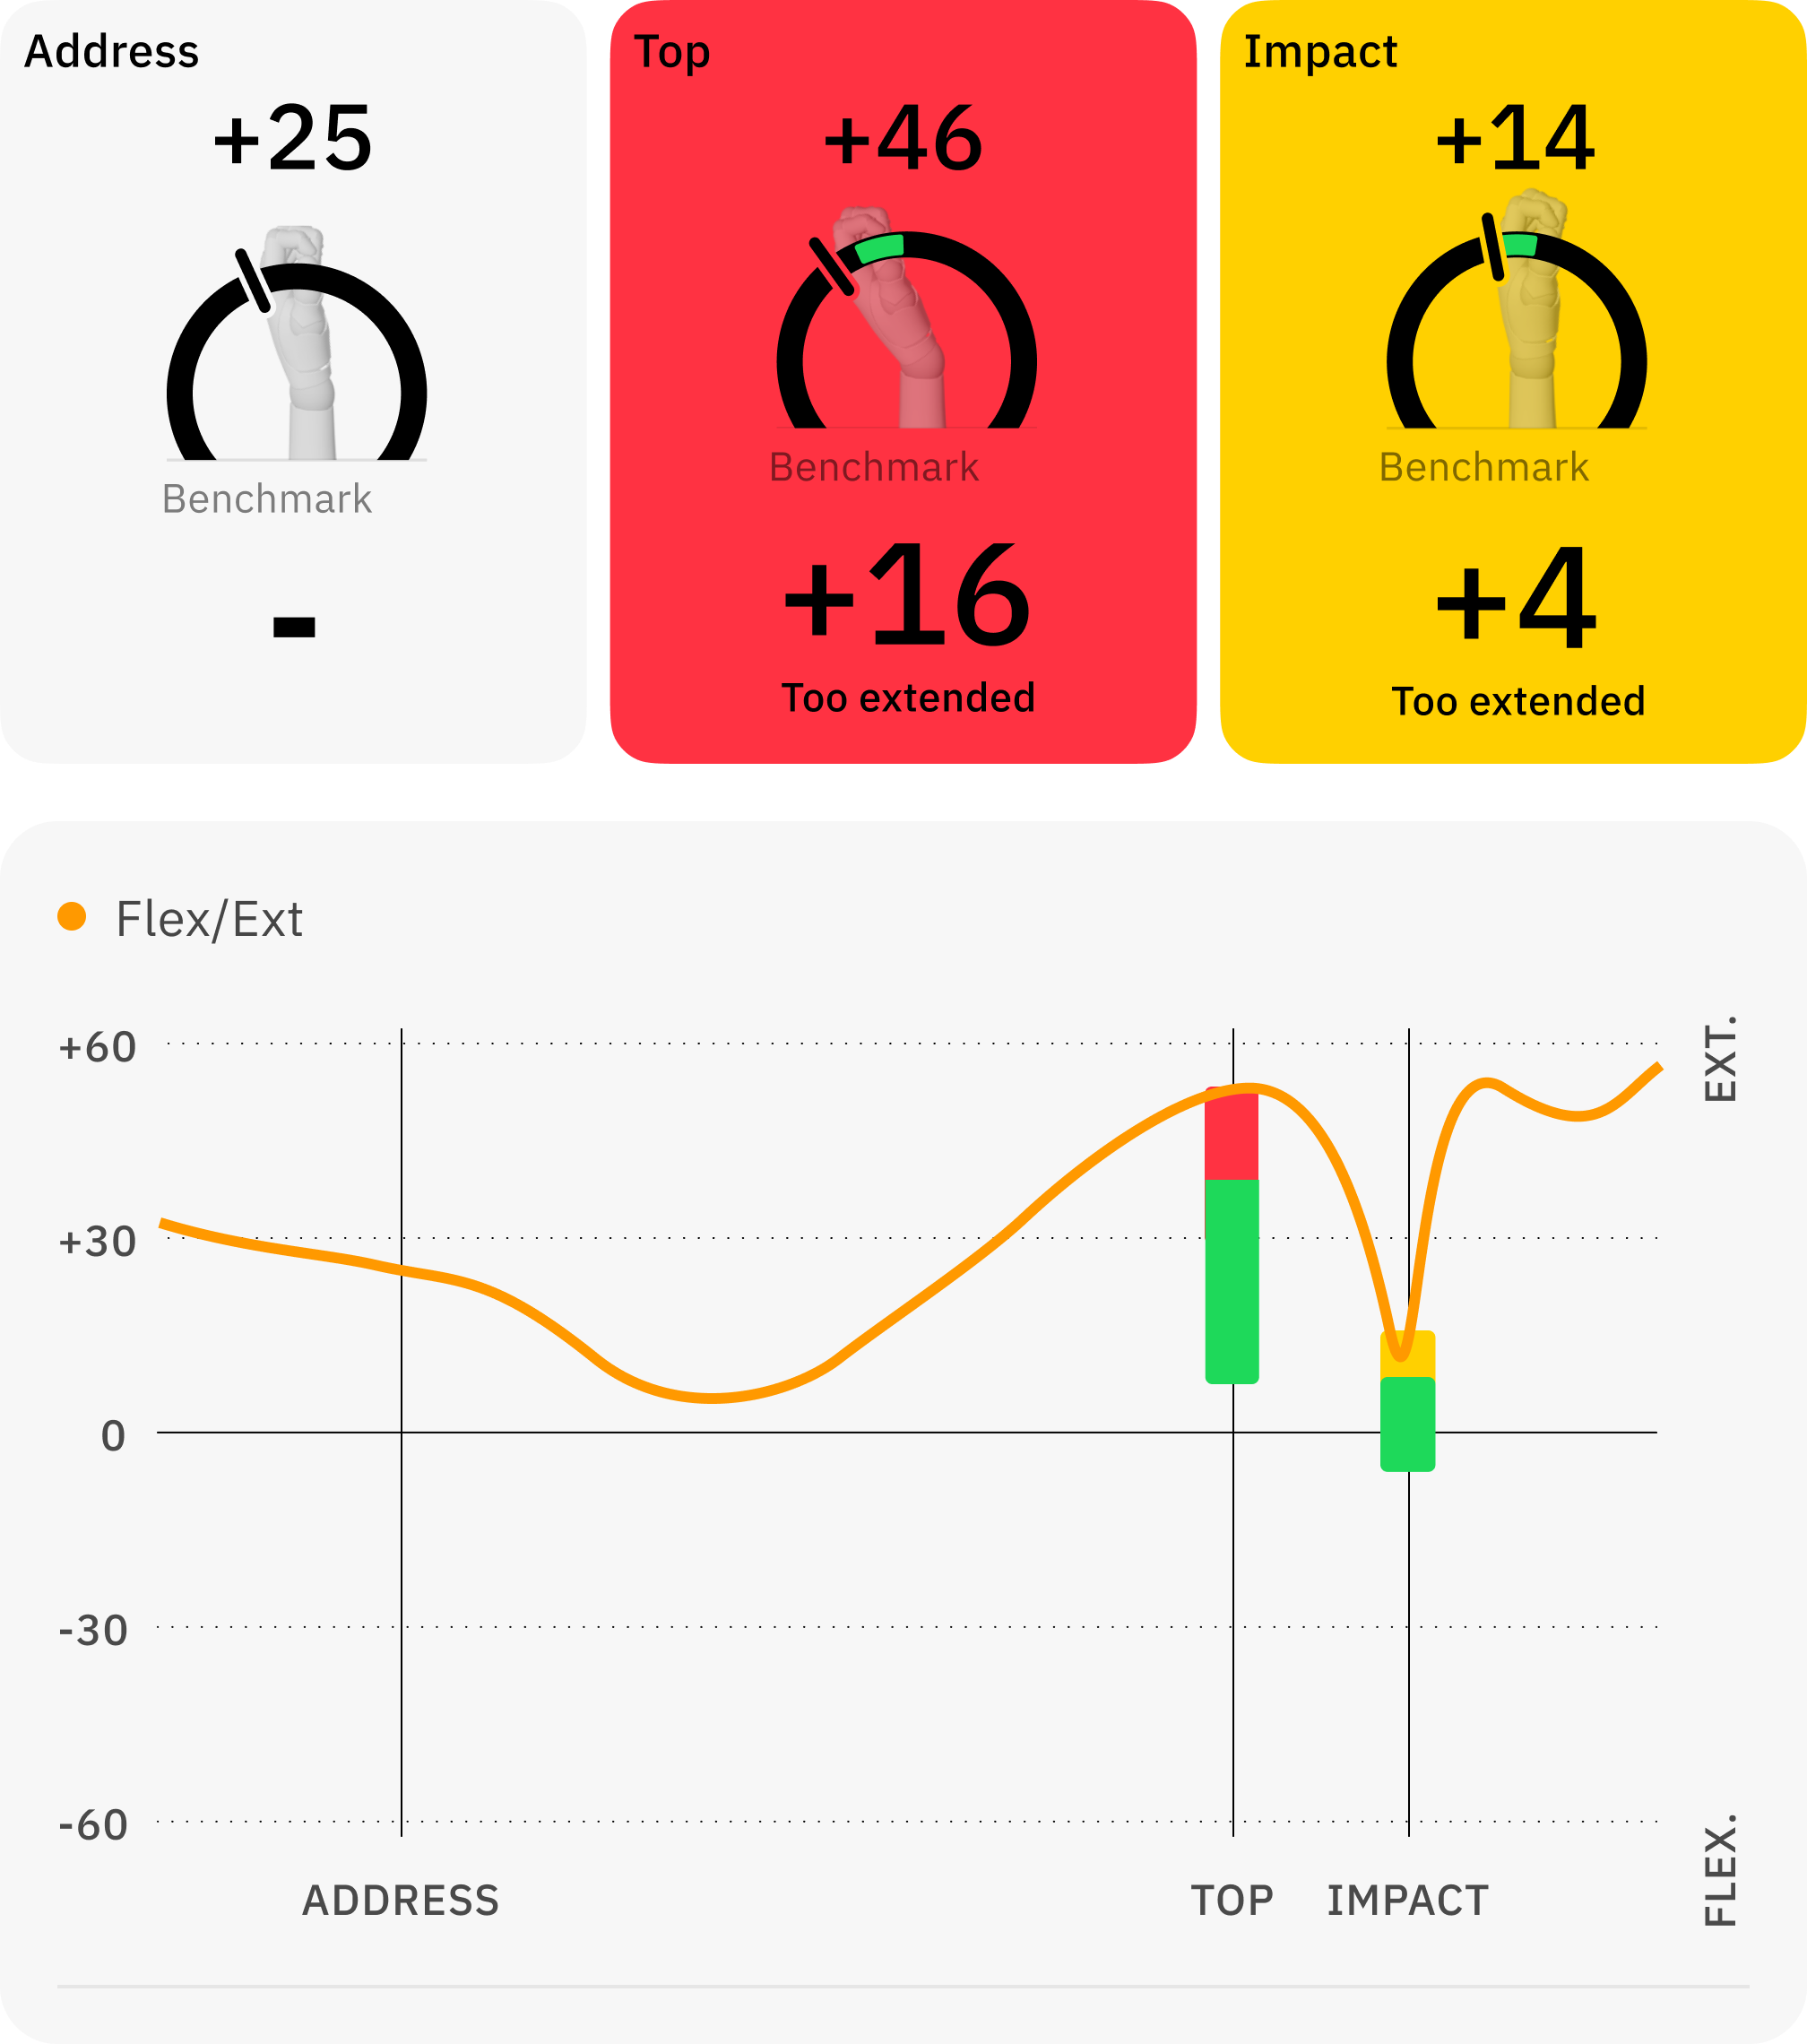
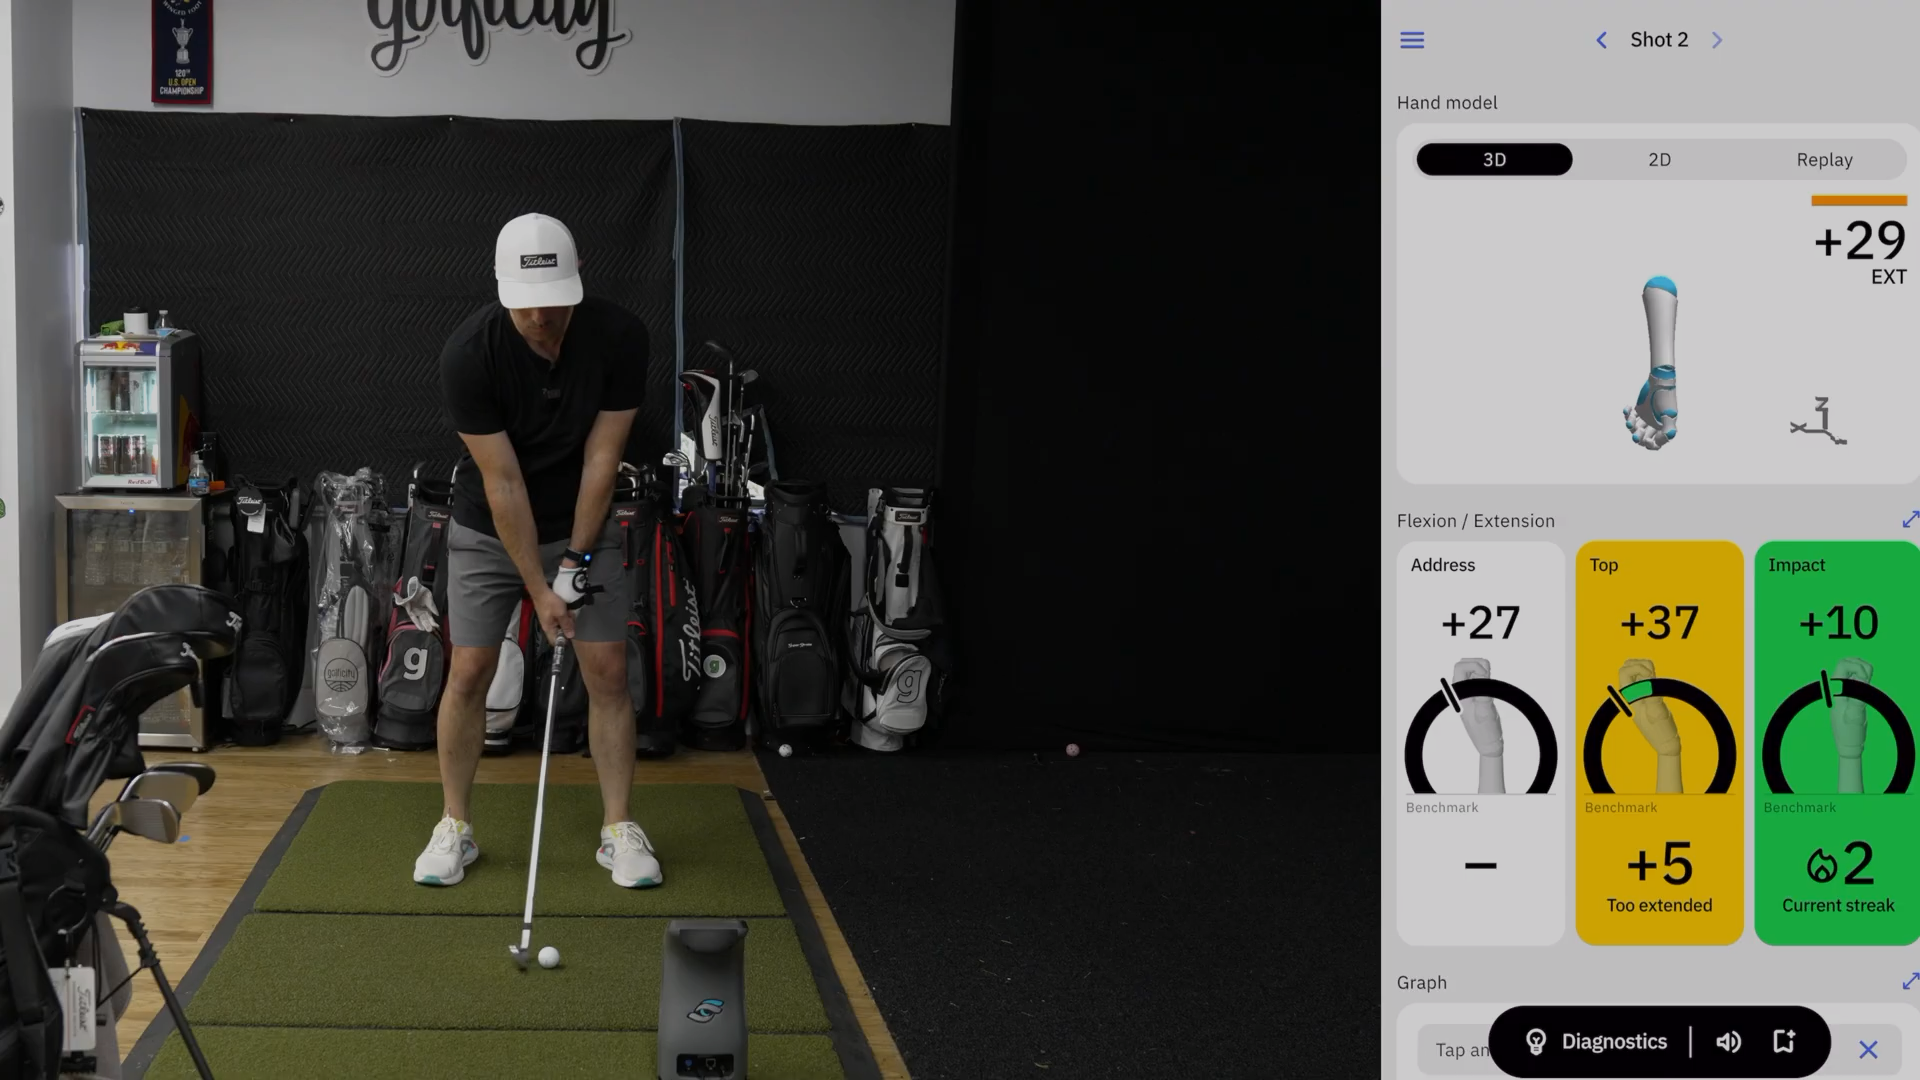
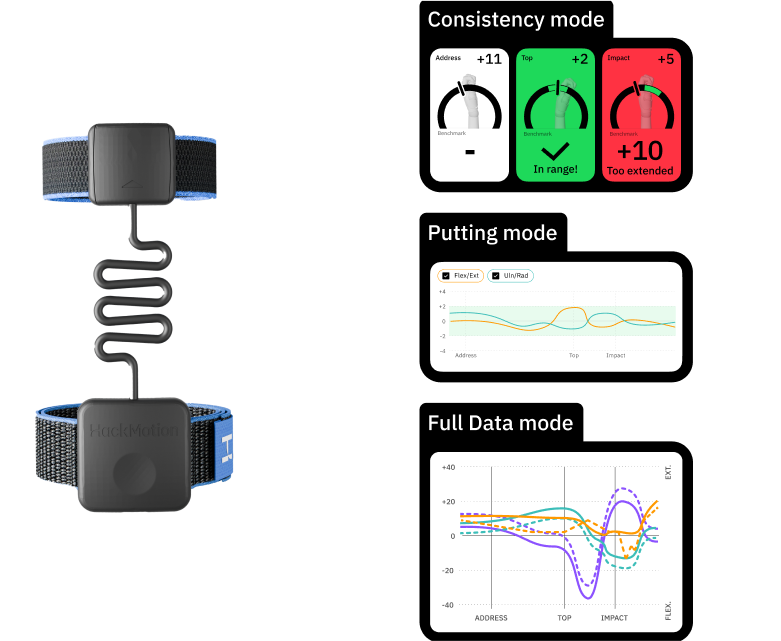
  • Use HackMotion to get Real Time Data: Real-time data shows if you’re overextending at impact, pinpointing the exact moment that leads to skulled shots.
  • Sync Arms and Torso: Disconnected arms often flip the clubhead upward, turn with your chest to keep wedge contact crisp.
  • Weaker Grip, Less Tension: A slightly weaker grip reduces extreme wrist angles; avoid a death-grip so your wedge can glide through impact.
  • HackMotion Drills Help: Belly Connection or T-Peg Wrist Awareness drills become even more effective when you confirm stable wrist angles with HackMotion feedback.
Take a 2-minute Quiz and Step Up Your Game!

1. What do you want to improve in your full swing?

Why Am I Skulling My Wedges?

There are a few reasons you may be skulling your wedges. Learning what makes you skull your wedges could help you find a quicker fix. 

  • Low Point Control – If your swing’s bottom (low point) is behind the ball, the clubhead may rise by the time it reaches impact.
  • Disconnected Arms and Body – When the arms overtake the body pivot, it’s easy to flip or lift the club into the ball. From down the line, if your lead elbow drifts away from your side through impact, or your trail arm “chicken wings” outward, you’re likely losing synchronization.
  • Flipping the Wrists at Impact – Flipping is when the lead wrist goes from flat to bent or “cupped” right before contact, causing the club to move upward into the ball.
  • Excessive Lead Wrist Extension – A slight lead wrist extension during short shots can help add loft, but if it’s overdone, you risk inconsistent contact.
  • Poor Body Pivot / Rotation – If you “freeze” the torso and your body stops rotating, the hands take over. From a face-on camera angle, you might see very little chest rotation through impact.
  • Improper Weight Distribution – Hanging back on the trail foot can cause fat or skulled shots. Good wedge play usually requires slightly more weight on the lead side.
  • Tension and Grip Issues – Watch your grip pressure; it’s a culprit for all sorts of issues and inconsistencies in your golf game. A “death grip” can lock your wrists in awkward angles, while an overly strong grip can close the clubface and encourage flipping.

How to Stop Skulling Wedges for Good

If you’re tired of skulling wedges, work your way through these fixes and then move on to some drills to help you become stronger with your wedge game.

Great wedge shots will make it easier to score and go low around the greens. 

Commit to a Stable Low Point

Finding a consistent low point with your wedges will help you from hitting thin shots. Slightly favor your lead foot at setup.

You want about 60% of your weight on the lead side. Keep your lead wrist stable and focus on hitting the same spot just after the ball. 

Check your lead wrist extension using HackMotion to make sure it doesn’t increase right before impact. Using the line drill shown in this video is very effective for low point control with wedges. 

Get the Arms and Body Working Together

The torso rotates when you hit wedge shots. Even on the short ones, you need to feel like the larger muscles (chest/torso) carry the smaller ones (hands/wrists) through the impact position. 

Feel connected by placing tees under your arms and making sure they stay in place throughout the wedge swing.

If the tees fall out and hit the ground, you’ve disconnected the body and arms, and they are working independently of each other. 

Take a 2-minute Quiz and Step Up Your Game!

1. What do you want to improve in your full swing?

Keep the Lead Wrist Flat 

While some golfers can keep their lead wrist slightly extended on higher-pitch shots and bunker shots, if you are skulling your wedges, you are probably adding a last-second flip to your wedge shots. 

Focusing on holding your wrist angle flat through impact. Check your HackMotion and look for minimal spikes in extension just before impact. 

short game shot pitch shot swing sequence

Keep the Pivot Tighter: Rotate, Don’t Lunge

There is very little room for error when it comes to short wedge shots. You’ll want to turn your hips and torso through the ball instead of sliding or swaying.

You can set up a station where you put an alignment stick on the ground next to your lead hip and trail hip.

The goal is to pivot in this stop with no sliding or swaying. You’ll notice a more consistent low point in your swing. 

Use a Slightly Weaker Grip for Wedges

A slightly weaker grip means the lead wrist can stay more neutral with less forced flexion or extension. You’ll also be less likely to flip the club at impact.

When we talk about a slightly weaker grip, we mean it. Don’t exaggerate this or you’ll lose control of the face. 

Check Your Setup Ball Position

As simple as it may seem, if your ball position is incorrect, you’ll struggle to make consistent contact with your wedge shots. Here is a visualization of where your ball should be during your wedge shots.

golf ball position at address explained

If the ball is too far forward, it can encourage a scooping motion. Try moving the ball back to slightly center or just back of center to see if it helps with the consistency of your wedge shots. 

Drills to Stop Skulling Wedges

Now that you have the reasons why you are skulling and some of the best ways to fix them, let’s take a closer look at a few drills that could help you find a way to practice and improve overall consistency in your wedge shots. 

Belly Connection Drill

If your arms and body tend to get disconnected in the golf swing, the Belly Connection Drill is probably the best place to start.

This drill helps you eliminate flipping or lifting through impact, and ensuring a much cleaner strike. 

  • Video timestamp – 1:20 – 2:40

    Belly Connection Drill – Step by Step:

    1. Set Up: Stand in your normal chipping posture, then gently press the grip end of the club into your abdomen (just below your ribs).
    2. Body-Pivot Focus: Start making small “chip-length” swings, ensuring the club and your torso rotate together. If your arms drift away, the club disconnects from your belly.
    3. Minimal Wrist Flick: Keep your wrists relatively stable, don’t let them excessively flip.
    4. Progressively Add Length: Move from short chip shots to slightly longer pitch swings, maintaining the same “belly connection.”

    Tee Peg Wrist Awareness Drill

    The Tee Peg awareness drill helps ensure that you are not adding excessive wrist extension and rolling the clubface inside, keeping a square clubface is key for controlling direction.

    This drill helps with improving overall consistency, so it will work to get rid of both fat and thin shots. 

    • Video timestamp – 5:00 – 8:00

    Tee Peg Wrist Awareness Drill – Step by Step:

    1. Place a Tee: Gently insert a tee into the hole at the end of your wedge’s grip, so it sticks out an inch or two.
    2. Monitor Shaft Direction: As you begin your backswing, ensure the tee points slightly toward the target line or even a bit left—never way inside.
    3. Maintain Lead Wrist Extension Range: Avoid “bowing” the wrist too much or flipping it into excess extension.
    4. Smooth Through Impact: Keep the tee tracking toward the target through the ball; don’t yank it inside or “over the top.”

    “Chopsticks” Arm Structure Drill

    The Chopsticks drill helps keep your arms and body working together. Sometimes you’ll see changes in elbow spacing, which change the low point and lead to skulling.

    Once you learn this Chopsticks drill, you’ll also be able to use it to help you stay more connected when you practice your putting. 

    Video timestamp – 8:00 – 11:00

    “Chopsticks” Arm Structure Drill – Step by Step:

    1. Create a V-Shape: Secure two alignment sticks with a rubber band to form a narrow “V.”
    2. Under the Arms: Tuck each alignment stick under your armpits so the “V” is in front of you.
    3. Slot the Wedge: Rest the grip end of your wedge in the “V” cradle near where the shaft meets the grip.
    4. Swing in Sync: Make small chip or pitch motions, keeping the club in that cradle. If your elbows drift apart or your wrists flip, the club pops free.
    5. Brush the Ground: Focus on a light, consistent ground contact for crisp wedge shots.

    HackMotion Transition Drill 

    The HackMotion Transition Drill is located in the HackMotion app so you can work on this one in real time. The Transition Drill trains body sequencing and pivoting.

    For this one you’ll hit a swing from parallel to parallel and keep your lead wrist extension flat at impact. 

    Transition Drill in HackMotion

    Master your sequencing and pivot to improve your swing efficiency and control.

    The Transition Drill – Step by Step:

    1. Wear your HackMotion: Head to the drills section of your HackMotion and switch to the Transition drill in the app.
    2. Hit a Ball from Parallel to Parallel: Take the club back so it’s at first parallel and then swing through to first parallel.
    3. Focus on Wrist Action: Make sure the lead wrist is flat to slightly flexed as you move through the impact position.
    4. More Hands Forward: Try to keep the hands more forward at impact than they were at address. Finish in balance and watch the ball flight.

      Final Thoughts

      Skulling wedge shots usually come down to a few key fundamentals: maintaining a stable low point, keeping the arms and body connected, and avoiding last-second wrist flips.

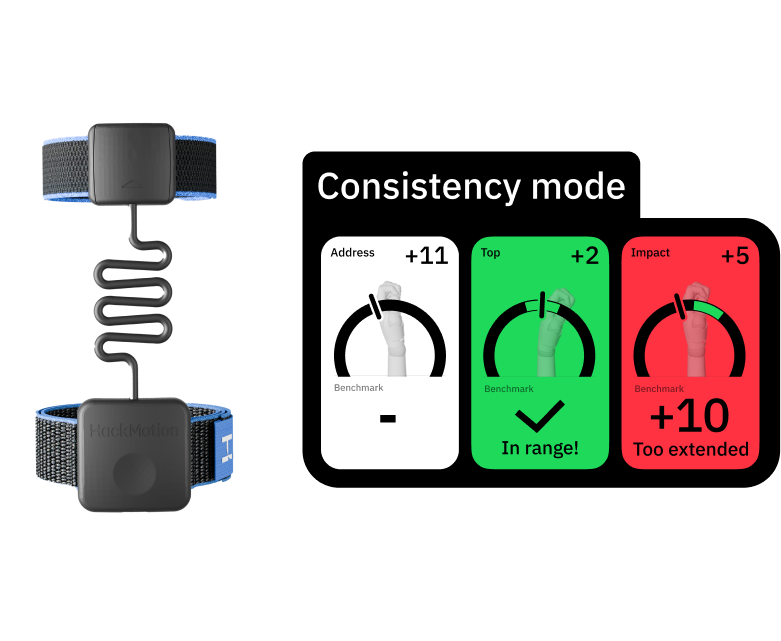
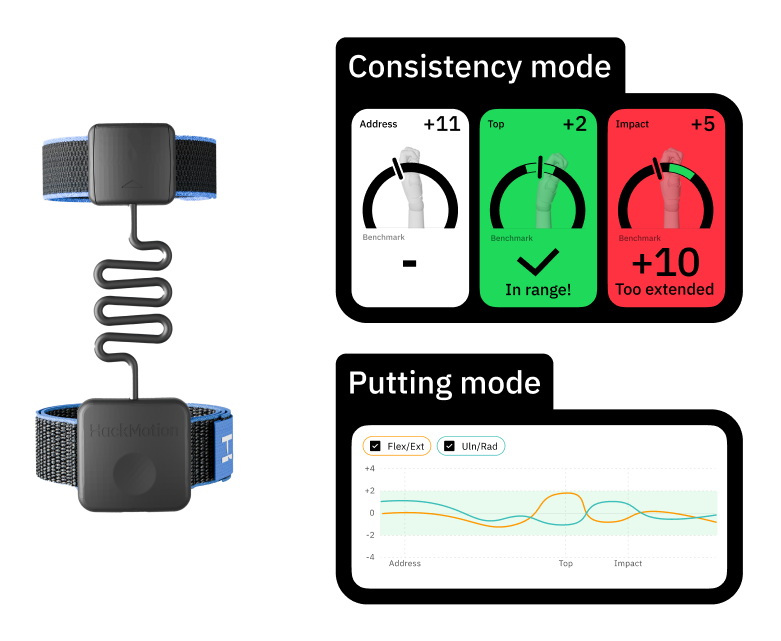
      The beauty of using HackMotion is the instant feedback. You can check to see if your wrist action is creating issues that increase extension in the lead wrist and throwing off your low point.

      Real-time feedback will help you get the correct feel and finally start striking your wedges with confidence. 

      Was this article helpful to you? Help us improve!

      Your feedback shapes the future of our articles. Help us deliver the best content for you.

      Great to hear! But what could we add to make it even better? Share any suggestions to make this post top-notch.

      We're sorry to hear that. Could you share what was missing or off?

      Brittany Olizarowicz
      written by Britt Olizarowicz

      Britt Olizarowicz is a golf professional who has played the game for more than 30 years. In addition to loving the game of golf, Britt has a degree in math education and loves analyzing data and using it to improve her game and the games of those around her. If you want actionable tips on how to improve your golf swing and become a better player, read her guides.