Wrist Action in Chipping – Actionable Tips & Drills for Perfecting Your Short Game
If you walked up to every chip shot and truly thought you had a chance of putting the ball in the hole, wouldn’t it change your game?
We all know that most golfers walk up to a simple chip and think, “don’t screw this up.” They don’t look at the chip and assume they will make it.
If you start understanding what to do in a chip shot, you may be able to change your mindset and start making more chips.
The key is to know what both the lead wrist and the trail wrist should be doing.
Wrist Action in Chipping (Key Takeaways)
If you don’t have time to head to the range right now and hit some chip shots, here are a few of the key things to take with you for now:
- Lead wrist: Flat or slightly flexed at impact.
- Trail wrist: The opposite, slightly extended and more supportive than dominant.
- No early hinge: Avoid adding wrist hinge on chip shots, it creates inconsistent contact.
- Keep it simple: Focus on minimal movement and repeating the same stroke each time.
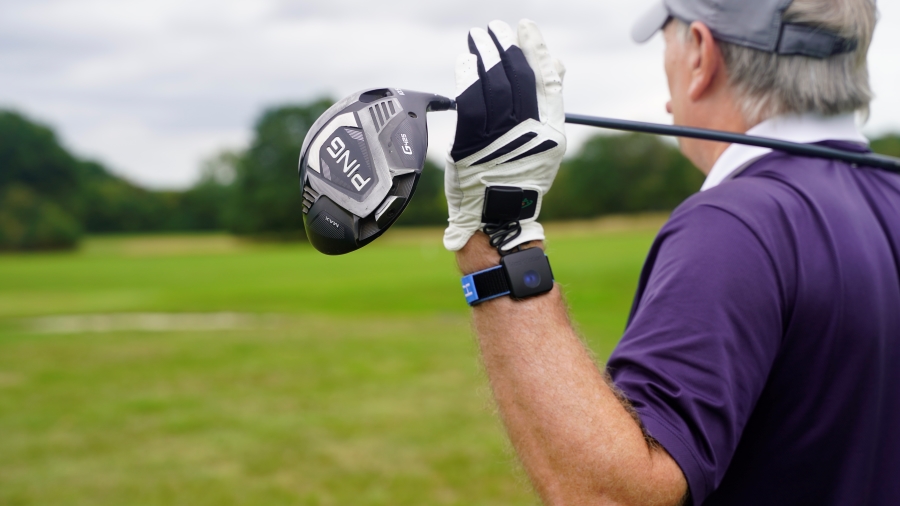
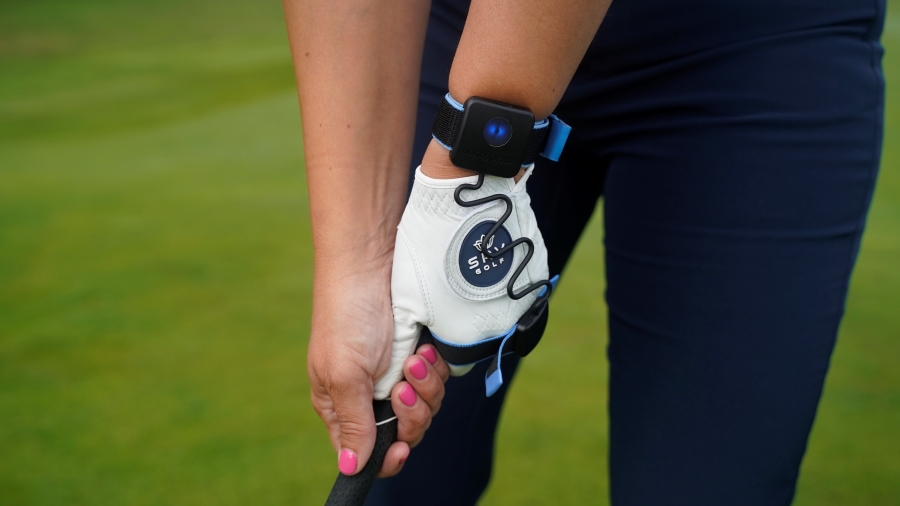
- Perform Drills with feedback: Use HackMotion to track wrist angles. Save each session so you can compare before-and-after progress.
Contents
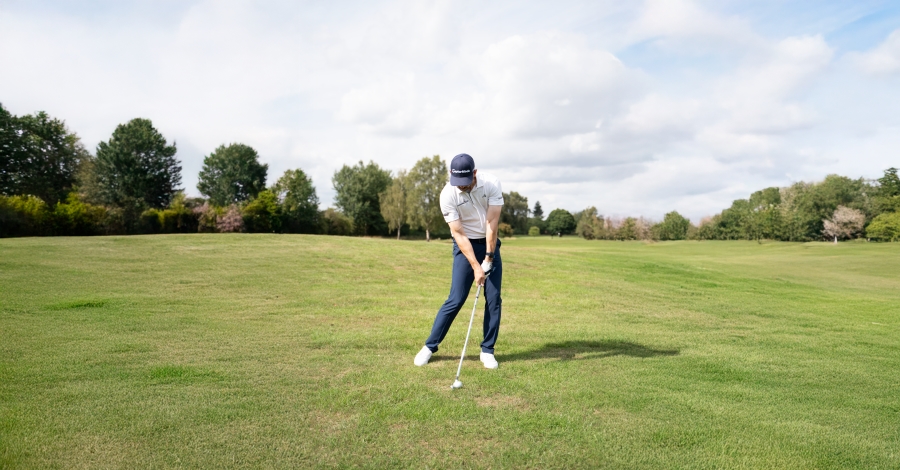
Lead Wrist in the Chip Shot
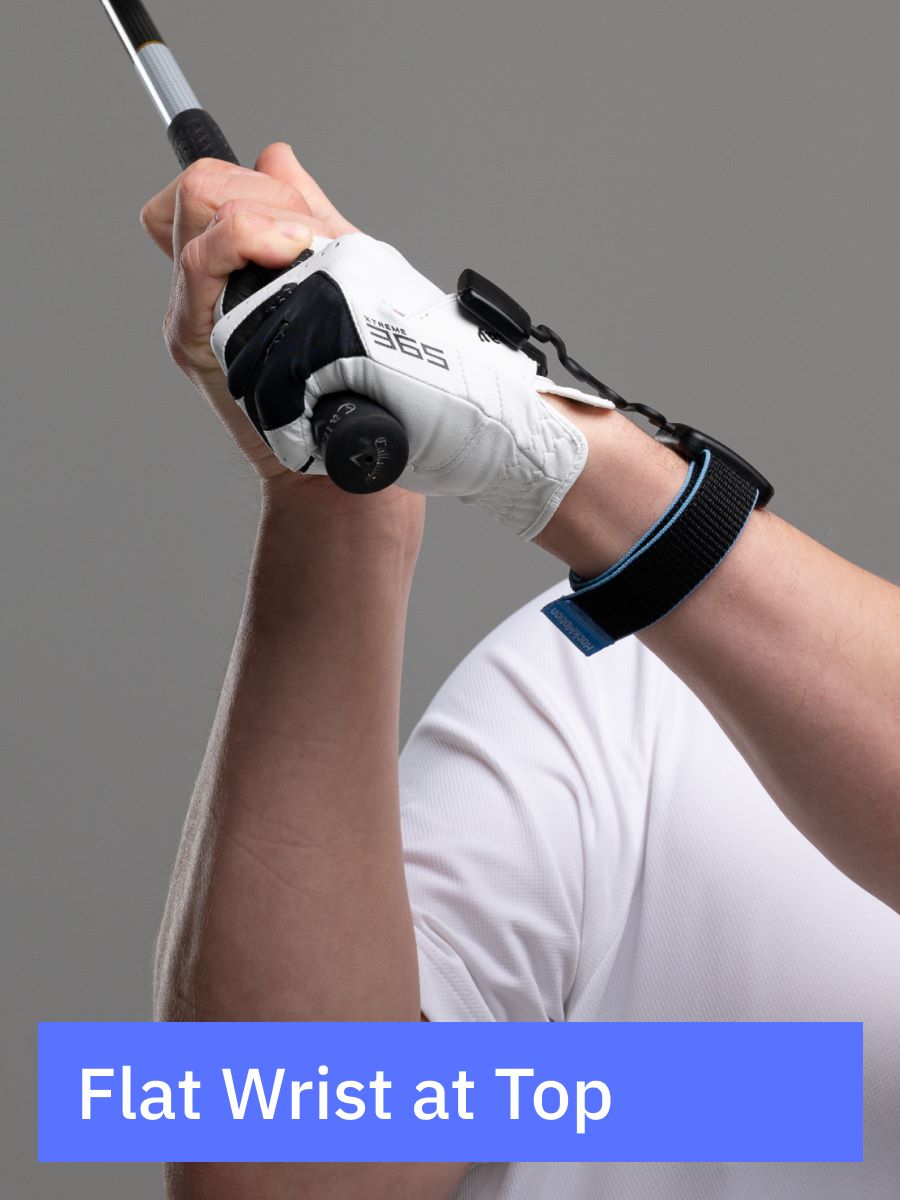
The lead wrist is the star of the show. For right-handed golfers, this is the left wrist. A flat to slightly flexed position at impact creates stability and keeps loft predictable.
The problem comes when the wrist gets into a cupped (extended) position. That’s the classic “scoop” move that adds loft, exposes the leading edge, and leads to thins, skulls, and chunks.
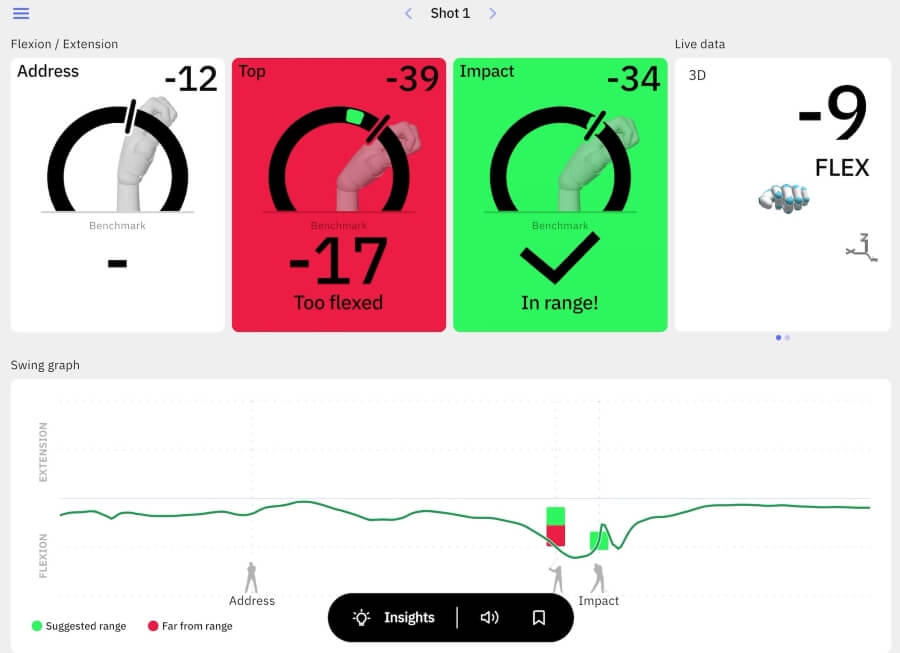
Key checkpoint: At impact, the lead wrist should feel firm—knuckles slightly down toward the turf rather than up toward the sky.
HackMotion helps you measure this. A small amount of lead-wrist extension at address or in the takeaway is fine, but if you see more extension at impact than you started with, you’re flipping.
Use the feedback to learn the feel of holding a flatter lead wrist through the strike.
Trail Wrist in the Chip Shot
Golfers don’t often think about the trail wrist, but it plays a quiet supporting role. The trail wrist should have light extension at impact, which helps support loft and keep the face from shutting.
Where golfers go wrong: the trail hand tries to “hit” the ball. When this happens, you’ll see the face close down, the ball jump low, or your distance control vanish.
Quick fix: Chip with only the lead hand for a few shots, then return to a normal grip. Keep the same “lead-hand in charge” feeling, with the trail wrist extended but passive.
With HackMotion, you can check that the trail wrist is extended (not flat or flexed) at impact. That opposite relationship with the lead wrist flatter, trail wrist extended is what keeps the clubface consistent.
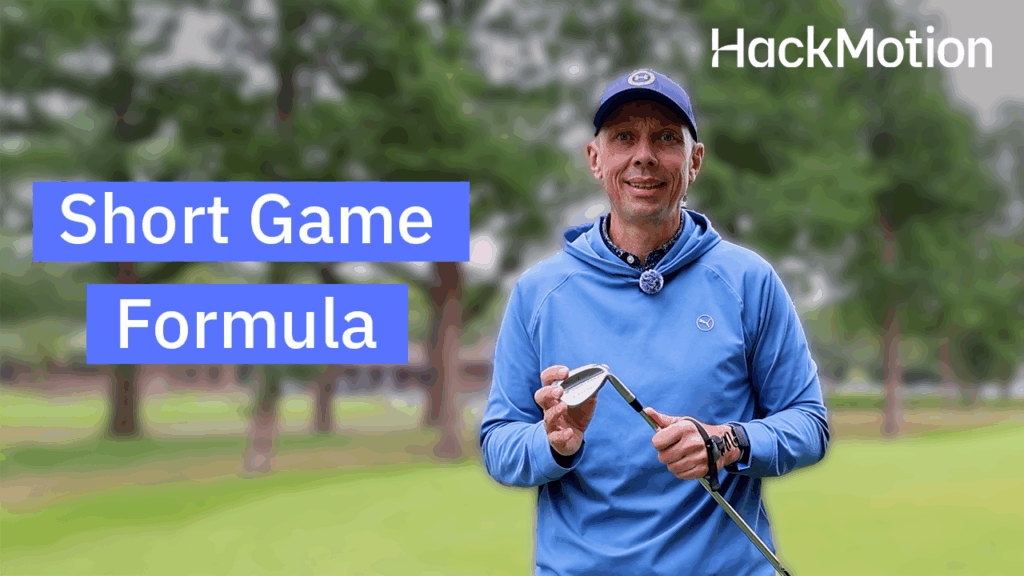
This video is a free lesson from the Complete Short Game Formula course — available to watch here.
Are the Hands and Wrists Active in a Chip Shot?
The answer: not much. Chipping isn’t a mini full swing. The wrists aren’t setting big angles, they’re stabilizing the face.
- The lead wrist should stay steady, flat to slightly flexed at impact.
- The trail wrist should remain lightly extended, more supportive than dominant.
- The swing itself should feel like body, arms, and club moving together with a brush of the turf at the bottom.
Think of it this way: if your wrists are busy, your contact will be messy. The less you manipulate them, the more repeatable your strike becomes.
Troubleshooting Wrist Mistakes in Chipping
Even when you know the right positions, misses still creep in. Here’s what the wrist data and feels usually reveal:
- Thin or skulled chips: Lead wrist has too much extension at impact. Focus on flatter knuckles and rehearse a shorter, firmer motion.
- Chunked chips: Low point too far behind the ball. Usually caused by scooping. Reset your weight slightly forward and feel the lead wrist maintain flexion through impact.
- Face shutting / pulled chips: Trail hand too active. Quiet it down with lead-hand-only practice or the flat-hand drill.
- Distance control issues: Excess wrist hinge in the backswing. Work on smaller motions with consistent tempo, HackMotion can show if your lead wrist angle is wandering too much from setup.
Drills to Improve Wrist Action in Chipping
The quickest way to improve your short game is to get purposeful with your practice. Instead of just tossing down balls and hoping for better contact, use drills that directly train your wrists, swing path, and touch.
These exercises are simple, repeatable, and give you instant feedback—especially when paired with HackMotion to track your wrist angles.
Chipping Plane Gate (Alignment Stick Drill)
One of the biggest short-game mistakes is pulling the club too far inside on the takeaway. This simple alignment stick setup forces you to stay on plane, leading to cleaner strikes and fewer fat or thin shots.
Chipping Plane Gate Drill – Step by Step:
- Stick two alignment rods in the ground at your wedge’s shaft angle, leaving one clubhead of space in front.
- Set up with your normal chipping stance (ball middle, slight shaft lean).
- Swing back and through, keeping the shaft above the rods.
- Focus on brushing the turf just after the ball.
- With HackMotion, record your wrist angles here and use them as benchmarks when the rods are removed.
Lead-Hand-Only Chipping
If your trail hand tends to take over and cause flipping, this drill puts the lead wrist in charge. By swinging one-handed, you’ll quickly feel the importance of keeping it flat or slightly flexed at impact.
Lead-Hand-Only Chipping Drill – Step by Step:
- Remove your trail hand; let it hang or rest lightly on your lead arm.
- Make waist-high back-and-through swings, brushing the ground each time.
- Start without a ball, then progress to hitting shots (a low tee helps at first).
- Focus on the lead wrist staying stable through impact.
- Use HackMotion to measure your lead wrist at impact—save those numbers for two-hand practice.
Ladder Distance Drill
Chipping isn’t just about clean contact—it’s also about controlling how far the ball rolls out.
The ladder drill trains your touch by forcing small, precise adjustments in swing length and tempo.
Ladder Distance Drill – Step by Step:
Steps (Forward Ladder):
- Pick a target and imagine the space from you to the flag as your “ladder.”
- Chip the first ball just onto the green.
- Each following ball must finish beyond the last but short of the flag.
- Count how many balls you can fit in the lane—track a personal best.
Steps (Reverse Ladder):
- Start by hitting the first ball close to the flag.
- Each next shot must finish shorter than the last.
- Great for training soft touch and tempo control.
Final Thoughts
At this point, you should be more confident in your wrist action when chipping. The bottom line is to stop the flipping and scooping and trust that flatter lead wrist position.
Wear your HackMotion when you practice chipping to see more consistent results. Check in on your progress as your game improves, and look for ways to add more consistency.