15:46
11:43

8:45
7:54
13:26
10:28
13:03
17:58
Video Breakdown:
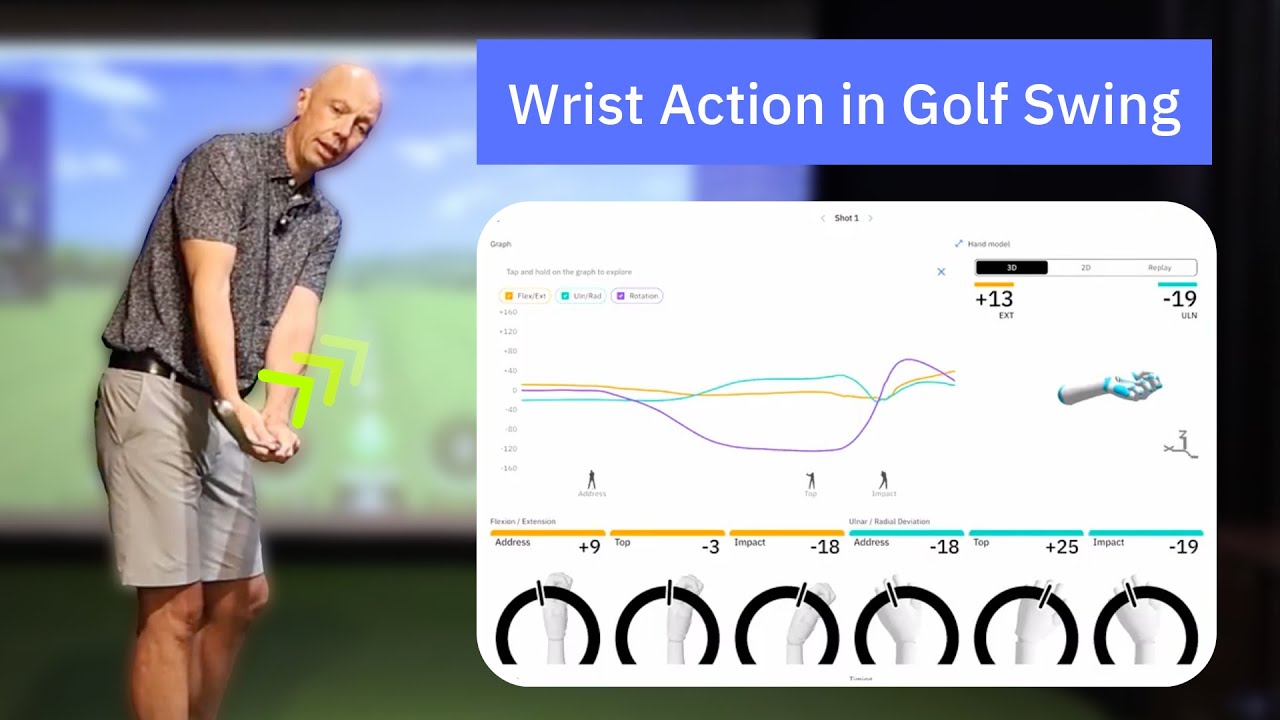
- The wrists move in three ways: extension/flexion, radial deviation/ulnar deviation, and pronation/supination
- Why flexion and extension play a major role in clubface control and shot direction
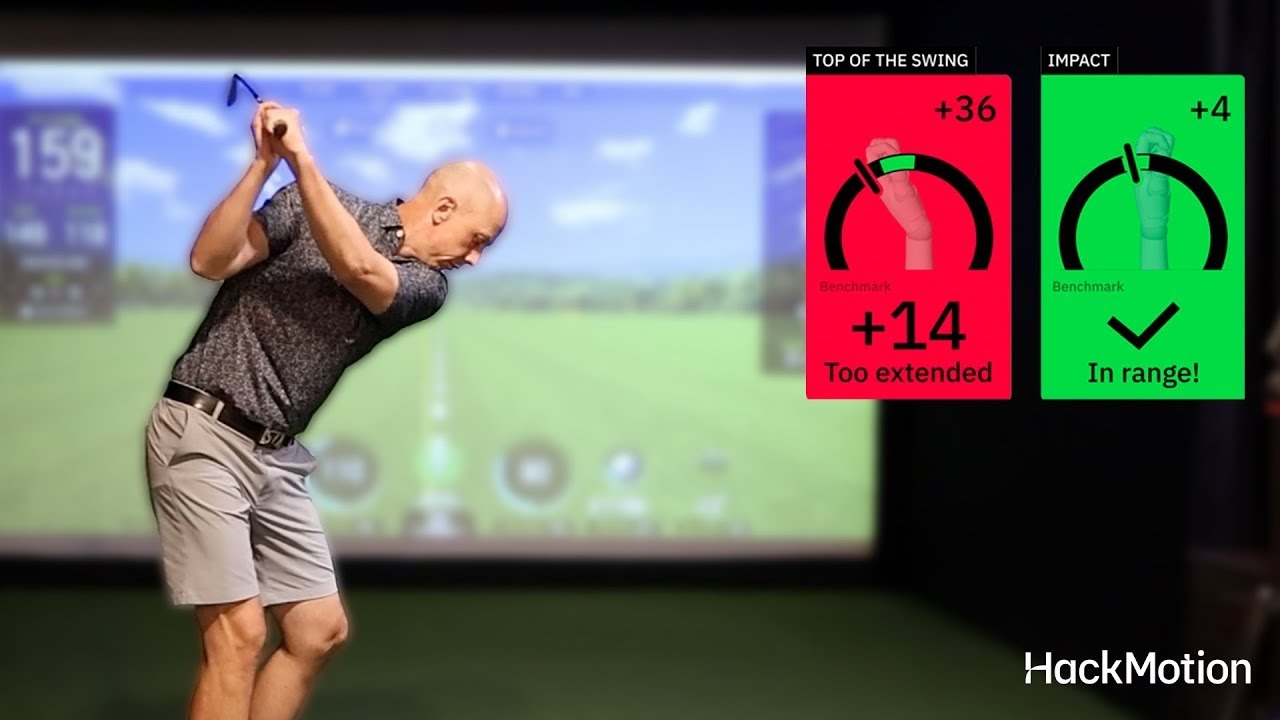
- How wrist position at setup and the top of the backswing influences impact consistency
Wrist Action in the Golf Swing
There is no perfect wrist angle to maintain throughout your entire golf swing.
After analyzing over 1,000,000 swings, we’ve found consistent patterns that help golfers deliver a more square clubface at impact. These aren’t rigid positions to copy, but common tendencies shared by more consistent players.
One of those tendencies is a slightly flexed lead wrist at impact, along with a flat or slightly flexed lead wrist position at the top of the backswing.
Over time, better players also learn to avoid adding excessive extension in the lead wrist during the backswing, which makes squaring the clubface easier later on.
Rather than focusing on holding a single position, the goal is understanding how the wrists move and how those movements influence the clubface.
Video Breakdown:
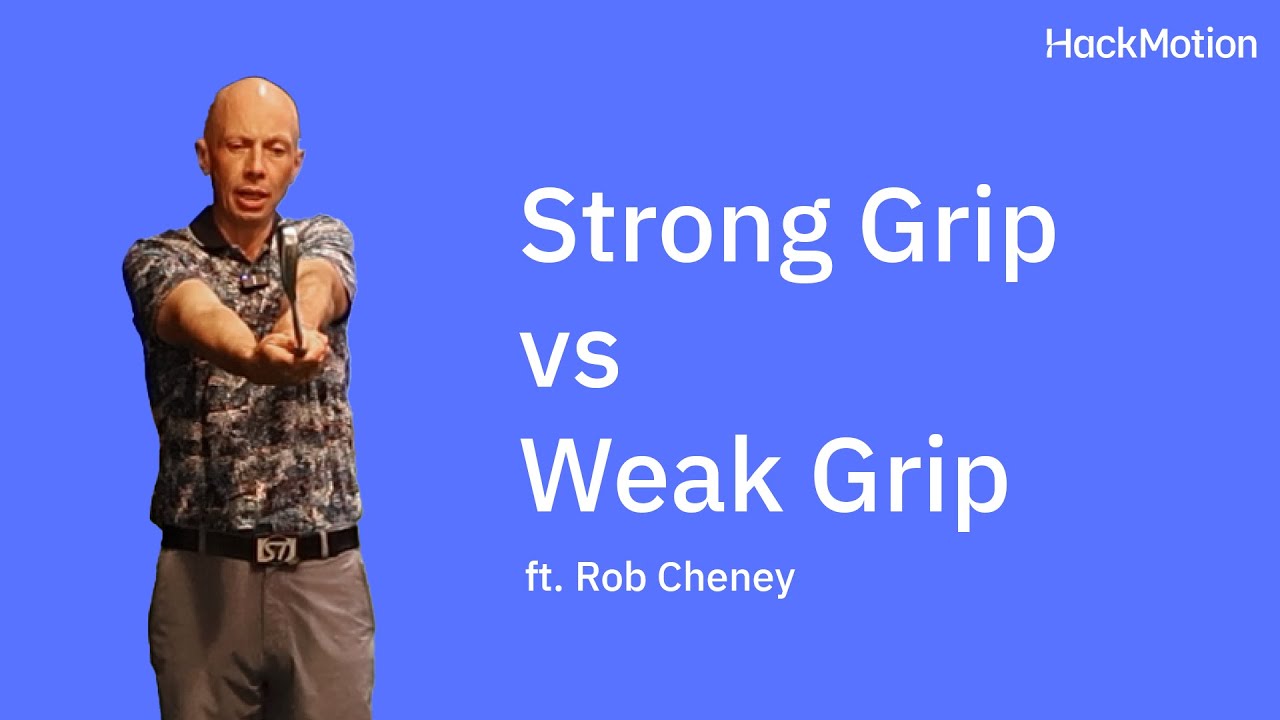
- Understanding strong vs. weak grips and how hand position influences the clubface
- How wrist and forearm movement affects grip and clubface control
- Why a neutral grip isn’t always the best option for every golfer
- How adjusting grip strength can help reduce slices or hooks
Grip and Wrist Relationship
Before worrying about wrist positions at the top of the swing or at impact, it’s important to start with your grip.
The way your hands sit on the club largely determines what wrist positions are even possible later in the swing.
Grip strength isn’t about how tightly you hold the club. A “strong” or “weak” grip refers to hand placement and how that placement influences how the clubface opens and closes during the swing.
While many golfers are taught to use a neutral grip, that position doesn’t work for everyone. Your grip should allow your wrists to move naturally and help you return the clubface to square more consistently.
Video Breakdown:
- The role of wrist positioning at setup and how it influences clubface control
- How wrist extension and flexion at setup affect ball flight direction
- Using small setup adjustments to help manage slices and hooks
Master the Setup
If your wrist position isn’t set correctly from the start, it becomes much harder for the rest of the swing to develop the way it should.
The wrist position at setup is not neutral. Most golfers naturally have some extension in the lead wrist, typically around 20 to 25 degrees.
By making small adjustments to your wrist position at setup, you can influence how the clubface behaves throughout the swing and even help reduce common misses like slices or hooks.
Video Breakdown:
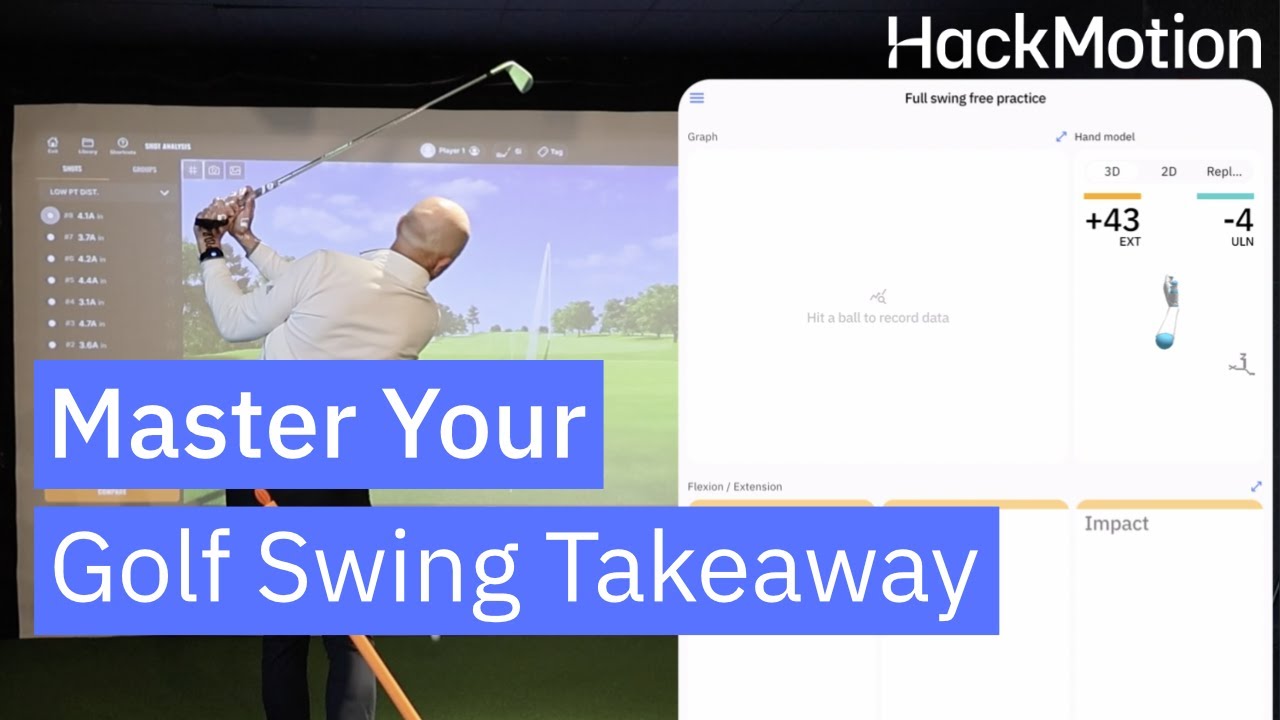
- Why the takeaway influences the rest of the swing
- How the arms, body, and club work together early
- What a neutral clubface looks like when the shaft is parallel
- How early wrist and forearm movement creates issues later
The Takeaway: Setting the Wrists Early
The takeaway is the first part of the swing, from setup to when the shaft becomes parallel to the ground. What happens here sets the tone for the rest of the swing.
In a sound takeaway, the arms, body, and club move together as the torso begins to turn. When this happens, the wrists stay relatively quiet and the clubface remains in a stable, neutral position.
A common mistake is using the wrists and forearms too early. Excessive forearm rotation or added wrist extension at this stage can change the clubface before the swing has developed, creating problems later on.
The goal in the takeaway isn’t to set the wrists. It’s to let the body guide the club away from the ball in a connected, controlled way.
Video Breakdown:
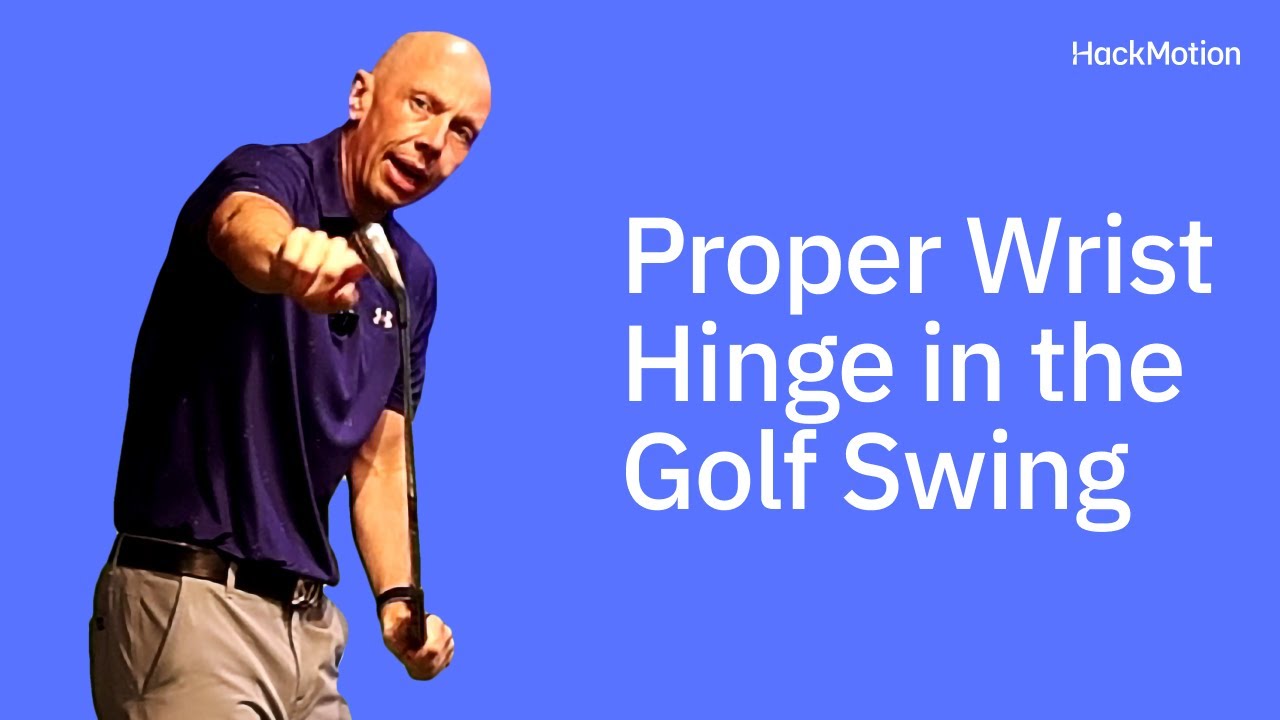
- Why wrist hinge is important for creating speed and distance
- How wrist hinge influences the clubface during the backswing
- What typical wrist movement looks like from setup to the top of the swing
To Hinge or Not to Hinge
Wrist hinge in the golf swing is often misunderstood. This section explains when wrist hinge happens, why it matters, and how to manage it so it adds power without costing you control.
As the club moves into the backswing, hinging the lead wrist naturally adds some extension and slightly opens the clubface. That’s normal. What matters is how that hinge is blended so the clubface can return to square at impact.
Rather than forcing wrist hinge early, the goal is to allow it to develop at the right time and in the right amount, building on the positions established in the takeaway.
Video Breakdown:
- Lead wrist position at impact and why a flexed or flat wrist supports solid contact
- How the trail wrist works in opposition to help deliver the clubface
- Common impact mistakes, including pushing the handle forward and leaving the face open
- How to train wrist positions gradually without forcing full-speed changes
Wrists at Impact
Impact is where everything you’ve worked on shows up. If wrist mechanics haven’t been addressed earlier in the swing, they tend to break down here.
In this section, Rob explains what the wrists are doing at impact and how those positions influence both contact and clubface control. Rather than trying to “fix” impact directly, the focus is on understanding what good impact looks like and how earlier movements support it.
When the wrists are working together properly, the clubface is easier to deliver square with speed and consistency.
Video Breakdown:
- How the trail wrist contributes to speed and clubface control
- What trail wrist extension looks like at setup, the top, and into impact
- Why losing trail wrist extension too early leads to inconsistent strikes
Trail Wrist: What It Does and Why It Matters
The trail wrist plays a major role in both speed and clubface control. While it works with the lead wrist, it does not mirror it.
At setup, the trail wrist starts with a small amount of extension. As the club moves into the backswing, that extension increases, helping load the club and support the swing structure.
In the downswing, the trail wrist maintains that extension briefly before releasing naturally through impact. When this happens in the right sequence, speed and face control improve. When it breaks down early, both suffer.
The goal is not to “hold angles,” but to let the trail wrist load, support the downswing, and release at the right time.
Video Breakdown:
- Key wrist checkpoints throughout the swing, from setup to impact
- Why does excessive lead wrist extension during the backswing lead to an open clubface
- How small changes in wrist control improve consistency over time
- Drills designed to reinforce stable wrist positions through transition and downswing
Becoming a More Consistent Player
Now that you understand what the wrists do throughout the swing, the focus shifts to consistency. This is where awareness turns into repeatability.
Rather than chasing perfect positions, the goal is learning to recognize key checkpoints and avoiding common patterns that create inconsistency, such as adding too much extension or flexion at the wrong time.
This section is best used once you feel more comfortable with your wrist mechanics and are starting to see more predictable ball flight and contact.
17:33
14:43

9:10
6:34
12:30
Hit Hard, Stop Quick Drill
This drill helps you learn to transfer speed through impact rather than holding wrist angles too long or dumping them too early. It reinforces the idea that lead wrist flexion at impact is real, but it releases quickly as the clubhead moves past the hands.
Use this drill to work on impact, release timing, and distance control.
Video Timestamp: 10:37
How to Do It:
- Set up to the ball with a mid iron
- Make a normal backswing
- Swing through the ball with intent, then try to stop the club as quickly as possible after impact
- Focus on feeling the clubhead accelerate through the ball, not past it
- Start with practice swings, then hit balls when comfortable
Top-of-Swing Reset Drill
This drill teaches you how to organize your wrists at the top of the backswing so the downswing doesn’t require manipulation. If your clubface feels out of control or your transition feels rushed, this drill gives you a clear reset point before you move down.
Use this drill for driver and longer clubs, especially if your misses start before impact.
How to Do It:
- Make a slow backswing and stop at the top
- At the top, flatten or slightly flex the lead wrist
- Feel a small amount of wrist deviation (uncocking) rather than added hinge
- Hold that position for one to two seconds
- From there, swing down smoothly without changing the wrist condition
Casting + Motorcycle Combo Drill (Downswing Control)
This drill is designed for golfers who lose their wrist angles in the downswing and struggle with thin strikes, weak contact, or timing the release. It combines wrist-angle retention with clubface control, which is the missing link for many players trying to fix casting.
Use this drill when you feel like your hands race past the clubhead or you’re forced to flip at impact to square the face. Start by practicing the casting or the motorcycle drill separately and then combine them to achieve perfect wrist position and timing.
How to Do It:
- Set up with HackMotion and bring the club to the top of the swing
- Pause briefly and feel the lead wrist flatter or slightly flexed
- Start the downswing slowly while maintaining the angle between the lead arm and the shaft
- At the same time, apply a small motorcycle-style twist to keep the clubface from opening
- Make slow rehearsal swings first, then progress to punch shots
- Build speed only when you can maintain both wrist angles and face control
Rhythm & Flow Drill (Tempo-Control Reset)
This drill helps you improve tempo, sequencing, and overall swing flow, which are critical for allowing good wrist mechanics to hold up under speed. If your swing feels rushed, forced, or inconsistent from shot to shot, this drill helps everything sync back up.
Use this drill when your mechanics feel right in practice but fall apart when you swing faster.
How to Do It:
- Start at setup with a dynamic feel — light waggle, small foot motion, no frozen posture
- Make your swing and hold your finish until the ball lands
- Check that you can stay balanced without stepping or falling forward
- Next, try the step drill: Start with feet together. Move the club slightly toward the target. Step the trail foot back as the club moves away. Step the lead foot forward and swing through
- Finish by hitting multiple balls in a row without stopping, keeping the club in motion between shots
Reset the Wrists in the Backswing (P2 Checkpoint Drill)
This drill helps set the wrists early in the backswing, so the clubface and shaft are in a usable position before the swing gets longer or faster. Instead of letting wrist angles drift as the club moves away, you establish them deliberately and return to them every time.
If your backswing feels inconsistent or you tend to arrive at the top with an open clubface, this drill gives you a clear, repeatable checkpoint.
How to Do It:
- Set up normally with the ball in position
- Place an alignment stick or club on the ground parallel to your target line
- Without moving your arms away from your body, hinge the wrists until the shaft is parallel to the ground (P2)
- At this checkpoint: The shaft sits above the stick. The butt end of the grip stays roughly over the ball. The clubface points slightly down toward the ground.
- From here, continue to the top of the swing and return through impact
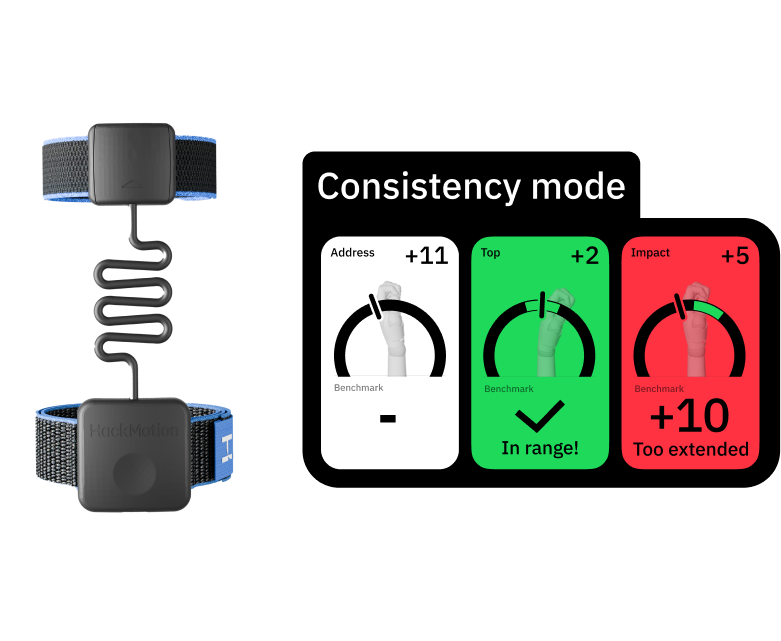
Like Having a Coach on Your Wrist, Anytime You Need
Train smarter with HackMotion—your personal coach on your wrist, guiding you to better shots, sharper mechanics, and real progress every time you practice.
Core HackMotion value.
For players who want to improve clubface control and full swing consistency by optimising wrist angles
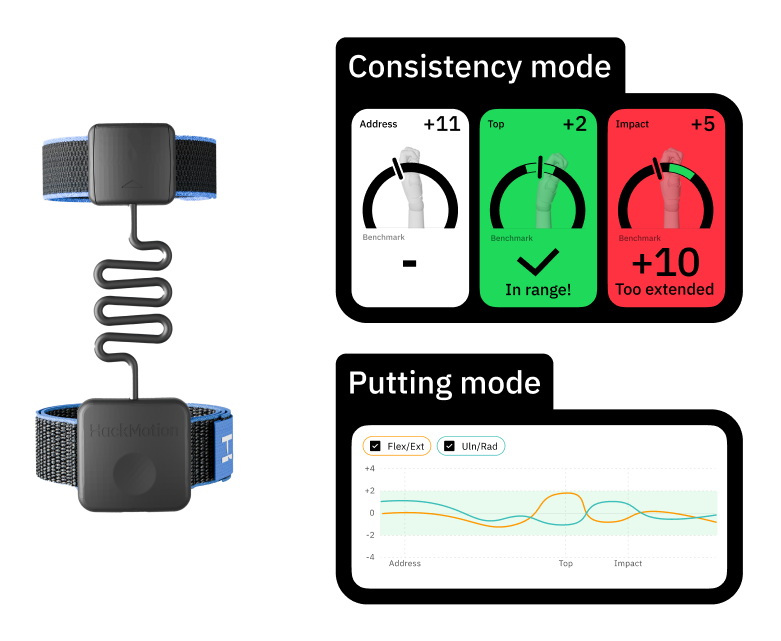
A total powerhouse.
Work on your whole game by optimizing both the full swing and putting. Reach your peak performance.
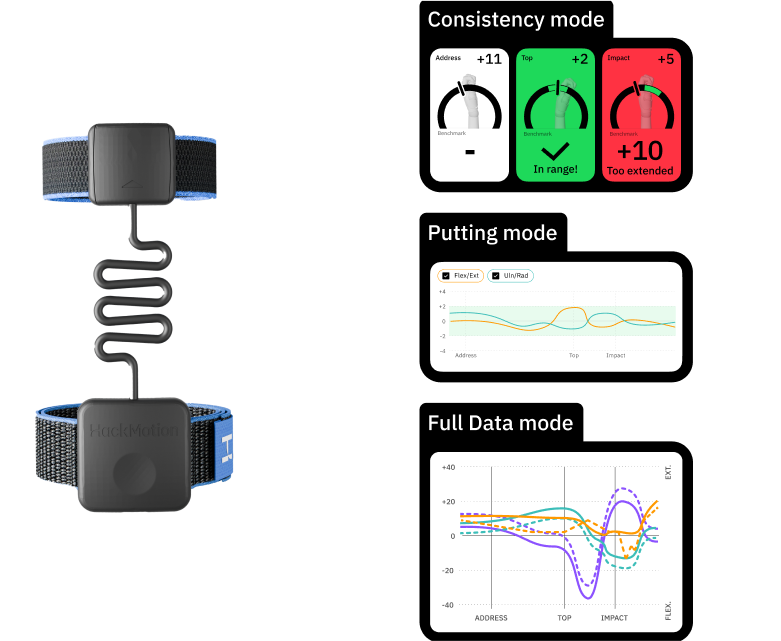
The ultimate HackMotion.
All the wrist data, tour data and analytics for both hands in the ultimate feature package.