7 Essential Alignment Stick Drills Every Golfer Needs
Having alignment sticks on hand is one of the most cost-effective ways to fine-tune your golf swing.
In these drills, you’ll see just how many different ways a simple stick (or two) can be used to improve your golf game.
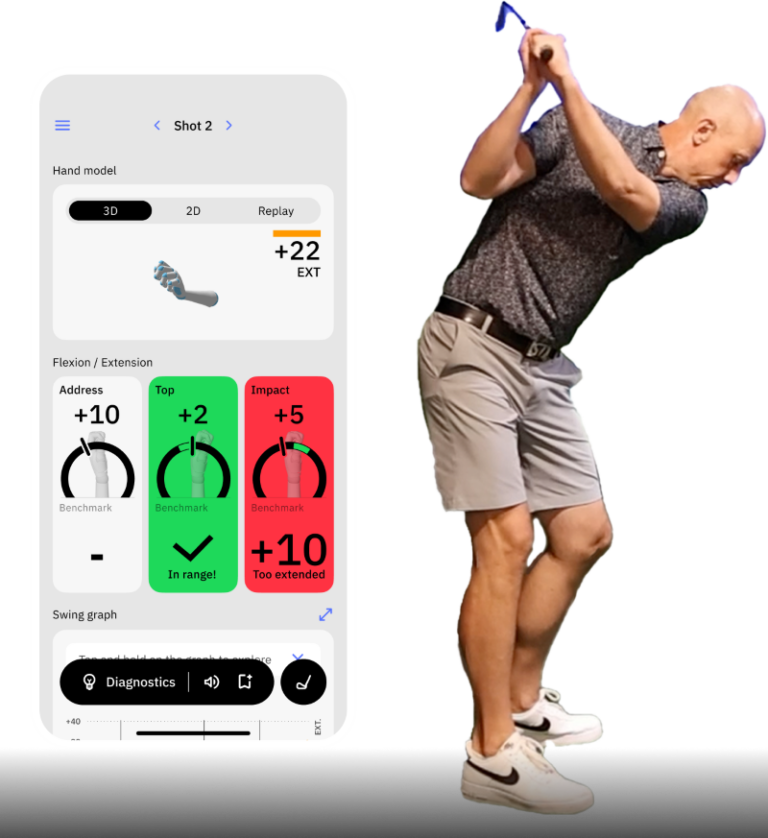
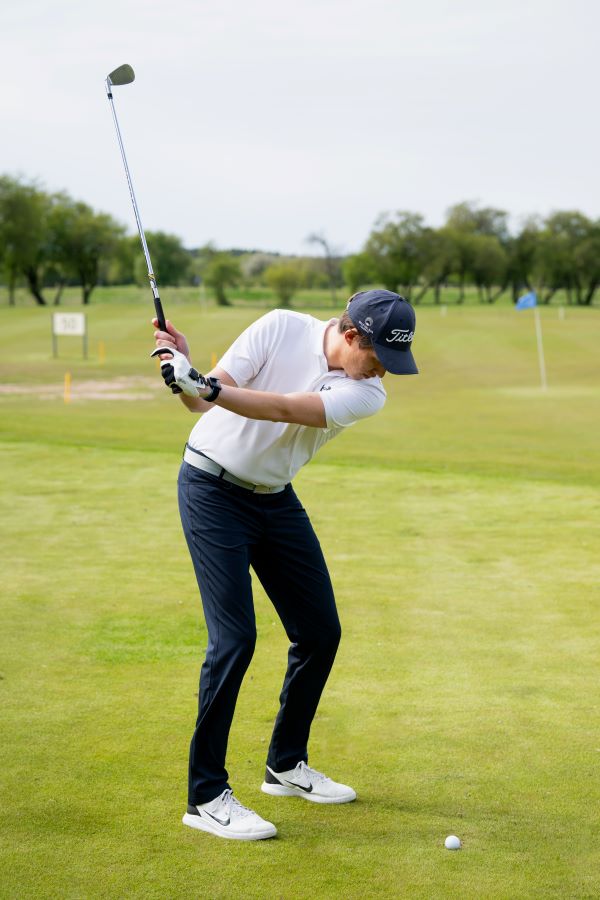
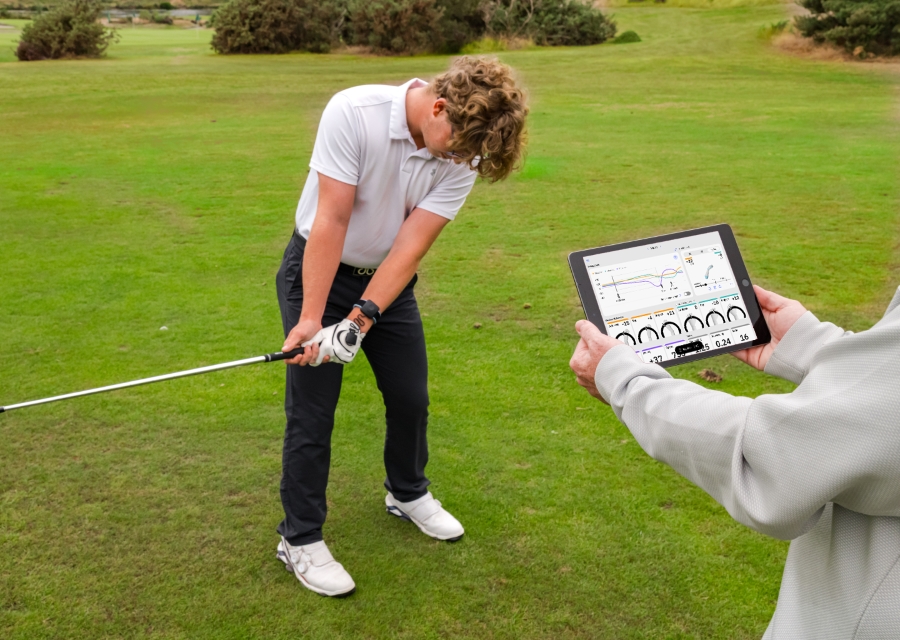
Combining these drills with HackMotion wrist data is a powerful way to track progress, receive immediate feedback, and make sure you’re practicing the right moves.
Key Takeaways
- Use alignment sticks for more than just set-up – You can place them on the ground, in the ground, or attach them to the club to train different swing elements.
- Immediate Feedback – Constraints created by alignment sticks help groove the correct feel and path.
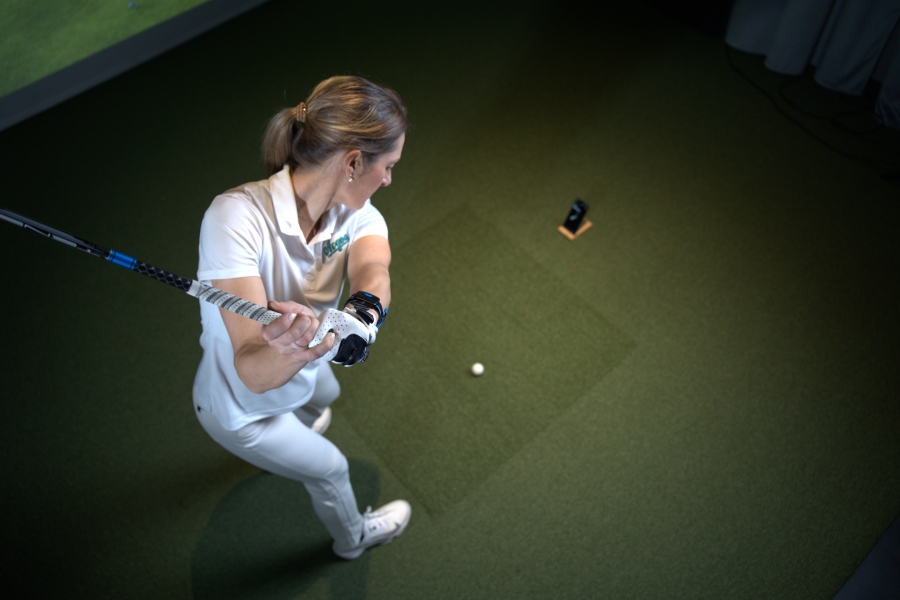
- Wrist Data Matters – HackMotion wrist sensors pair perfectly with these drills, showing you real-time extension/flexion angles so you can adjust faster.
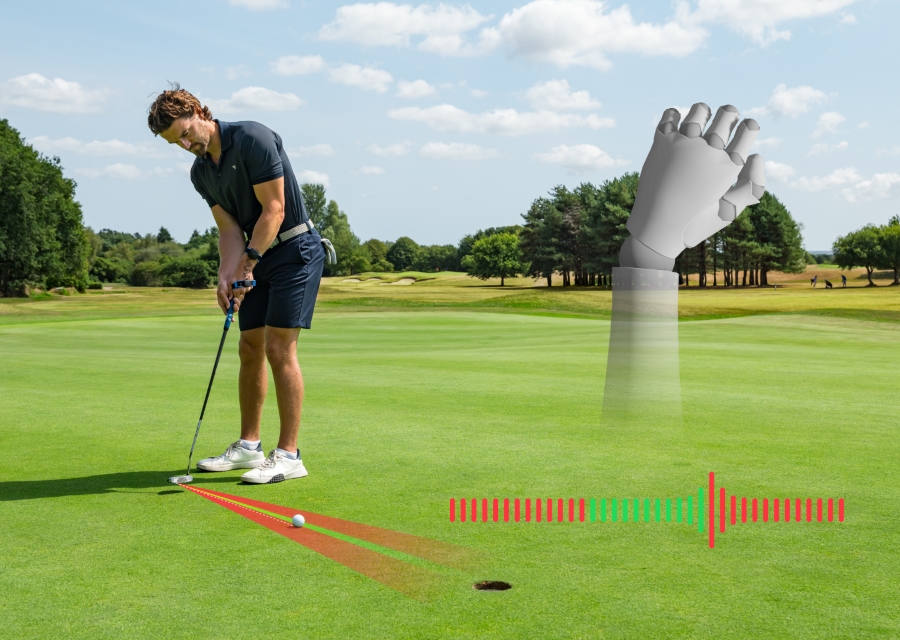
- Short Game + Putting – Don’t ignore your chipping and putting fundamentals; alignment sticks combined with HackMotion data can transform your consistency.
- Practice Anywhere – Many drills can be done in small spaces or at home without a ball; some alignment stick drills don’t even require a club.
Contents
The Secret to a Better Golf Swing Starts with Your Wrists
Your clubface angle at impact determines 80% of your shot’s direction—your wrists control that angle. Click here for the best drills to master your wrist mechanics and take control of your game.
7 Smart Ways to Use Alignment Sticks in Your Practice
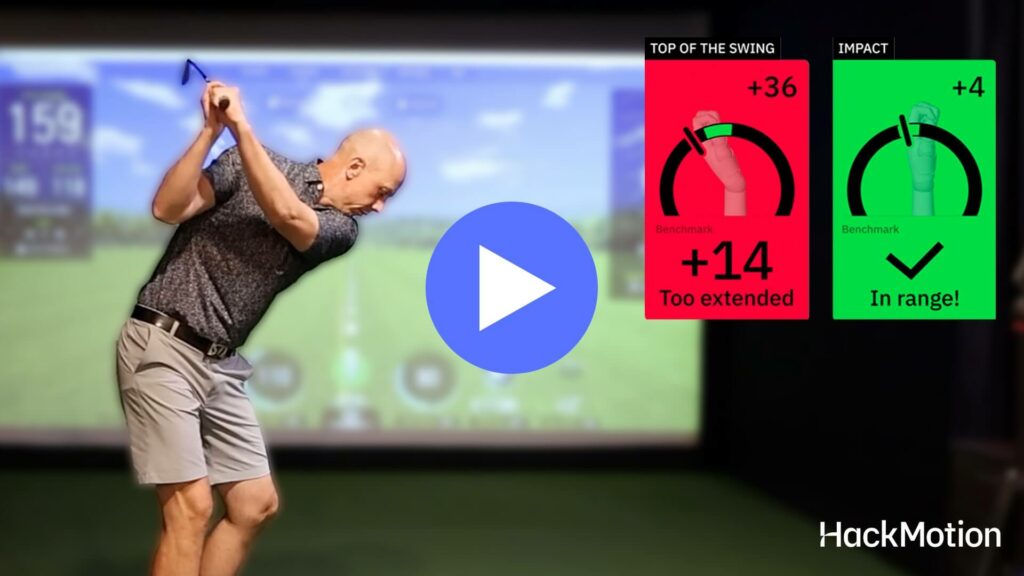
The video below by Rob Cheney demonstrates five of the alignment stick drills covered in this article.
Watch it for a step-by-step breakdown of these essential drills.
Basic Alignment Drill
- Video Time Stamp: 0:14 – 0:52
Let’s not forget the alignment stick was created to help golfers with alignment.
It’s the simplest use of the alignment stick, and it is one that most golfers are not good enough to ignore. Even the pros routinely use an alignment stick to ensure they are aiming correctly.
Basic Alignment Drill:
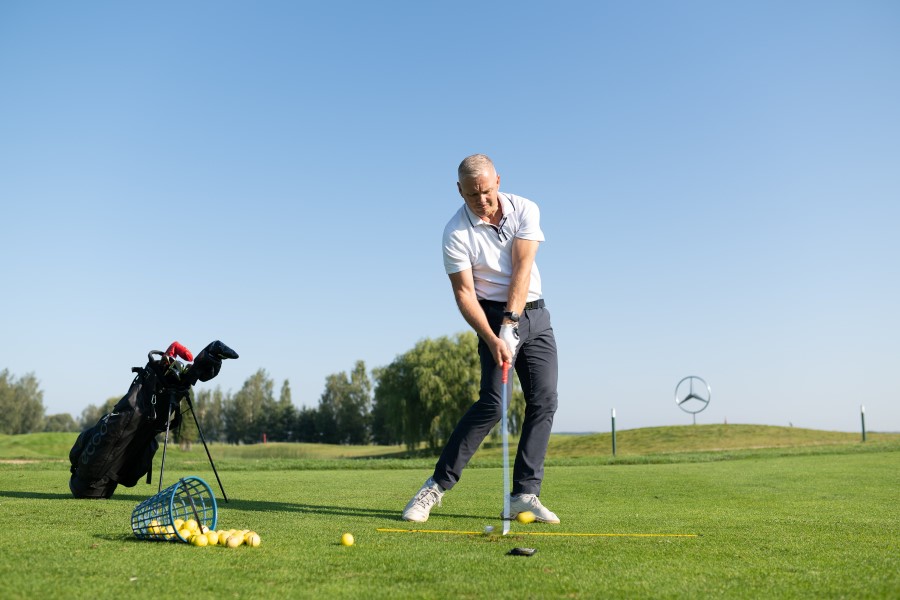
- Place an alignment stick on the ground, pointing directly at your target.
- Set up with your toes parallel to the stick (feet, hips, and shoulders all aligned).
- Hit shots while visually referencing the stick to keep your aim consistent.
If you find you are aimed correctly but still unable to hit straight shots, try putting your HackMotion wrist sensor on to measure some wrist data.
If you have too much flexion or extension in the lead wrist, it manipulates the club face and keeps you from hitting straight shots.
Swing Path Training Station
- Video Time Stamp: 0:53 – 2:26
Once you have your alignment down, it’s time to help you learn to practice effectively (and on your own).
The goal here is to build a station that helps you monitor if the club is getting too far inside or outside on the backswing and on the downswing. For this, you’ll need to be able to insert an alignment stick into the ground or have one that is capable of standing on its own indoors.
Swing Path Training Station:
- Insert an alignment stick in the ground (or use a prop) at roughly the same angle as your club shaft at address.
- Set up so this stick is just outside your hands/club path.
- Take practice swings, making sure your hands and the club stay above (or under) the stick—depending on whether you’re trying to correct an out-to-in or in-to-out path.
If you find that your path is too steep, your lead wrist could be overly extended at the top. Use your HackMotion to measure the amount of extension in this lead wrist.
If it’s more than you have at the address position, try adding flexion to see if that gets the club back on the correct path.
Follow-Through “Drag the Stick” Drill
- Video Time Stamp: 2:27 – 6:28
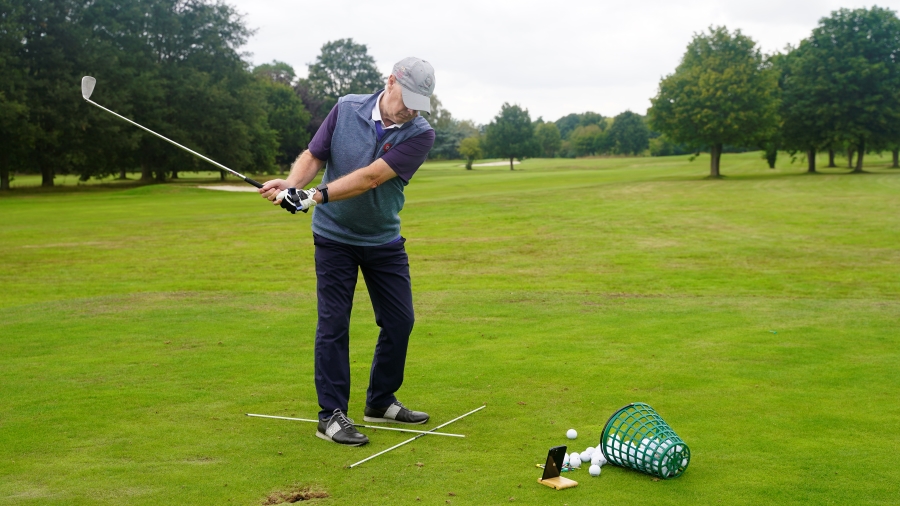
This unique and very helpful drill from Rob Cheney helps correct body rotation and proper wrist/arm structure in the follow-through.
Dragging the alignment stick behind you creates a feeling of transferring your weight while keeping your arms extended.
Drag the Stick Drill:
- Set an alignment stick on the ground behind you, angled back so you can grip the top of it while also holding your club.
- Take your normal stance and grip with the alignment stick still trailing behind.
- “Drag” the stick through impact, feeling your weight move to the lead foot, your arms remain extended, and your lead wrist slightly flexed. The alignment stick will create some resistance, and you’ll see what it takes to have the hands lead and ensure you never flip the club through impact.
If you wear HackMotion while doing this drill you’ll notice that your lead wrist will likely be in a more flexed position at impact than it normally is. Training this feeling can help improve consistency and accuracy.
The “Death Drill” for Chipping
- Video Time Stamp: 6:29 – 8:50
Alignment sticks work just as well for short-game practice. Placing the alignment stick under your trail arm and between the fingers of your lead hand will force the wrist to remain stable through impact.
This will reduce the chance of flipping or scooping, as that will not lead to consistent chip shots.
This drill takes a bit to get used to, so watch the video above from Rob and get it setup from the start. Once you have it down, you’ll see how effective it is.
The “Death Drill” for Chipping:
- Tuck one end of an alignment stick under your trail armpit.
- Let the other end extend down, threading it between your index and middle finger on the lead hand.
- Grip the club normally around the stick and take small chip shots.
One of the best ways to see if this is a drill that will help your chipping game is to first record some HackMotion data on your chip shots before attempting the drill. Then, chip again with the alignment stick in place.
Compare the extension/flexion readings to see if you are more flexed while trying this death drill for chipping; the results are usually quite surprising.
“Chopsticks” Putting Drill
- Video Time Stamp: 8:51 – 11:13
The Chopstick putting drill requires you to quiet your wrists and create a stable triangle with your arms and shoulders. Connecting two sticks under your armpits and nesting the putter shaft between them is a great way to feel this pendulum stroke.
Even if you don’t have your putter with you, you can work on the chopsticks drill just to get the feel down, and then eventually, you can put the putter in your hands.
The “Death Drill” for Chipping:
- Tie two alignment sticks together (like chopsticks) with a rubber band on each end.
- Tuck the sticks under both armpits, forming a cradle at the bottom.
- Slot your putter shaft in that cradle, holding your arms gently against your torso.
- Stroke putts, maintaining that pendulum motion with minimal wrist breakdown.
After practicing the Chopsticks putting drill, switch to your HackMotion and work on monitoring the consistency of your putting stroke.
The goal is not to have a perfect putting stroke but to have a consistent one.
Stop Flipping at Impact (Shaft-Lean Drill)
- Video Time Stamp: 7:10 – 9:20
Flipping in golf is a last-ditch effort to square the clubface at impact. If you are flipping, your instincts are correct, but your fundamentals are wrong.
For golfers who try to square the clubface at the last second, using an alignment stick alongside your lead arm can train you to keep your hands ahead at impact.
Shaft-Lean Drill:
- Address the ball with a short or mid-iron, and place an alignment stick against your lead side so it extends down from your lead arm.
- Angle the club shaft slightly forward at address to align the stick with your arm.
- Take slow swings, feeling the clubhead trail behind the stick instead of overtaking it.
- Work up to a “punch shot” follow-through, stopping just after impact.
Hip Movement Feedback Drill
- Video Time Stamp: 2:22 – 5:12
Here’s another unique alignment stick drill that you have probably not tried before. This is a great one for golfers who struggle with weight shift and hip rotation in the downswing. Lack of hip rotation and weight shift can lead to early extension, loss of posture, and poor contact.
For this drill, you’ll need to wear pants with a belt loop to complete it properly.
Hip Movement Feedback Drill:
- Thread an alignment stick through your belt loops so that it extends out on both sides.
- Take your normal setup and make a backswing, allowing your hips to rotate naturally (about 45°).
- Start the downswing by shifting your hips toward the target while keeping your upper body stable.
- Key checkpoint: By the time your arms reach parallel in the follow-through, the alignment stick should be well forward—your belt buckle should be over your lead foot.
- Finish the motion, allowing your hips to continue rotating fully through impact.
If your hips stay too far back, feel like you’re pushing the alignment stick forward toward the target a bit earlier in the downswing.
If your hips are sliding without rotating, you’ll want to make sure the alignment stick moves forward and rotates rather than just sliding.
Finally, make sure to maintain your posture so you don’t stand up through impact.
Final Thoughts
Alignment sticks are among the most versatile training aids in golf. However, they don’t offer any real-time data or biofeedback.
Consider pairing your alignment stick practice with your HackMotion to get more interactive data and information you can work with. Spend your practice time wisely so you see real results on the course – and if you want even more personalized feedback, work with a local golf coach who uses HackMotion during lessons for data-driven improvement.
