
7 Proven Chipping Drills to Boost Your Consistency on the Green
Chipping the ball close to the hole is great, but can you do it three times in a row?
You’ll find that the more time you spend on the golf course, the more you realize that the most consistent players are the best players.
Chipping drills can be worked on at home or on the driving range. If you need to get your chipping action under control, these are the best drills to work on today.
Key Takeaways
Bookmark this page so you can go back through and take a look at these drills right before you head to the driving range.
In the meantime, here are a few of the most important things to note about the golf chipping drills.
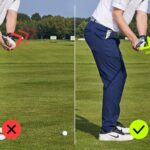
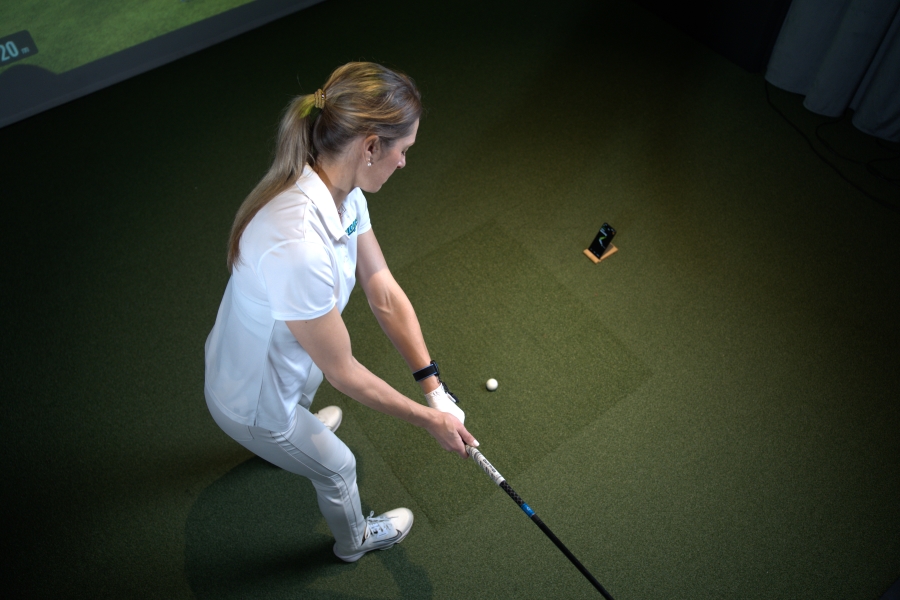
- The lead wrist in chipping should be flexed or flat going through impact. Wear your HackMotion to measure your wrist angles; if they get too extended, you won’t be a consistent ball striker.
- Try some one-arm chipping, learning the motions of the left and right hand individually can sometimes be easier than learning them together.
- An alignment stick is a great drill to help with chipping drills. Keep one nearby when you head to the driving range to work on your chipping.
- Practice chipping with several different clubs; you’ll want to have a few different options when you get to the golf course.
- Play around with distance control and the size of your swing to control your chip shots.
Contents
The Secret to a Better Golf Swing Starts with Your Wrists!
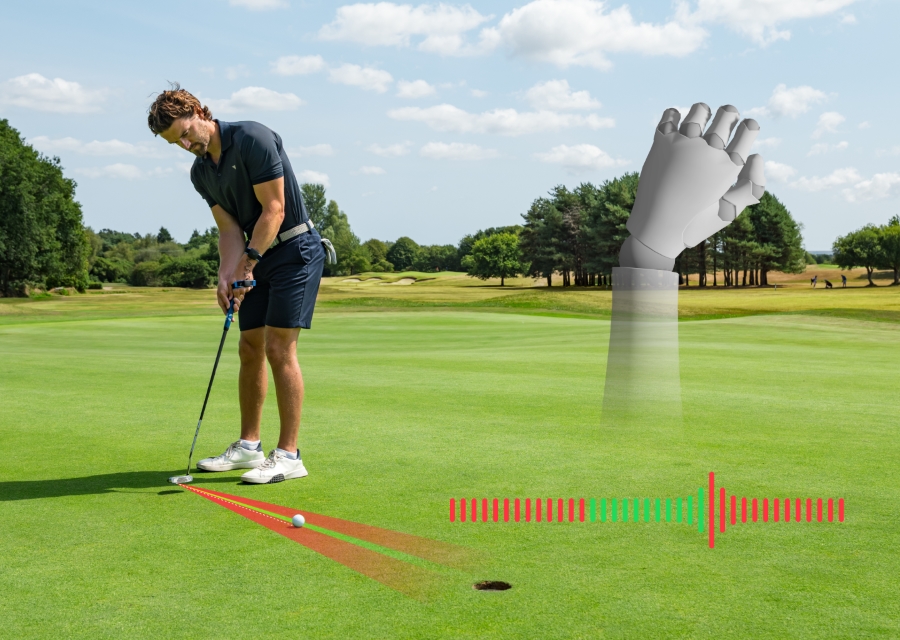
Your clubface angle at impact controls over 80% of your shot’s direction—and it all comes down to your wrists. Click here for the best drills to master your wrist mechanics and take control of your swing.
7 Chipping Drills to Help You Improve Consistency
Low Chip Shot Drill
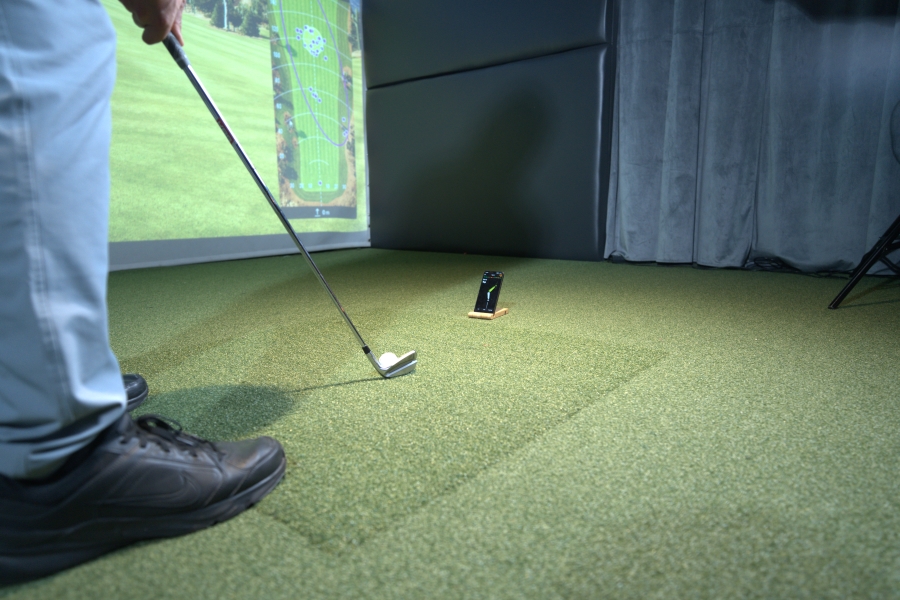
This drill helps you develop stable wrists and consistent contact for low bump-and-run shots around the green.
This is going to be your go-to chip shot around the greens when you need consistency. These lower chips are great for tight lies and simple up-and-downs.
Low Chip Shot Drill – Step by Step
- Stand very close to the ball with a more vertical shaft.
- Use ulnar deviation: point your thumbs/fingers down toward the ground.
- Keep that “down” wrist feeling throughout the backswing and follow-through.
- Do not hinge or cup the wrists—feel like you’re putting with loft.
- Focus on solid contact and letting the club swing more upright.
Plane Chipping Drill
This drill helps you keep your chipping swing on the correct path. When you take the club too far inside or outside as part of the takeaway, you don’t give yourself much time to get it back on plane.
The plane tripping drill helps you build clean contact and consistency.
- Video Timestamp: 0:29
Plane Chipping Drill – Step by Step
- Place 4 water bottles around the ball to create a “swing gate.”
- Leave some space at first, then narrow the gate as you improve.
- Practice swinging the club back and through without hitting the bottles.
- Use foam or airflow balls indoors if space is limited.
- Focus on a smooth, arcing motion, staying on-plane.
One-Arm Chipping Drill
The one-arm chipping drill from Chris Ryan is more complicated than other chipping drills, but that is what makes it more effective.
This drill helps establish a stronger connection between your trail arm and torso, promoting a pivot-driven short game motion. It helps eliminate arm-only swings and improves strike, trajectory, and consistency.
One-Arm Chipping Drill – Step by Step
- Set up normally, then remove your lead hand and place it across your chest, securing it to your lead bicep.
- Grip the club only with your trail hand (right hand for right-handed golfers).
- Keep the trail elbow bent and connected to the torso throughout the motion.
- Make short chip or pitch swings (start with 10–15 yards).
- Focus on maintaining the connection between the arm and torso, and rotate the body to move the club.
- Allow for a natural, soft release through the ball while keeping the same arm-body relationship.
- Don’t worry about a target at first, prioritize clean contact and a consistent low point.
- Optional: Rate each strike out of 10 to monitor improvement.
- As your strike improves, gradually work up to longer shots or add a landing zone target.
Thumbs Down Pitch Drill
This drill helps you learn your shortest, most controlled pitch shot, ideal for 20–30 yard carry distances.
If you are unsure of what the proper motion looks like and how you can control distance in your short game, the Thumbs Down pitch drill is a perfect solution.
Thumbs Down Pitch Drill – Step by Step
- Stand close to the ball (1–3 clubhead widths away).
- Use a narrow stance with the ball in the center.
- Keep a slight shaft lean forward at address.
- Focus on a pivot-driven motion with very minimal wrist hinge.
- Feel like your thumbs point down in both the backswing and follow-through.
- Maintain the Y-shape between arms and club throughout the motion.
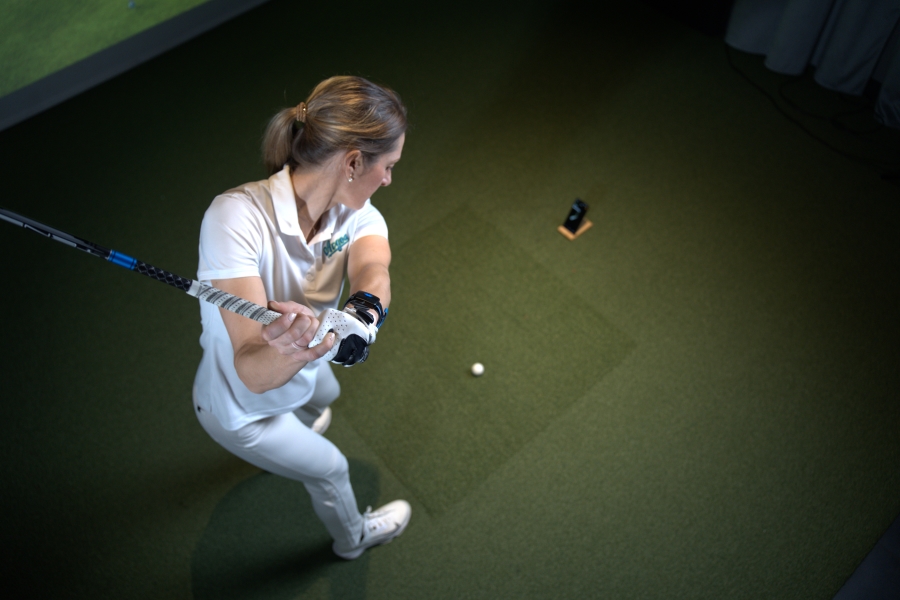
- Use HackMotion to monitor ulnar deviation and flexion, which helps lower the trajectory.
Toss to the Bucket Drill
The interesting thing about the toss to the bucket drill is that you won’t even need your golf club at first.
This drill trains your feel, finesse, and short-game touch by mimicking the action of a soft chip shot. It’s a great way to work on your game if you need some unstructured practice.
- Video Timestamp: 2:30
Toss to the Bucket Drill – Step by Step
- Set up as if you’re chipping (stance, posture, arm position).
- Toss a ball underhanded into a bucket or small container.
- Focus on natural, fluid motion, just like a soft chip release.
- Challenge yourself with different distances and targets.
- This helps internalize landing zone awareness and rhythm.
Strike Location Drill (with Blue Tack or Tees)
If you want to get more consistent with your chipping, one of the most important things to work on is the strike location.
If you can’t hit the sweet spot of the clubface when you are chipping, you’ll struggle with distance control, direction, and even spin. Try this Strike Location Drill to get more consistent.
Strike Location Drill – Step by Step
- Add small bits of Blu Tack (or tees) to the toe and heel of your wedge face, leaving a centered gap.
- Chip balls trying to contact the center of the face.
- You’ll get instant feedback if you miss-hit.
- Start with a wider gap and narrow it as you improve.
- Focus on clean strikes with quiet wrists and a simple motion.
Chip to Hip Drill
If you find yourself chipping the ball too high and leaving your shots short of the target the chip to hip drill could be a good solution.
It encourages forward shaft lean, cleaner contact, and a lower launch for better rollout and control.
Chip to Hip Drill – Step by Step
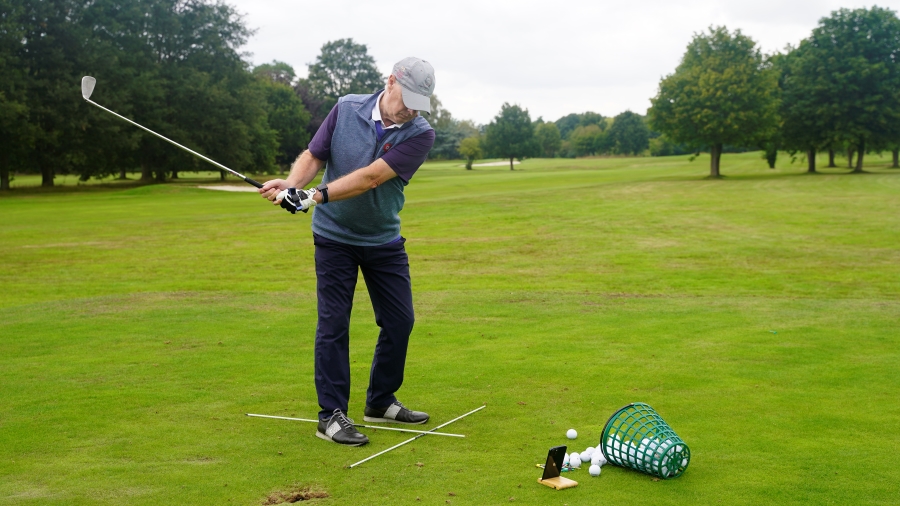
- Place an alignment stick on the ground, about half a grip length behind the ball, just outside your trail foot.
- Set up for a basic chip with your hands slightly forward, ensuring some shaft lean at address.
- Focus on making a slightly steeper motion, brushing the turf after the ball.
- On the follow-through, aim to point the butt of the club at your lead hip (“chip to hip”).
- Avoid flipping the club through impact—keep the hands ahead and the loft stable.
- Combine both elements: the alignment stick for steepness and the butt-end finish for de-lofting the face.
- Feel the ball come off lower with better contact and more predictable rollout.
Final Thoughts
Unless you hit 18 greens in regulation, chances are you will have at least 5-8 chips per round. Imagine if each of those could land right next to the pin and leave you a tap-in putt.
The goal here is to be able to repeat the same motion and, in turn, have that help you repeat the same shot.
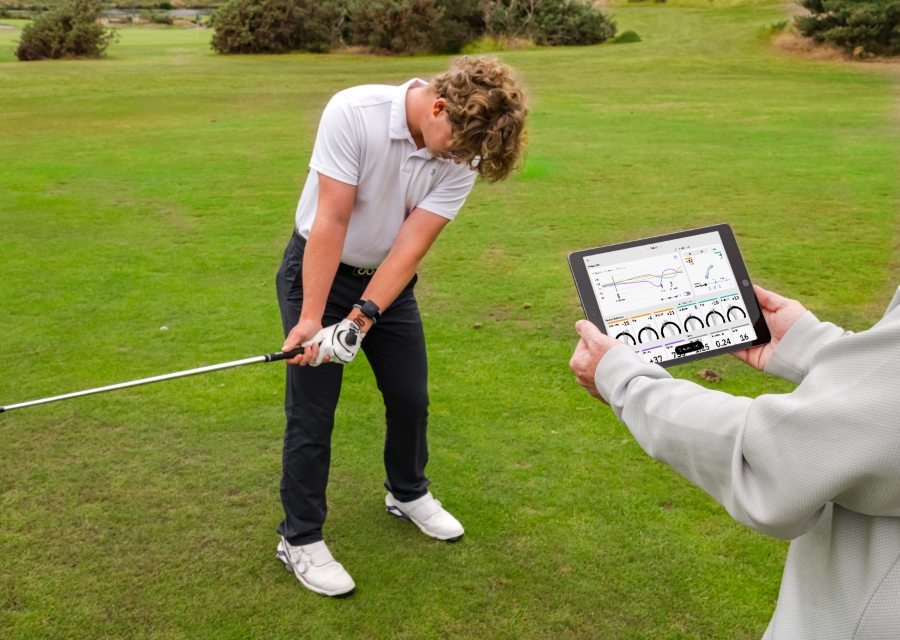
There’s an added bonus in becoming a better chipper; you’ll also become a better ball striker because the impact is the same. If you want help sharpening both areas, consider working with golf instructors near you who use HackMotion to teach consistent impact and short-game control.