The 7 Best Downswing Drills Every Golfer Should Try
We spend a lot of time and attention on setup, the takeaway, and the backswing. However, at some point, you also need to dedicate time to the downswing.
You can set yourself to hit from the right position, but your impact will be off until you actually get the club in the right place.
If you are heading to the driving range to work on your downswing, take these golf downswing drills. Work through these one at a time until you find the sweet spot that helps your game get to the next level.
Which Downswing Drill Is Right for You?
If you already know what’s causing issues in your downswing, check out these targeted drills to fix it:
- Swing Over-the-Top, Arms/Club Out Too Soon: Station Setup Drill
- Spinning Shoulders, Upper Body Opening Too Early: Shoulder Blades – Back to Target Drill
- Steep Downswing or Pull/Slice: Water Bottle Drill
- Early Release and Poor Compression: Hit Hard, Stop Quick Drill
- Hitting Fat, Poor Contact: Towel Drill
- Open Clubface / Flipping Through Impact: Motorcycle Drill
- Struggle with Early Extension or Casting: HackMotion Casting Drill
The Secret to a Better Golf Swing Starts with Your Wrists!
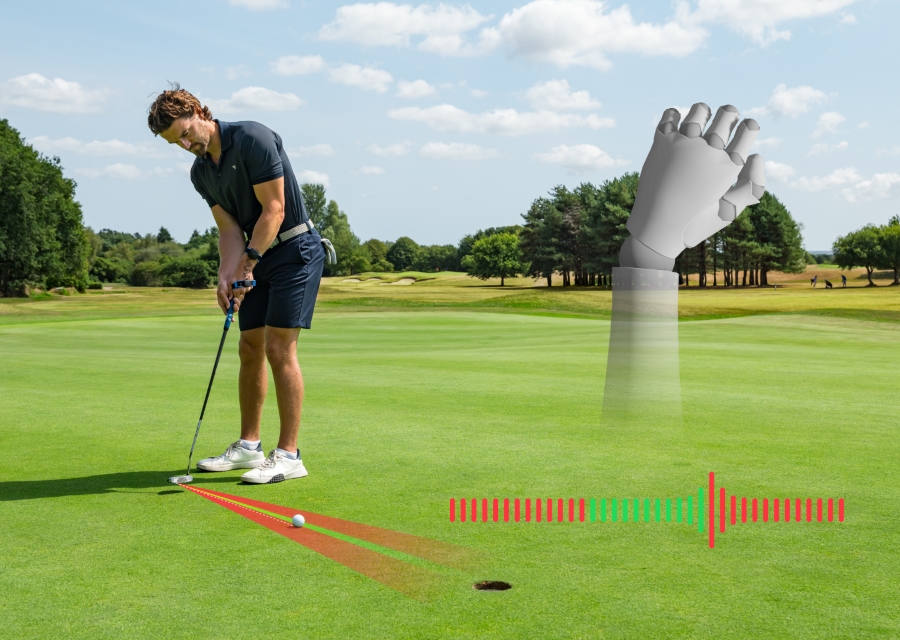
Your clubface angle at impact determines 80% of your shot’s direction—your wrists control that angle. Click here for the best drills to master your wrist action and take control of your game.
7 Downswing Drills to Perfect Your Swing
The Station Setup (Over-the-Top Barrier)
If you are swinging from the inside or coming over the top, you want to make sure that your practice session sets you up to find the perfect path.
While this video uses a variety of objects to set up a barrier, the concept is the same: You can use alignment sticks, headcovers, pool noodles, etc.
The point is to get yourself some immediate feedback about your downswing.
- Video Timestamp: 0:00 – 1:59
The “Station” Setup Drill – Step by Step:
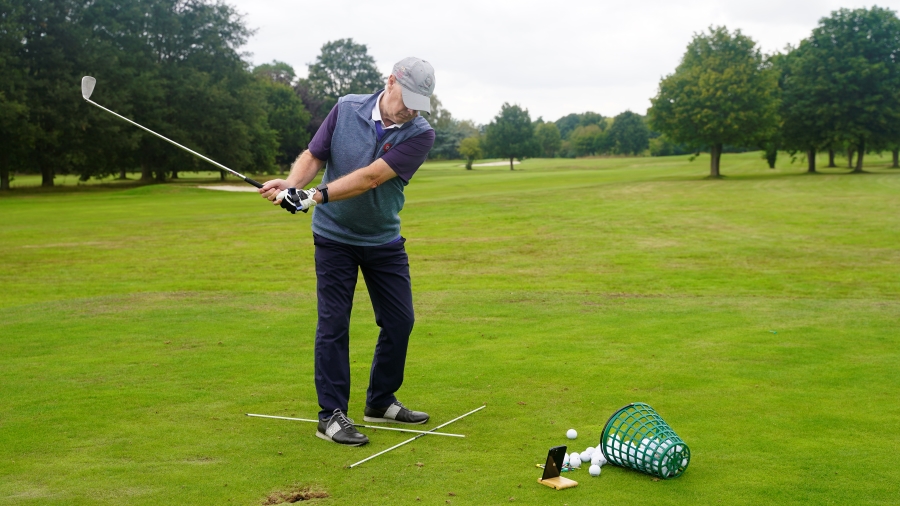
- Set up a barrier: Place a pool noodle or alignment stick a few inches above your target line (about 6–8 inches behind the ball).
- Position yourself: Address the ball so that if you swing over the top, you will hit (or see yourself hitting) the noodle or stick.
- Slow swings first: Take half-swings and focus on coming from the inside without bumping the barrier.
- Build to full shots: As you gain confidence, make fuller swings, ensuring you miss the barrier.
- Adjust: Adjust the barrier position until you can find the perfect path for your golf game.
Shoulder Blades – Back to Target Drill
If your issue with your downswing is letting your shoulder spin open too early, the Back to the Target drill is a great one to try.
Many golfers spin their shoulders open because they think it’s powerful.
In reality, if you can keep the upper body closed a little longer, it’s easier to drop the club from the inside and get it on the right plane.
- Video Timestamp: 2:00 – 3:57
Back to Target Drill – Step by Step:
- Feel your shoulder blades: Stand facing forward and pull your right shoulder blade back while your left goes forward (for right-handed golfers).
- Practice “back to target”: In a backswing to downswing rehearsal, focus on keeping your back turned to the target a bit longer.
- Add hip rotation: Let your hips open, but keep your upper body slightly closed. This separation helps avoid over-the-top moves.
- Hit slow shots: Begin with half-swings, feeling the shoulders remain closed through the early transition.
Water Bottle Drill
The Water Bottle Drill is physical, but it will create a mental image you can continue to use as you work through any issues you may have on your downswing.
If you are a golfer who has a steep downswing and slices/pulls your shots from time to time, the Water Bottle Drill will let you shallow the club a bit more.
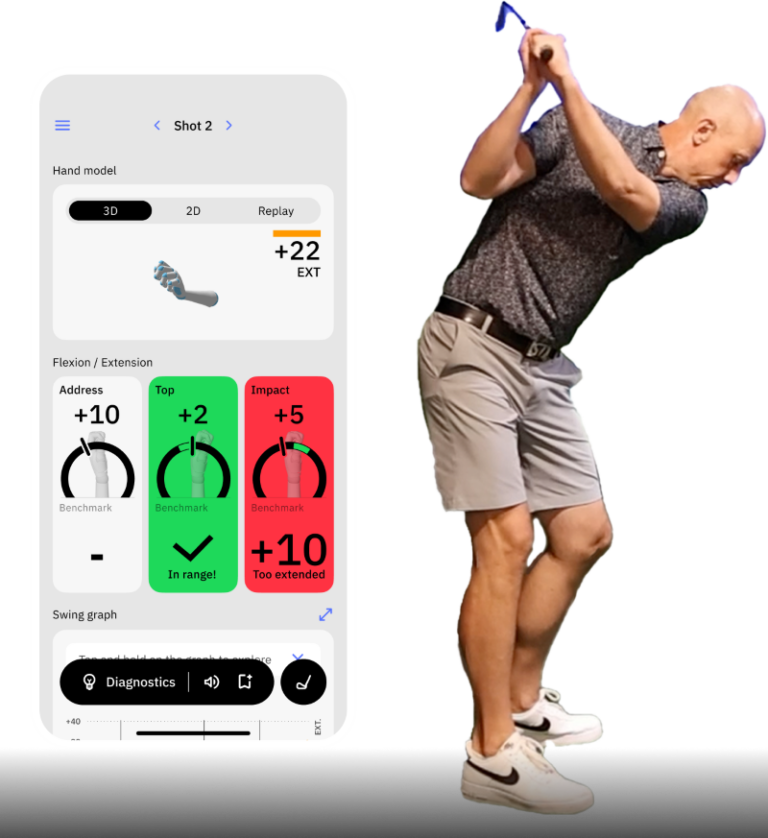
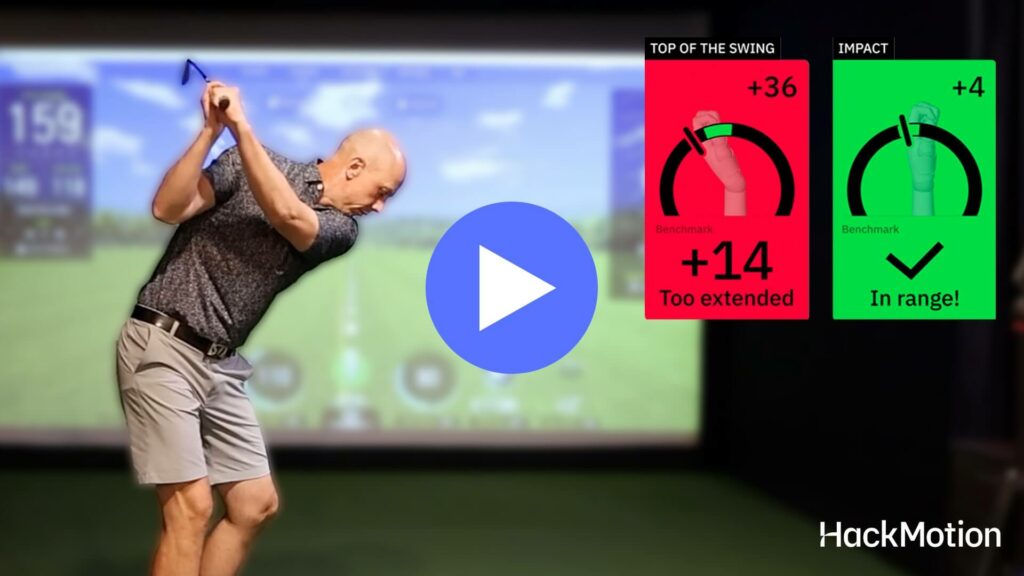
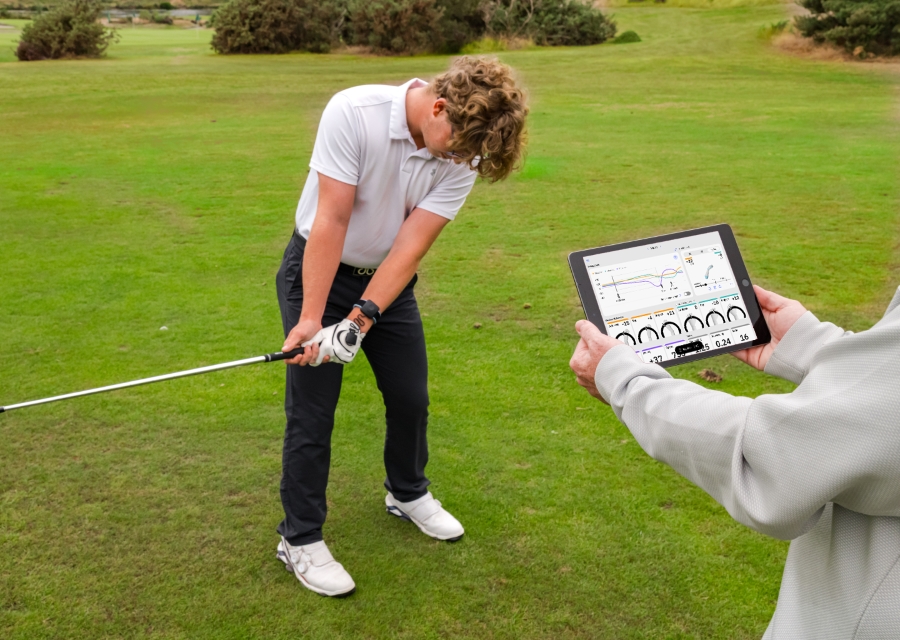
Do this drill while wearing your HackMotion to see if you are keeping your clubface too open through impact.
- Video Timestamp: 4:10 – 5:00
Water Bottle Drill – Step by Step:
- Quarter-fill a water bottle and hold it upside down in your trail hand.
- Go to the top: Make a normal backswing.
- “Pour” the water: As you transition, rotate your trail forearm so that the water will pour out to the side (not over your head). This simulates shallowing the shaft.
- Combine with real swing: After a few rehearsals, replace the bottle with your club and aim for that same “pour” sensation.
- Speed up gradually: Do small, slow-motion downswings, then move into fuller swings.
Hit Hard, Stop Quick Drill
The Hit Hard, Stop Quick Drill trains golfers to maintain proper wrist and shaft alignment through impact.
This drill can work for various issues in the golf swing, but one of the most common is to help golfers who flip at impact.
- Video Timestamp: 3:00 – 5:00
Hit Hard, Stop Quick Drill – Step by Step:
- Take Your Setup: Address the ball in a normal stance, ensuring a neutral grip.
- Make a Small Backswing: Swing back to a half or three-quarter position to focus on mechanics. Wear your HackMotion to track wrist angles.
- Hit the Ball with Authority: Accelerate through impact but stop quickly after the ball is struck.
- Maintain Shaft Lean: At the stopping point, ensure the shaft is still trailing the lead arm (not flipped past it). Your weight should be fully transferred to your lead side.
- Check Your Position: If the club has overtaken your hands too soon, repeat the drill, focusing on delaying wrist extension.
- Gradually Increase Speed: Start slow, ensuring correct wrist and arm alignments before increasing swing speed.
Towel Drill
The Towel Drill is great for golfers who hit behind the ball. The Towel Drill will help you create ball first contact if you hit fat shots or struggle with contact.
It’s a simple drill, and you can modify the difficulty to work for your current level.
This is also a good one to try if you struggle to find the low point in your golf swing consistently.
- Video Timestamp: 7:30 – 8:55
Towel Drill – Step by Step:
- Fold a towel: Make a small rectangle.
- Place behind the ball: About one grip-length behind, on the target line.
- Avoid the towel: Make swings focusing on striking the ball without hitting the towel.
- Scoot it closer: As you improve, move the towel closer to the ball to tighten up your contact.
Motorcycle Drill (Clubface Control & Wrist Flexion)
The Motorcycle Drill is one of golf’s best wrist action control drills. This is a great solution if you know your clubface is coming to the golf ball and it’s still open.
If you struggle with flipping at impact or slicing, the Motorcycle Drill teaches you to bow your lead wrist and add flexion as part of the downswing.
Motorcycle Drill – Step by Step:
- Take normal grip: Note that most golfers have a small bit of extension in the lead wrist at address.
- Swing to the top: Swing to the top of your downswing and stop.
- Motorcycle twist: In the downswing, feel like you are turning the throttle of a motorcycle “off” (lead wrist moves toward flexion). This rotation bows the lead wrist and closes the face.
- Check with HackMotion: Real-time wrist data can confirm if you’re removing the extension and adding flexion as desired. The Motorcycle Drill is located in the Drill area of the HackMotion app, so you can work on it in real-time.
- Monitor ball flight: If you start hooking it, you might overdo the flexion. If you still slice, you need more.
HackMotion Casting Drill
Casting is when you lose lag or create an impact position that is more of a scoop.
The Casting Drill from HackMotion helps you learn the sequence of the downswing and how to start with the lower body instead of the hands and the arms.
In addition, you’ll be able to monitor your wrist angles for better compression and power.
Fix Your Casting with HackMotion
Train to fix casting by generating power with your core and lower body.
HackMotion Casting Drill – Step by Step:
- Slow-Motion Rehearsal: Take a normal backswing to the top. Begin the downswing by shifting weight to your lead side and rotating your hips—do not pull down with your arms.
- Maintain Wrist Angles: Use HackMotion to monitor your trail wrist extension (bend). As you start down, keep your trailing wrist bent back. Do not “throw” the club or straighten the wrist too soon.
- Relax the Arms: Allow the arms to fall naturally into position behind the body—this shallows the club. The trail arm should gradually straighten, but only after the hips have initiated the downswing.
- Build-Up Speed: Start with slow swings, focusing on the sequence and maintaining wrist angles. Once comfortable, increase speed while keeping angles intact.
Final Thoughts
Now, you have all the information you need to head to the driving range and start making big changes to your game.
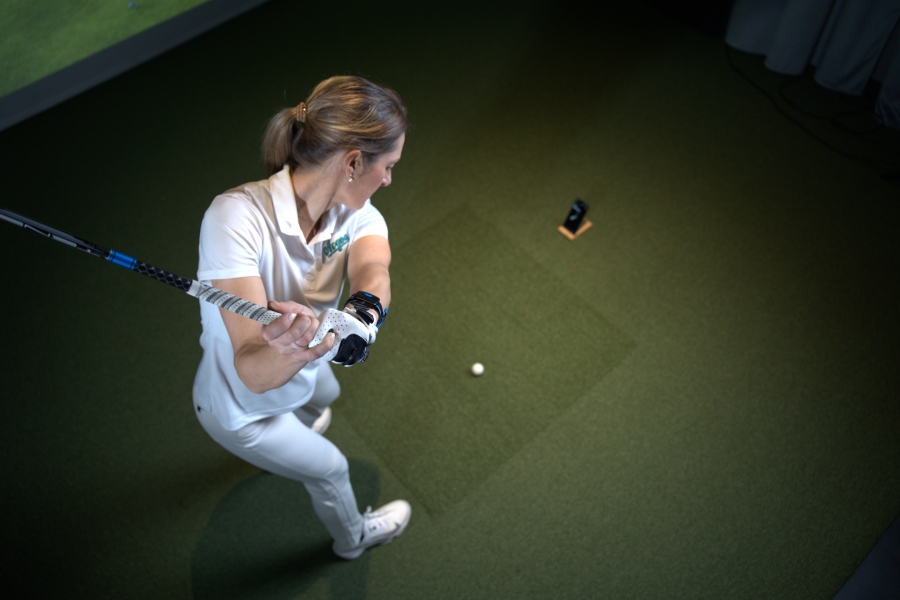
Remember to wear your HackMotion, which can be paired with any of these drills to help give you data and additional insight into your wrist action in the golf swing.
Incorporate backswing and downswing drills into your golf practice. Drills bridge the gap between what a movement should look or feel like and how you perform it in your swing.
