Perfect the Backswing: 7 Proven Drills to Get Your Club on Track
Wondering what the hardest part of the backswing in golf is?
The fact that we can’t see it!
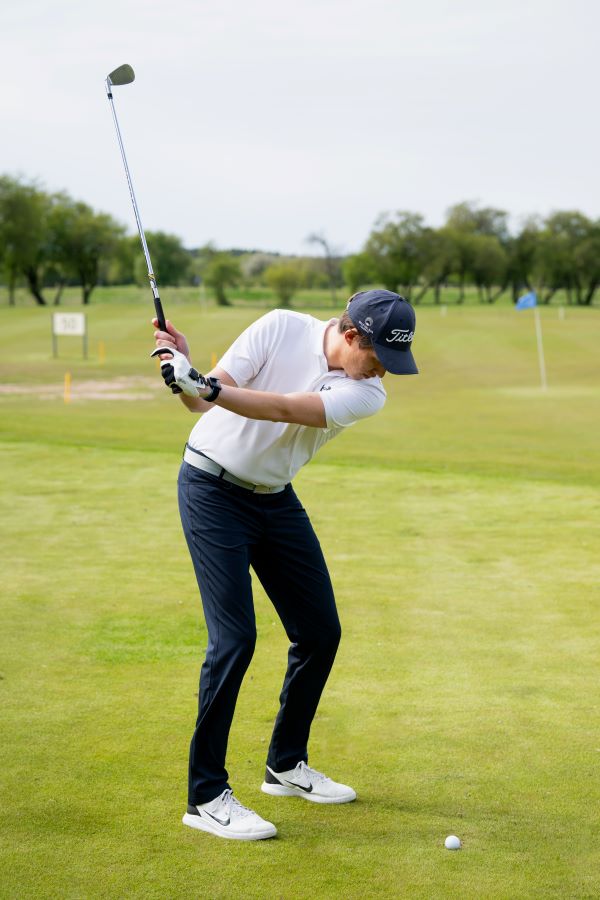
When you can’t see what you are doing, it’s hard to tell if you are on a plane, inside or outside.
These best golf drills for backswing will make it easier to get your club on the right track.
Remember that not every drill is suitable for your game. Try them out and see which ones improve your golf swing the most.
Which Drill is Right for You?
If you are struggling with any of these issues in your backswing, here are the drills you can check out to get the fastest results:
- Poor wrist motion / open clubface early: Preset Wrist Drill
- Hip sway in backswing: Hip Station Drill
- Overly lifted arms (too vertical): Tees Under Arms Drill
- Snatching the club away with wrists: Connected Takeaway Drill
- Collapsing lead wrist (over-hinging) at the top: Thumbs Away Drill
- Inconsistent wrist positions at the top/address: Combined Top HackMotion Drill
- Stalling body rotation, flipping at impact: Body Rotation & Connection Drill
The Secret to a Better Golf Swing Starts with Your Wrists
Your clubface angle at impact determines 80% of your shot’s direction—your wrists control that angle. Click here for the best drills to master your wrist mechanics and take control of your game.
The 7 Drills to Perfect Your Golf Backswing
Preset Wrist Drill (Shaft on Top of the Stick)
Your wrist position controls the angle of the clubface throughout the golf swing.
If you can train the proper wrist position early in the backswing, it becomes easier to square the face at impact.
If you struggle with flippy wrists in the takeaway or an open clubface, this preset wrist drill can help get your backswing started the right way.
- Video Timestamp: 0:30 – 4:30
Preset Wrist Drill – Step by Step:
- Place an alignment stick on the ground parallel to your target line.
- Address the ball so that when the club is parallel to the ground (P2), the shaft is directly above that stick.
- Without moving your arms much, hinge your wrists so that: Your trail wrist (right wrist for right-handers) bends back into extension. Your lead wrist (left wrist for right-handers) moves slightly toward flexion.
- Check the clubface: it should be tilted slightly downward (not toe-up).
- From this “preset” position, swing up to the top, then return and hit the ball.
- Repeat slowly at first once you can consistently find that P2 position, incorporate a normal tempo swing.
Hip Station Drill (No-Sway Backswing)
Golfers who sway on their backswing tend to struggle with consistency and issues with weight shift.
Swaying off the ball instead of staying more centered changes the low point in your golf swing and leads to inconsistent golf shots, poor contact, and, ultimately, loss of power.
The Hip Station Drill is easy to set up and helps to encourage better rotation.
- Video Timestamp: 4:50 – 8:30
Hip Station Drill – Step by Step:
- Set a bag, chair, or alignment rod/tripod just an inch or two to the outside of your trail hip at address.
- As you swing back, feel your trail hip rotate behind you without bumping into the object. Your trail leg should straighten slightly, allowing your hip to turn “inward” rather than swaying “out.”
- Make a few practice backswings, ensuring you do not make contact with the object.
- Once comfortable, hit slow, half-swing shots: Turn the trail hip back and away from the object. Transition through, finishing with your weight forward on the lead leg.
- Gradually increase the speed and length of swing, keeping the same “no-sway” feeling.
Tees Under the Arms Drill
If your backswing is not connected and your arms lift or move off plane, you create too much work for yourself on the downswing.
The Tees Under the Arms Drill encourages a more “around the body” move and feel to improve consistency and ball striking.
What we love about this drill is that it can also be used to fix a slice.
- Video Timestamp: 8:40 – 12:02
Tees Under the Arms Drill – Step by Step:
- Tuck a small tee (or golf glove) under each armpit.
- Take your normal address position. You should feel mild pressure keeping the tees in place.
- Make slow backswings, focusing on: Turning your chest and shoulders rather than lifting your arms. Retaining light pressure under both arms so the tees don’t fall.
- Swing through impact, still feeling connection under your arms.
- Start with half-swings or pitch shots, then progress to longer swings as you get comfortable maintaining the connection.
Connected Takeaway Drill
The Connected Takeaway Drill prevents overusing hinging wrists in the initial takeaway.
Some players make the mistake of adding too much wrist hinge too quickly and forget to add the shoulder and hip turn needed for consistency and accuracy in the swing.
If you think your swing needs to be more connected, try this Connected Takeaway Drill.
- Video Timestamp: 1:40 – 2:40
Connected Takeaway Drill – Step by Step:
- Gently place the butt end of the club against your midsection.
- As you begin your backswing, maintain contact between the grip and your torso.
- Feel your shoulders and hips initiating the motion rather than your wrists.
- If the club separates from your midsection right away, you’re over-hinging or “snatching” the club with your hands.
- Practice slowly, then remove the club from your stomach and replicate the same “connected” feeling when you make a normal backswing.
Thumbs Away Drill
The Thumbs Away Drill is used to eliminate some excess extension in the lead wrist at the top of the backswing. This drill promotes a more powerful or flexed lead wrist position and puts you back in control of the clubface.
If you are one of those players who loses your wrist angles from swinging past parallel or struggles with an overly cupped lead wrist, the Thumbs Away Drill could be a good solution.
- Video Timestamp: 2:40 – 9:30
Thumbs Away Drill – Step by Step:
- Take your normal setup. Wear your HackMotion for this one, and take note of your lead wrist extension.
- Swing to the top, feeling as if your thumbs point “away” from your head, not curling back toward you. In reality, your lead wrist will move more toward flexion (a “bowed” or less-cupped position).
- Stop at the top and check your HackMotion readout (or do a quick visual check): Aim for reduced extension or slightly flexed lead wrist.
- Hit short shots first to feel stable wrist angles, then build into fuller swings.
Combined Top HackMotion Drill
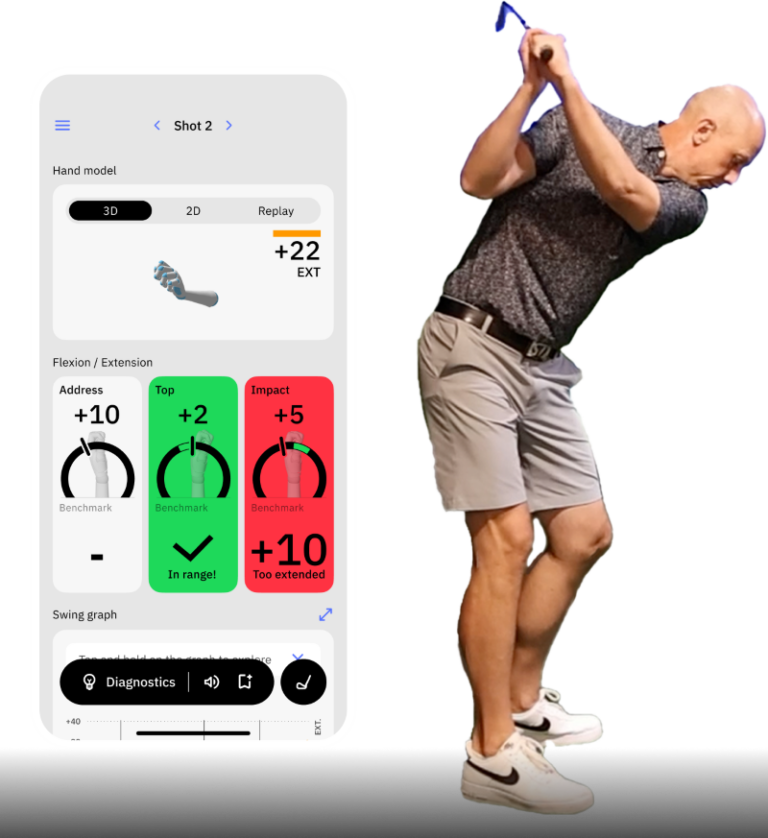
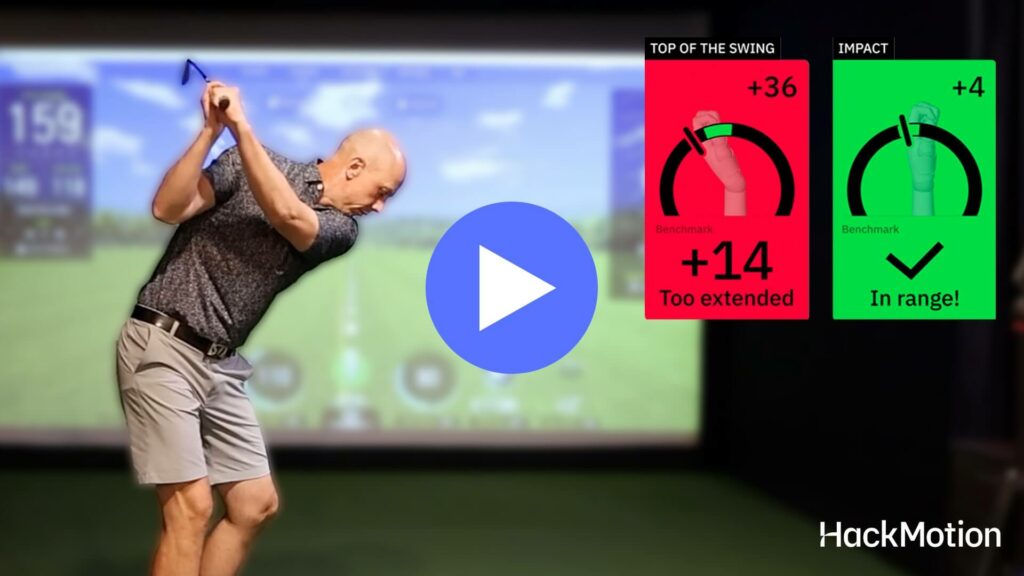
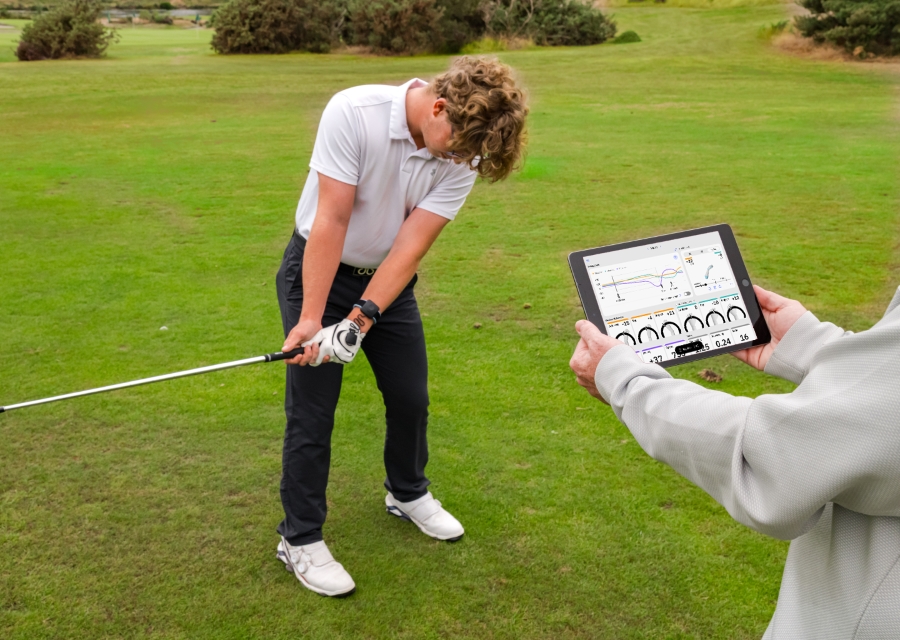
If you prefer a more interactive way to work on your backswing, try the Combined Top Drill from HackMotion. This drill trains the correct wrist position at the top of the backswing.
If you can get to the top of the backswing and be in the right position, you’ll have an easier time generating speed and power through the golf ball.
HackMotion Top Full Swing Challenge Drill
Train your top position with a maximum power swing and check if your backswing holds up when trying to hit the ball.
The HackMotion Top Drill
- Wear your HackMotion sensor and take a normal address, noting your wrist readings.
- Swing to the top, pausing when HackMotion shows your desired “green zone” flexion/extension.
- Hold that top position for a moment, memorizing the feel.
- Swing back down.
- Repeat 10 times (pause at the top each time), focusing on consistent HackMotion readings.
Body Rotation & Connection Drill
In addition to finding the proper wrist position in your golf swing, it’s also important to work on body rotation and connection.
When we work on HackMotion data analysis and updates, we see a common issue golfers struggle with: wrist flipping at impact.
If you can synchronize your arms and torso to achieve a little better shaft lean through impact, you’ll hit stronger shots that end up closer to your target without flipping your wrists.
While this drill may seem to focus on impact and after, if you lose this connection with the alignment stick in your backswing, you won’t be able to achieve these positions.
If wrist-flipping is something that causes you a lot of trouble in your golf game, take a look at our complete wrist-flipping course.
- Video Timestamp: 6:00 – 10:30
Body Rotation & Connection Drill – Step by Step:
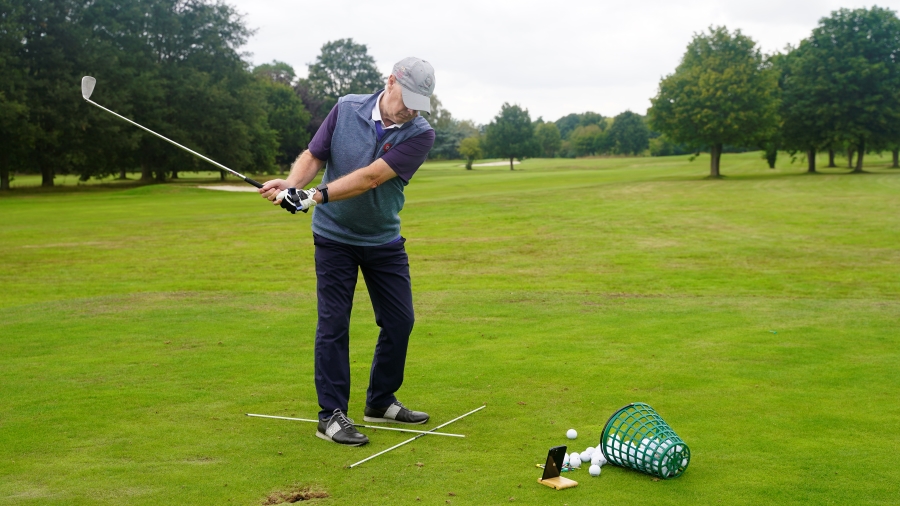
- Place an alignment stick down the grip so it extends a couple of feet past the butt end of the club.
- At address, the protruding stick should rest just off your lead hip.
- Make slow half-swings, keeping the stick from slamming into your lead side.
- This forces you to turn your body rather than “flip” your wrists.
Final Thoughts
The rest of the game gets easier if you can get the backswing right. These seven drills give you a great place to start.
Combine them with your HackMotion data and analysis, and you’ll see faster results and better progress. For even more precise guidance during backswing work, you can also train with skilled golf instructors who use HackMotion to teach correct positions.
