Golf Drills to Do at Home: The 9 Simple Drills for Indoor Practice
Golf practice does not need to happen at the course.
In fact, great players find a way to incorporate their practice into all areas of their lives, from work to home.
One of the best ways to practice your golf at home is to work on drills. Even if you can’t hit full golf shots, you can still work on motions and techniques that make you a better player.
We have put together the best indoor golf drills to do at home.
You won’t need much equipment for these; you can simply work with some of the things you have and create your own golf learning center from the comfort of home.
If You Struggle With… Try This Drill
If you already know the issues you are going to want to work on at home, here are some shortcuts to the drills that will help you:
- If you slice the ball often – Swing Path Correction Drill
- If you need help controlling your clubface at impact – Club Face Control Drill
- If your setup is inconsistent – Setup Distance Consistency Drill
- If you flip or scoop at impact – Impact Fix Drill
- If you hit the heel or toe of the club – Strike Location Awareness Drill
- If your chipping motion is off-plane – Chipping Plane Drill
- If you lack distance control and feel in chipping – Toss Drill for Chipping Feel
- If you sway or lose posture in the backswing – Head-on-the-Wall Stability Drill
- If you hit fat or thin shots – Low Point Control Drill
The Secret to a Better Golf Swing Starts with Your Wrists
Your clubface angle at impact determines 80% of your shot’s direction—your wrists control that angle. Click here for the best drills to master your wrist mechanics and take control of your game.
The 9 Best Golf Drills to Do at Home
Swing Path Correction Drill
Working on your swing path is a great indoor activity.
If you are struggling with an over-the-top move or an inside path and want to find a more neutral or slightly in-to-out path, this is a good drill to consider.
- Video Timestamp: 1:33-4:25
Swing Path Correction Drill – Step by Step
- Identify the current swing path using a simulator or a simple face-strike indicator (e.g., foot spray on the club face).
- Place a spare ball or obstacle just outside (target side) of your actual ball to block an out-to-in path. (Headcover works great.)
- Focus on swinging inside-to-out to avoid clipping the obstacle.
- Track progress by checking your path metrics or observing the ball flight indoors (if possible).
Club Face Control Drill
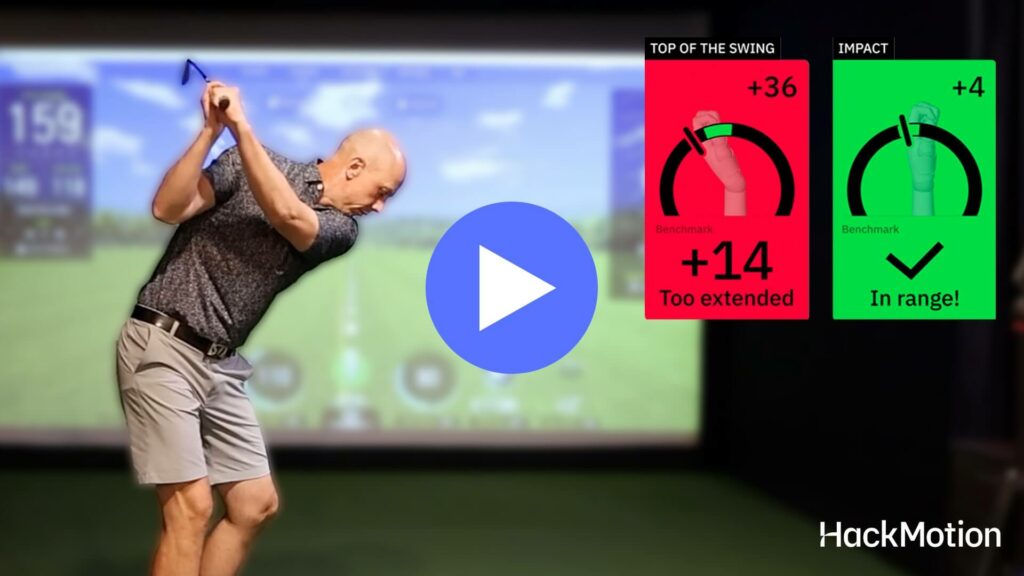
One of amateur golfers’ most common faults is leaving the clubface open at impact. Learning to control the clubface requires awareness of the lead wrist position throughout the swing.
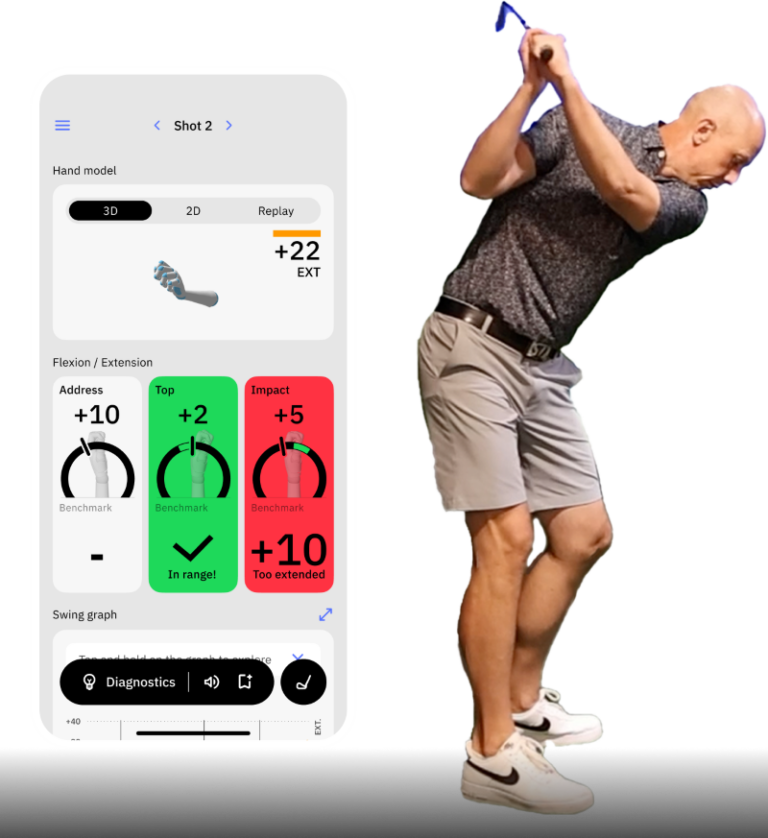
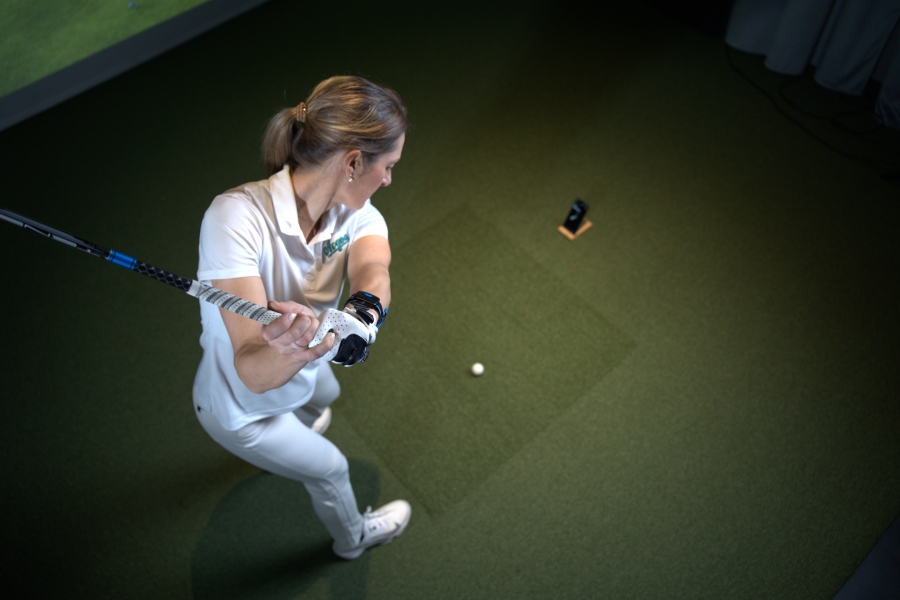
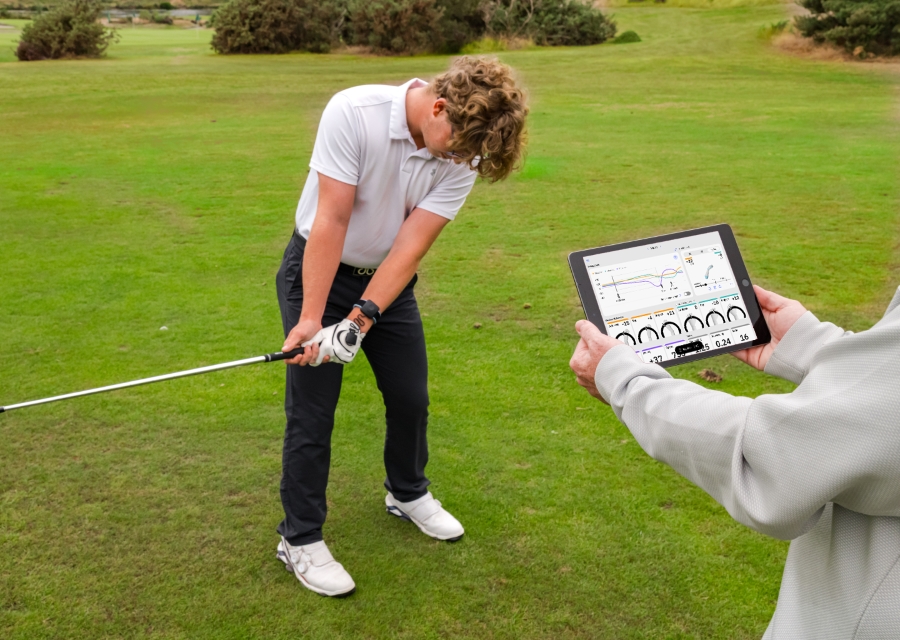
The best way to fix these issues is to wear your HackMotion and monitor the position of the clubface angle.
- Video Timestamp: 4:27-6:26
Club Face Control Drill – Step by Step
- Use the HackMotion wrist sensor to monitor wrist angles.
- If slicing, focus on keeping your lead wrist more flexed (flatter) through impact.
- Practice half-swings first, checking data or ball flight for face-angle improvements.
- Gradually lengthen the swing while maintaining correct wrist positioning.
- Utilize the HackMotion built-in impact drills to monitor your wrist action during impact in real-time.
Setup Distance Consistency Drill
Great players have consistent setups throughout a round of golf. They know the changes they have to make when moving from a driver to irons to wedges.
What many amateur golfers don’t realize is that setup can be practiced.
If you want to make sure you know exactly what position you should be in at address, try this setup distance consistency drill.
- Video Timestamp: 1:00-5:14
Setup Distance Consistency Drill – Step by Step
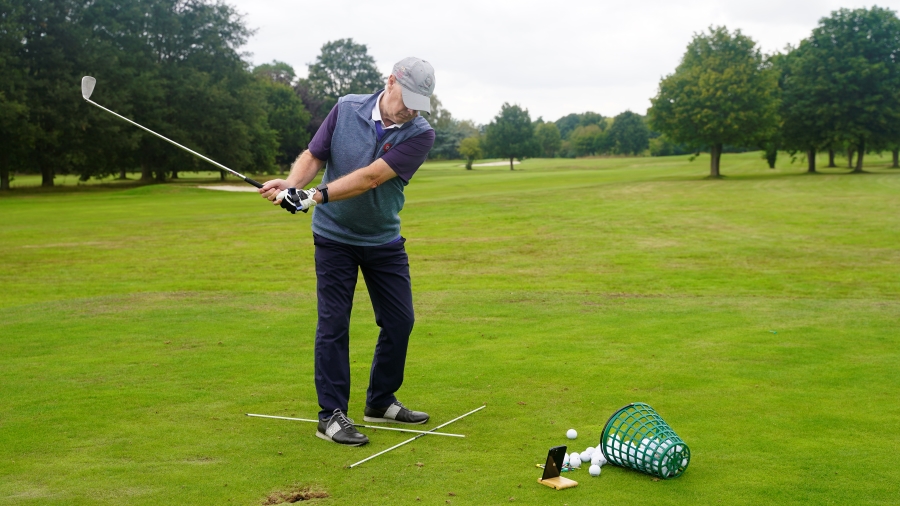
- Lay down one alignment stick aimed at your target and a second stick perpendicular (forming a “T”).
- Place the ball a clubhead’s width from the perpendicular stick (adjust for wedge vs. driver).
- Take your stance so that your arms hang naturally, then mark or note foot placement with a piece of tape, etc.
- Repeat for wedges, mid-irons, and drivers to create reliable references for all clubs. Leave this on your mat as you practice and work through issues in your game.
Impact Fix Drill
Flipping at impact is a last-minute effort to square the clubface and get the ball headed towards your target.
The impact fix drill can help you keep your shaft lean and lead wrist flexion through impact.
The drill has you mirror what the perfect impact position looks like, and then you will try to replicate that when hitting a shot.
- Video Timestamp: 5:46-7:19
Impact Fix Drill – Step by Step
- Set up normally, then move into your ideal impact position (more weight on lead foot, hips slightly open).
- Alternate between setup and this “impact fix” position to build muscle memory.
- Make small half-swings, ensuring you return to that same impact position each time.
- Gradually extend the swing as your comfort improves.
Strike Location Awareness Drill
How often do you think you hit the center of your clubface? For most golfers, the answer is not often.
If you hit on the toe or the heel consistently, it’s important to make changes to your setup and swing path to fix it.
For any golfer looking to tighten dispersion and maximize ball speed, the Strike Location Awareness Drill is a great at-home drill to try (watch the video above, timestamp: 8:46-10:50).
Strike Location Awareness Drill – Step by Step
- Spray the club face foot spray or apply impact tape.
- Hit several shots, noting the location of impact.
- If patterns cluster on the heel or toe, adjust the stance or swing path.
- Practice deliberately hitting different parts of the face to develop a “feel” for center contact.
Chipping Plane Drill
Having the proper swing plane in chipping will help you hit more consistent golf shots.
If you want your swing to be more on plane instead of over the top or too far inside, then this chipping plane drill is a good one to practice.
It works best if you have some water bottles or something similar to use as you set up the drill.
- Video Timestamp: 0:22-1:59
Chipping Plane Drill – Step by Step
- Arrange four water bottles around the ball, creating a pathway for the club.
- Use foam or wiffle balls indoors to avoid damage.
- Make short, controlled chipping swings without knocking over the bottles.
- Narrow the gap as you improve for a tighter swing plane.
Toss Drill for Chipping Feel
Distance control and feel can be difficult to practice when you are working on your golf game at home.
If you are one of those players that tends to rocket your chips across the green, try this Toss Drill. You will actually work on tossing golf balls (not even hitting them with a club).
The concept will help you focus on a smooth tempo and release and learn to translate that to the chipping motion.
- Video Timestamp: 2:12-3:52
Toss Drill for Chipping Feel – Step by Step
- Set a bucket or small target a short distance away.
- Toss golf balls underhand, focusing on a smooth release—similar to a chip shot.
- Track how many you land in the bucket or near your intended landing spot.
- Vary distances to build a better overall feel.
Head-on-the-Wall Stability Drill
Most great golf instructors will tell you that swaying in the golf swing is inefficient.
If you are losing your posture in the backswing, swaying off the ball, or even standing up early in the downswing, the Head-on-the-Wall stability drill could help.
You’ll learn how to make the correct hip and shoulder turn without swaying.
This drill is good for golfers who are losing power and accuracy due to an inefficient swing.
- Video Timestamp: 0:19-1:45
Head-on-the-Wall Stability Drill – Step by Step
- Stand so your forehead lightly touches a wall (or a stick set up vertically).
- Make your backswing, keeping your head in contact with the wall.
- Transition while staying in contact; avoid sliding your head off the wall.
- Practice reaching a good impact and follow-through position (arms parallel to the ground) before allowing the head to come off.
Low Point Control Drill
In golf, we always want to make sure the club comes into contact with the ball first, then the ground.
If you top the ball, hit fat or thin shots, and experience general inconsistency in the strike, a Low-Point Control Drill is a good one to work on.
All you need is a piece of masking tape. Even Bryson Dechambeau uses this drill when he practices.
- Video Timestamp: 6:00-7:35
Low Point Control Drill – Step by Step
- Use a divot board or place a line of masking tape on the ground.
- Place the ball just forward of that line.
- Make swings, focusing on contacting the ground on or just past the tape line.
- Check the board or tape after each swing to confirm the proper low point location.
Final Thoughts
At this point, you have plenty of indoor golf drills to do at home. You can keep yourself busy completing a few of these drills each day. You’ll find one or two that stand out and help you get into the desired positions.
Establish a routine when you can’t be at the course that helps you prepare your golf game for the next round.
Use your HackMotion in combination with any of these drills to track progress and make indoor practice more effective. And if you want real eyes on your swing, consider working with a golf coach who uses HackMotion for even more accurate, data-driven feedback.
