Best Putting Tips for Seniors – Techniques, Drills & Simple Adjustments That Work
Your putter doesn’t know how old you are. Putting is the great equalizer of the game and whether you’re 8 or 88, you can putt well and you can improve and compete with great players.
Of course, older players will have to make certain adjustments to accommodate for their changing bodies. Unless you are 8, you know that at any age, we deal with ailments of some kind. Those ailments are compounded as the years add up.
These tips and drills are designed specifically for seniors who want to putt better. While you may not hit your driver as far as you used to, you can still putt with the best of them and definitely avoid three-putting at all costs.
The drills below complement the tips to cover all aspects of putting. Follow this guide and you’ll improve your putting without putting any unnecessary stress on your body.
Senior Putting Guide (Key Takeaways)
Here is a quick rundown of what seniors should do if they want to improve their putting and keep their scores low.
- Adjust posture and setup to a more back-friendly position
- Neutralize wrist action
- Always work on distance control more than aim
- Change method of reading greens to relieve stress on knees and back
- Develop a repeatable and stress-free pre-putt routine
- Practice smarter, not longer
Contents
- 7 Best Putting Tips to Help Seniors Putt Better
- Adopt a Back-Friendly, Stable Setup
- Use a Grip Style That Neutralizes Wrist Action
- Make Distance Control Your Superpower with Tempo and Stroke Length
- Read Greens Efficiently without Crouching
- Develop a Pre-Putt Routine to Manage Tension
- Choose Equipment That Forgives
- Practice Smarter, Not Longer, to Protect Energy and Joints
- Putting Drills for Seniors
- Final Thoughts
7 Best Putting Tips to Help Seniors Putt Better
It’s important to remember the words of world-renowned golf psychologist Dr. Bob Rotella, who said, “Golf is not a game of perfect”. There are many ways to play good golf, and that’s what makes this game so great.
Use these tips to adapt your game to your age so you can keep up with the young guns!
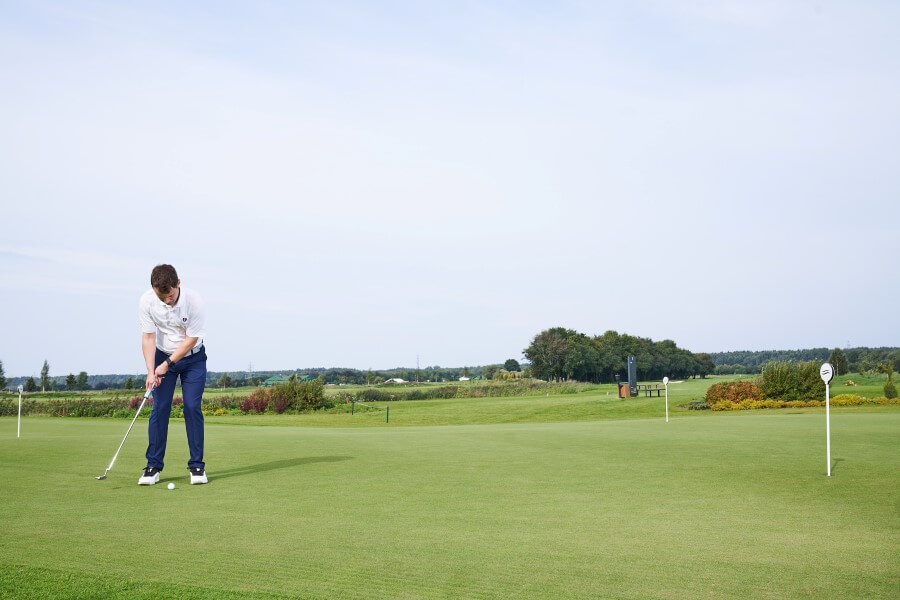
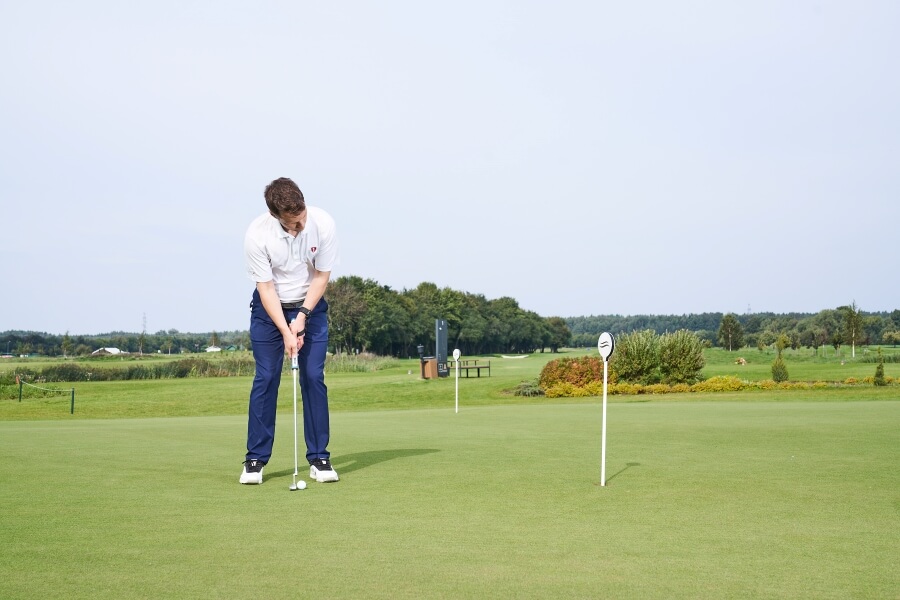
Adopt a Back-Friendly, Stable Setup
Many seniors experience stiffness or lower-back discomfort, making it hard to repeat a classic “eyes-over-the-ball, deep bend” posture. To combat this, try the following;
- Stand a touch taller
- Slight knee flex
- Flare your feet for comfort
- Let your eyes sit just inside the ball line rather than forcing them directly over it
If you struggle to reach the ball comfortably, consider a putter that’s 0.5–1 inch longer and have a fitter check the lie/loft so the sole sits flat and the ball launches with just enough loft to start rolling quickly. A back-friendly posture you can hold all day is the foundation of a repeatable stroke.
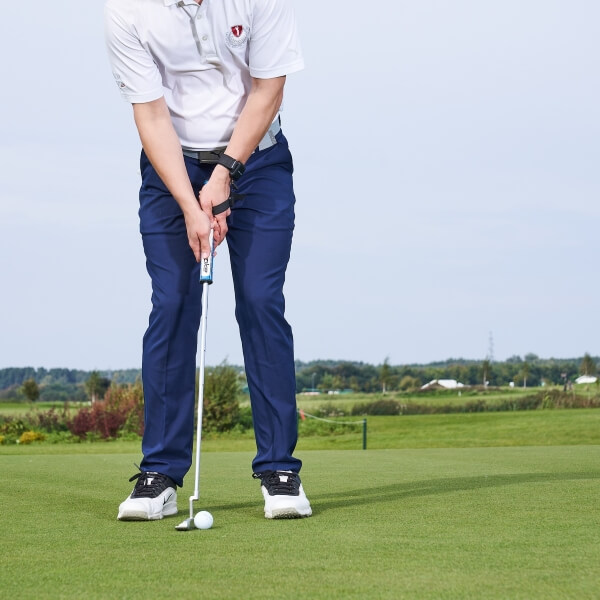
Use a Grip Style That Neutralizes Wrist Action
Modern putting grips like left-hand-low (lead-hand-low), the claw, or the pencil grip keep the lead wrist flatter and the putter face more stable through impact.
For seniors who experience wrist breakdown, grip pressure variability, or mild tremors, these styles limit moving parts and reduce the need for hand speed to square the face.
Start with light, even grip pressure (imagine holding a tube of toothpaste without squeezing) and let the shoulders rock the stroke.
A stable face means fewer pushed or pulled putts, especially from 3–6 feet, where nerves and fine-motor control tend to show up.
Make Distance Control Your Superpower with Tempo and Stroke Length
Three-putts often come from poor pace, not poor line.
Seniors typically benefit from a simple, repeatable rhythm – think “one-two” or a metronome around 70–76 BPM—and a stroke length that matches putt length rather than a hit with the hands.
On slower municipal greens common to many senior rounds, a slightly heavier head or firmer strike can help, but keep the acceleration smooth. Reliable distance control shrinks your leave, turning long two-putts into stress-free tap-ins.
Read Greens Efficiently without Crouching
If crouching strains your knees or back – or if bifocals make close-up views tricky – use your feet and your walk to sense slope.
- As you approach the hole, walk the line of the putt and feel which foot “falls downhill.”
- Then take one low-side look from 10–15 feet behind the hole (no deep squat required).
- Use a high-contrast alignment aid: a bold line on the ball and a mallet with clear top-lines can compensate for changes in depth perception.
- Efficient, upright reads save energy, protect joints, and improve accuracy.
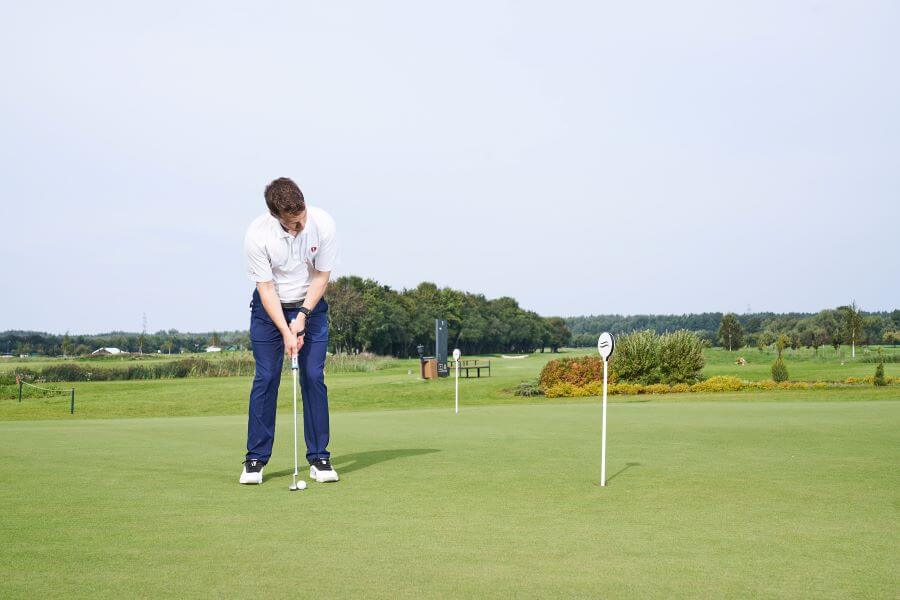
Develop a Pre-Putt Routine to Manage Tension
A predictable routine counters nerves, occasional yip-like tension, and day-to-day variability.
Try this: one deep breath while you picture the ball’s roll; set the ball’s line to your chosen start line; one or two rehearsal strokes, feeling the required pace; step in, square the face first, then your feet; last look to the hole; roll it.
Keep the number of looks and practice strokes consistent. This simplicity reduces decision fatigue and keeps your mind on a single cue (tempo or start line), which is particularly helpful when focus or confidence fluctuates.
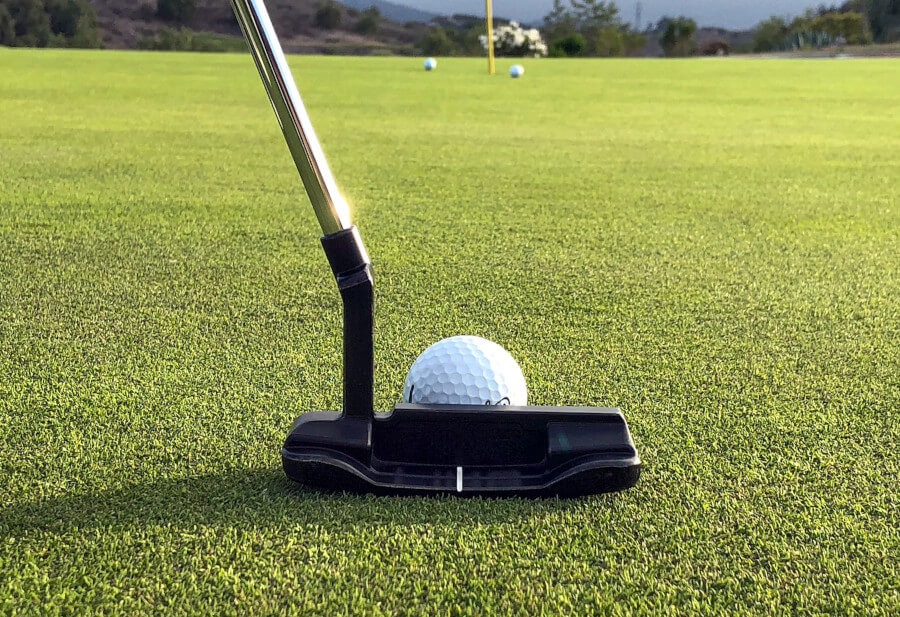
Choose Equipment That Forgives
- Bigger, softer grips reduce excessive wrist hinge and help those with arthritis or reduced hand strength keep the face stable.
- Face-balanced mallet putters and higher-MOI heads resist twisting on off-center strikes, which is especially useful if hand speed or coordination isn’t what it once was.
- A bit more head weight or a counterbalanced design can smooth tempo and dampen shakiness.
- Ask a fitter to confirm your length, lie, and loft. Many seniors benefit from a touch more length for posture comfort and from a loft that matches their green speeds and strike, ensuring the ball rolls true rather than hopping.
Practice Smarter, Not Longer, to Protect Energy and Joints
Short, focused sessions (10–15 minutes) beat long, fatiguing ones. Prioritize drills like a start-line gate, a 3-foot “circle” or “clock” drill around the hole for confidence, and a distance ladder for pace.
At home, a putting mat or a strip of carpet lets you groove face control daily without wear and tear. Before a round, spend most of your warm-up on pace: roll to the fringe from varying distances, then finish with a few 3–5 footers to see the ball fall.
You’ll arrive on the first green loosened up, confident, and consistent – without taxing your back or knees.
Putting Drills for Seniors
These drills will cover all aspects of putting with little tension on your body. All seniors will benefit from these few drills, and you’ll start seeing an improvement in your putting very quickly.
Train smarter at home—putting, short game, and full swing. Start with these putting drills to practice at home, then expand your routine with our full guide on how to practice golf at home.
Coin & Pencil Drill
Maintaining neutral wrists is an easy way to improve your putting. Flipping your wrists is one of the leading causes of poor aim and distance control in putting amongst seniors.
You only need a coin and a pencil or chopstick for this drill, and it will physically train you to keep your wrists quiet so you putterface can remain square.
- Video Timestamp: 1:20 – 7:18
Coin & Pencil Drill – Step by Step
- Attach a pencil or chopstick to your wrist using your Hackmotion straps or a hair elastic.
- The pencil should start at your thumb bone and run up the side of your wrist to the bottom of your forearm.
- Insert a coin between the pencil and your thumb bone.
- Take your putting stroke without letting the coin drop.
- If your wrists are out of position, the coin will fall.
- Hit putts of any length with this drill to maintain quiet wrists and a square putterface.
Ladder Drill
Working on distance control should always be done when practicing putting. This is the only drill seniors need to get their weight dialed in. Use this drill at the beginning of every round to learn the speed of the greens for the day, especially if you are playing a new or different golf course.
You can also use this drill with a partner to create a little friendly competition. Adding pressure to your practice routine will better prepare you for the nerves you’ll face out on the golf course.
- Video Timestamp: 0:15 – 5:45
Ladder Drill – Step by Step
- Lay an alignment stick down about 15 feet away from you, perpendicular to your target line.
- Lay a second alignment stick down parallel to the first, but 3-4 feet past it.
- Line up your putt just to the side of the alignment sticks and hit your first putt so it passes the first alignment stick but stays short of the second.
- Hit your second putt past your first putt but still short of the second alignment stick.
- Hit your third putt so it passes your second putt but stays short of the second alignment stick.
- Keep this pattern going until you hit a putt that either comes up short of the previous putt or passes the second alignment stick.
- Keep track of how many putts you can achieve using this system and try to beat it next time.
Starting Line Drill
Long putts become easier if you focus on a spot that’s a foot to 18 inches in front of you.
After you go through your green reading procedure, use that information to identify a line to start your putt on. Then, use this drill to train your body to always hit that starting line.
Starting Line Drill – Step by Step
- Identify a putt that is at least 15 feet long.
- Place 2 paper cups about two ball widths apart next to each other, about eight inches in front of your ball.
- Use the cups as a ‘gate’ that you must putt through.
- This will help you focus on the starting line and also make it easier to get lined up for long putts if your vision is not strong.
Metronome Drill
Weight control and alignment are both controlled by effective tempo. Your best putting will come from being able to maintain a consistent rhythm on all length putts and to do that, you must practice this just like any other skill.
The Hackmotion app comes with a metronome feature that is customizable to your putting tempo preference.
You can use this drill to lock in your stroke tempo and learn exactly which tempo to use for long, short and all putts in between.
- Video Timestamp: 3:01 – 10:01
Metronome Drill – Step by Step
- Insert two tees into the green about a foot apart that will represent your backswing and follow through.
- Insert two more tees about six inches wider than the first pair.
- Insert two more tees about six inches wider than the second pair.
- These tees represent your putting stroke for three different distances, but should be used with the same tempo.
- Record the distances and then use your feet as a reference to remember each stroke to use them as benchmarks when on the course.
Final Thoughts
Putting is something where age will have the least affect. Sure, it may be hard to hit booming drives or piercing long irons as we age, but draining long bombs and avoiding 3-putts is an area of the game that will continuously improve with a little bit of work.
Using Hackmotion will improve your full swing and your putting. With specified drills that track your progress, you can use Hackmotion in conjunction with the personalized tips above to make putting one of the strongest parts of your game.