6 Proven Clubface Control Drills for Consistency & Accuracy
If you want to hit the ball straight, you need to control your clubface at impact. If the ball goes to the right, the face is open; if it goes to the left, the face is closed.
This may seem simple, but controlling the clubface in golf is difficult and takes some time to learn.
One of the best ways to work on controlling your clubface is through drills. Your wrists control your clubface so many of these drills to establish and perfect clubface control deal with the wrists.
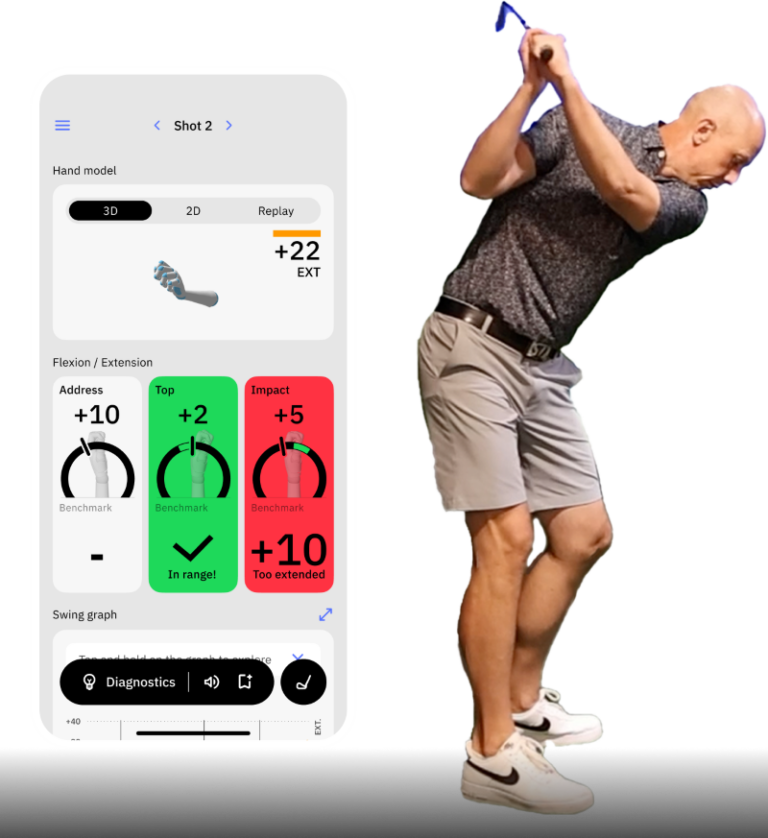
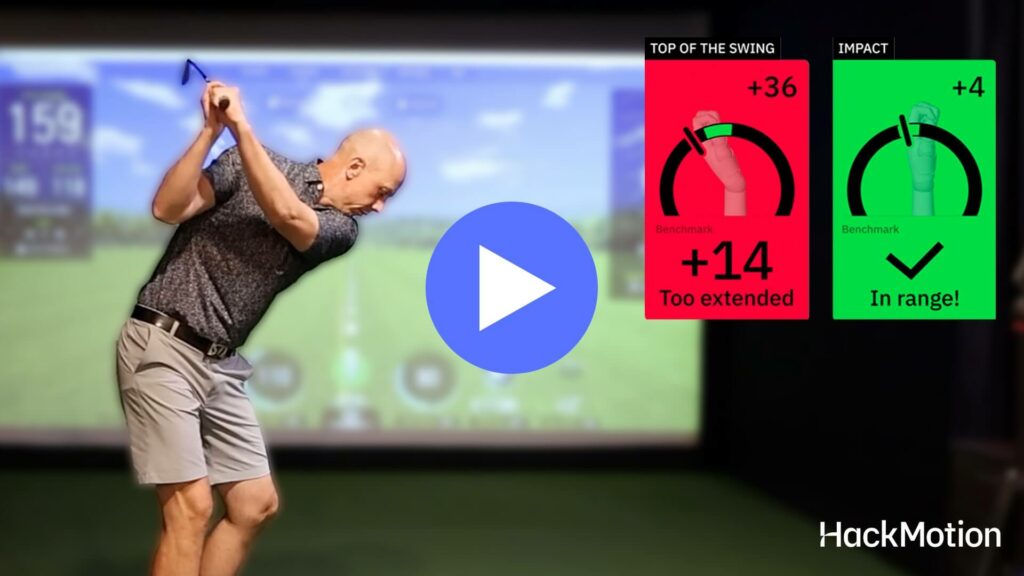
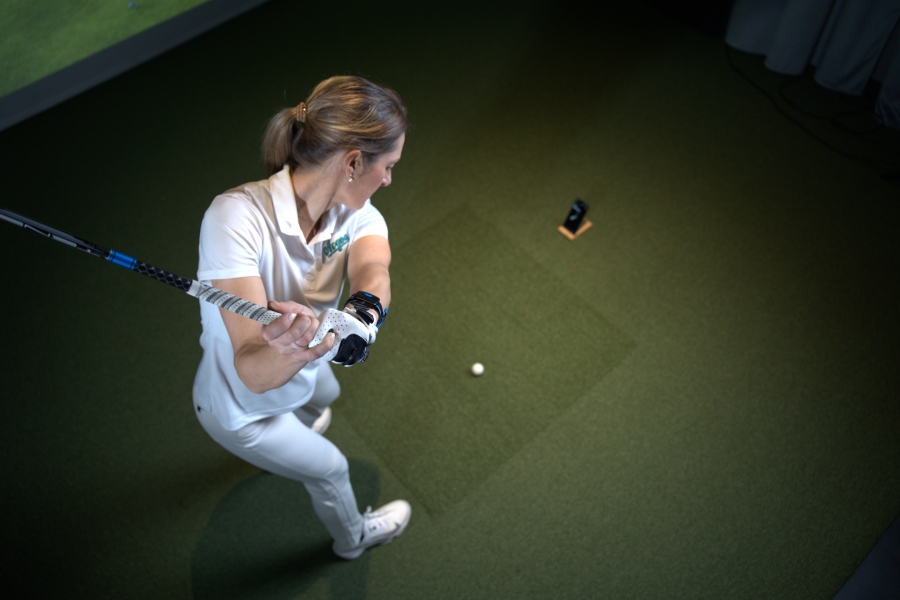
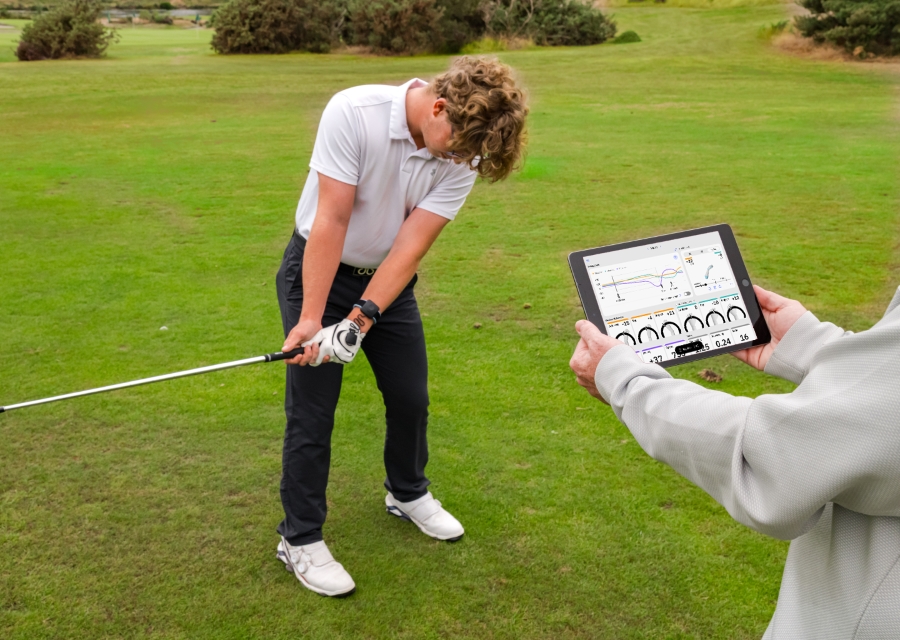
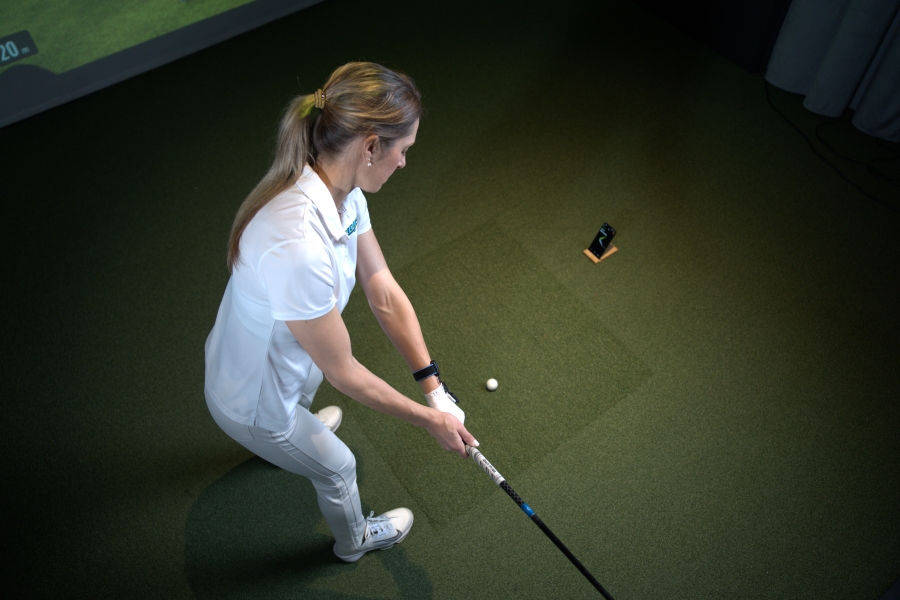
Using your HackMotion while you practice will help deepen your understanding and give you some data you can use to measure progress.
Contents
The Secret to Better Clubface Control Starts with Your Wrists!
Your clubface angle at impact controls shot direction—your wrists determine that angle. Try these wrist drills to improve clubface control and hit straighter shots.
6 Proven Drills for Better Clubface Control
Lead Wrist Extension vs. Flexion Drill
Lead wrist extension, also known as cupping, tends to open the clubface. The opposite of wrist extension is lead wrist flexion, also known as bowing.
If you can practice the movement of bowing and flexing, you’ll see how it impacts the clubface and opens and closes it throughout the swing.
- Video Timestamp: 1:00-2:10
Lead Wrist Extension vs. Flexion Drill – Step by Step
- Address Position: Set up in your normal stance and grip. Notice a slight cupping (extension) in your lead wrist at address.
- Rehearse Extension: Swing the club partway back and deliberately increase lead wrist extension (cupping). Observe how the clubface opens.
- Rehearse Flexion: Next, swing back the same amount, but now bow (flex) your lead wrist; notice the face closing.
- Blend and Swing: Make small swings, feeling a neutral (flat) lead wrist at the top and a slight bow (flexion) as you move down.
- Hit Shots: Gradually add speed, focusing on using just enough flex in your lead wrist so you don’t “flip” and leave the face wide open. Aim for smooth contact with a controlled shot shape. Measure your Wrist action in real time using HackMotion.
Fade Setup (Ball Forward, Handle Down) Drill
We often talk about how to get rid of a slice or a fade, but some golfers know there are real benefits to hitting a controlled fade.
A fade can give you a higher ball flight, softer landing, and more control over your golf shot.
To encourage a left-to-right shot (fade), you can move the ball forward, lower the handle, and retain more extension of the lead wrist through impact. This setup and wrist feel help you keep the face slightly open relative to your swing path.
Use this drill to establish better clubface control for hitting the fade.
- Video Timestamp: 2:20-3:45
Fade Setup (Ball Forward, Handle Down) Drill – Step by Step
- Ball Forward: In your stance, move the ball closer to your lead foot than usual.
- Shaft More Vertical: Let the shaft be less “leaned forward”; the handle will appear slightly lower so the toe can come off the ground a bit.
- Lead Wrist Extension: As you swing back, feel a slight “cupping” of your lead wrist (extension).
- Swing Left: Through impact, feel your hands stay low, and let your arms and club move slightly “left” around your body.
- Keep the Face Skyward: Imagine “holding the face to the sky” a bit through impact. This helps prevent flipping and promotes a soft fade.
Draw Setup (Ball Back, Forward Handle) Drill
If you tend to lose power in your golf swing and leave the face a little open at impact, consider the draw setup drill.
The draw, a right-to-left shot, is known for flying a few extra yards. It’s a great shot when trying to maximize distance from the tee.
This draw setup drill helps you learn to close the clubface slightly through impact and have a more right-to-left shot.
- Video Timestamp: 7:59-9:15
Draw Setup (Ball Back, Forward Handle) Drill – Step by Step
- Ball Back: Move the ball about 1–2 ball-widths behind your usual position (toward trail foot).
- Handle Forward: Press the handle forward so there’s a clear forward shaft lean.
- Lead Wrist Flexion: As you swing back, maintain or even increase bowing (flex) in your lead wrist; feel the face “turned down.”
- In-to-Out Path: With the ball back, your downswing path will tend to travel more from inside to out.
- Release with Forward Lean: Keep the handle forward through impact to promote a closed face to path, producing a draw.
Hit Hard, Stop Quick Drill
In addition to controlling direction, when you have control of your clubface, you can also work on crisp contact.
The Hit Hard Stop Quick drill is an effective drill that makes it easier to learn forward shaft lean and prevent “flips.”
- Video Timestamp: 3:45-5:10
Hit Hard, Stop Quick Drill – Step by Step
- Set Up Normally: Take your normal address with a mid-iron.
- Small Swings First: Make half swings, hitting the ball and trying to “freeze” just after contact.
- Maintain Wrist Angles: At the finish, the lead arm and the shaft should form a straight line. Avoid letting the shaft pass (flip) your lead forearm.
- Gradually Add Speed: As you get comfortable, make bigger backswings but still “stop quick” after impact.
- Check Ball Flight: If you’re flipping, the ball will pop up or curve uncontrollably. Good structure will feel more solid with a straighter flight. Wear your HackMotion and check your wrist angles at and just after impact.
“The Wrench” Weight-Forward Drill
The Wrench is a drill that helps if you hit thin shots or flip through impact.
This drill has you pre-set your weight onto the lead foot (like turning a wrench around a fixed bolt) so the club can descend consistently in front of the ball.
If you’re looking for some help getting ball first contact, this is one to try.
- Video Timestamp: 0:55-1:50
“The Wrench” Weight-Forward Drill – Step by Step
- Preset Weight Left: At address, shift nearly all your weight onto your lead foot.
- Feel the “Fixed Bolt”: Imagine your lead hip is the bolt; you’ll pivot (wrench) around that point instead of shifting laterally.
- Short Backswing: Keep weight on the lead side, making a compact backswing.
- Turn Through: Rotate around that lead side, striking down on the ball and compressing it without flipping.
- Progress to Bigger Swings: Once you’re comfortable, lengthen the swing while keeping that anchored, weight-forward sensation.
Alignment Stick Anti-Flip Drill
Even when you contact the golf ball, your job of controlling the clubface is not done.
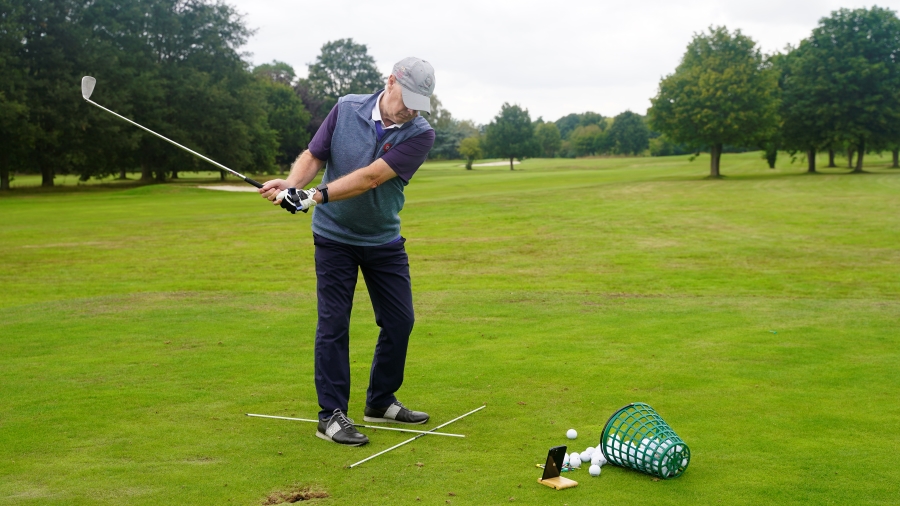
The Alignment Stick Anti-Flip drill requires you to place an alignment stick along your lead side and learn to maintain a lean shaft and stabilize the face.
- Video Timestamp: 7:09-9:20
Alignment Stick Anti-Flip Drill – Step by Step
- Attach Stick: Slide an alignment stick under/along your lead forearm (or grip it together with your club so it forms a straight extension of your lead arm).
- Slight Forward Lean at Setup: Begin with the handle slightly forward, matching the stick alignment.
- Half-Speed Rehearsals: Swing halfway back and through, keeping the stick from hitting your body or flipping forward.
- Maintain Arm–Shaft Line: Feel the stick and shaft “trail” your lead arm—this prevents early release.
- Hit Shots Gently: Once you can keep that lead-side structure intact, speed up gradually, ensuring you don’t let the stick catch you in the ribs after impact.
Final thoughts
Clubface control may not come to you naturally. Work on controlling your clubface by practicing these drills and becoming better with the consistency of your strike.
You’ll be able to shape your shots and have some control if your ball starts going astray on the course. Use HackMotion to monitor your wrist angles and measure your progress. If you want help developing reliable clubface control, you can also work with skilled golf instructors who use HackMotion to teach consistent impact positions.
