Downswing Sequence in Golf: How to Move from the Top to Impact Like a Pro
If you’ve ever watched your swing on video and thought, “It looks fine at the top, so why do my shots still miss?” the answer lies in your downswing sequence.
The downswing is where everything (both good and bad) happens.
How your hips, shoulders, arms, and wrists move in relation to each other determines whether you strike it flush or fight pulls, slices, and weak contact.
In this guide, we’ll break down how the downswing works, how each body part contributes, and how to train the correct motion using HackMotion to sync wrist angles and body movement for a more powerful, repeatable swing.
Downswing Sequence in Golf (Key Takeaways)
- A proper downswing sequence starts from the ground up with the lower body first and the upper body last.
- The hips shift and rotate, followed by the torso, arms, and finally the wrists.
- The lead wrist flexes and the trail wrist stays extended through impact for control and compression.
- Rushing from the top (shoulders before hips) leads to a steep, inconsistent swing path.
- Training with HackMotion lets you time wrist movement with rotation, syncing mechanics for a square face at impact.
Contents
Downswing Sequence in Golf: How Your Body Should Move from the Ground Up
A great downswing has a proper sequence. If you can follow the sequence, you’ll gain speed and confidence that leads to much better golf.
Each part of your body fires in a specific order to deliver power and control. When that order breaks down, even a perfect backswing can unravel.
Here’s how the motion flows from the ground up:
Lower Body: The Starting Engine
The downswing starts from the ground, not the hands.
- Shift pressure into your lead foot, especially the heel, as your first move down.
- Let your hips bump slightly toward the target, then begin to rotate open.
- This shift and turn create space for the arms to drop and shallow naturally.
- When the hips stall or slide too far, the upper body takes over; that’s when pulls and chunks appear.
A great checkpoint for the start of the downswing is to see if your lead hip is turning before your shoulders move. If that happens, you’ll know you’ve started with this pressure shift to the lead foot.
Torso and Shoulders: Storing Power a Split-Second Longer
After the hips start unwinding, the torso and shoulders follow.
- Keep your chest facing slightly away from the target as the club starts down.
- This small delay keeps your arms in front of your body and stops the club from steepening.
- Once the arms drop, the shoulders rotate through, transferring power smoothly.
If your shoulders spin too soon, the club gets “over the top” which is a common cause of slices and glancing contact.
Arms and Hands: Following the Chain, Not Leading It
One of the most common issues that amateur players struggle with is the desire to want to go after the ball using the arms and hands.
It’s almost a natural reaction, but it leads to poor contact and inconsistent results. The arms should react to the body’s motion, not start it.
- Let the arms fall naturally as the hips open and pressure moves forward.
- Avoid “yanking” from the top; that kills your sequence.
- Keep the elbows close to the rib cage so the hands can lead into impact.
- As you rotate through, the hands stay ahead of the clubhead — the key to forward shaft lean.
At impact, your lead arm and shaft form a straight line, hands slightly in front of the clubhead.
Wrists and Clubface: The Final Link
The wrists determine where the clubface points at impact. If you don’t have the proper lead and trail wrist position on the downswing, you’ll spend the entire time trying to save impact.
Wrist action is often misunderstood and underappreciated by amateur players, but it will determine your ability to square the clubface at impact.
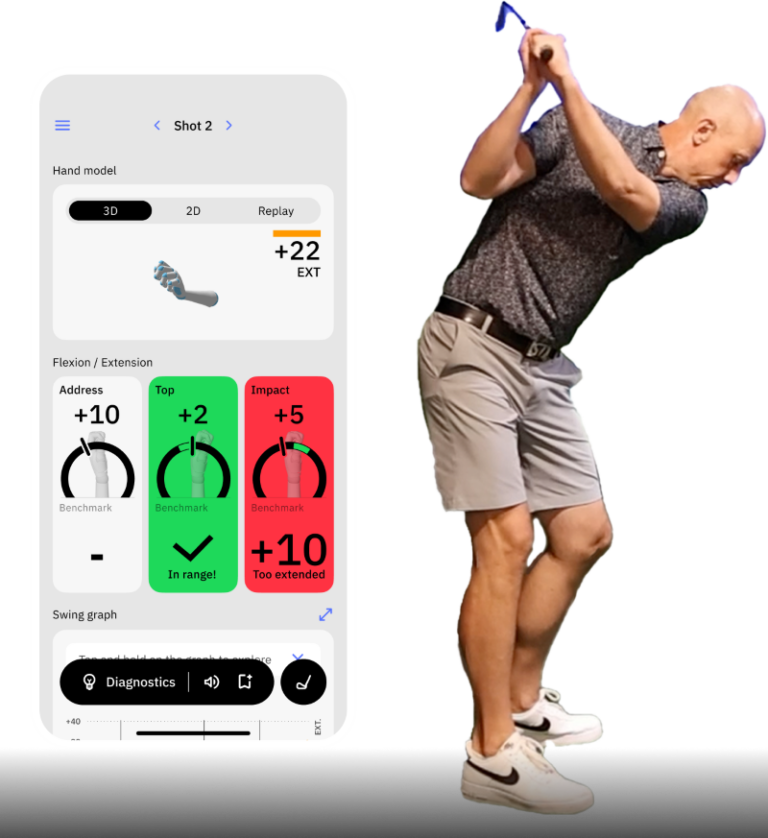
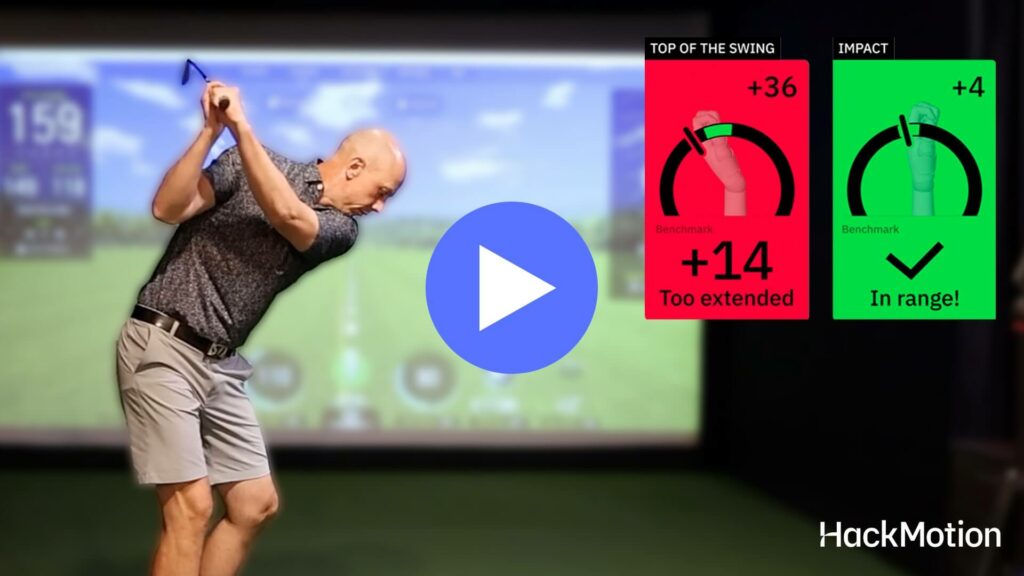
- The lead wrist moves from flat at the top into flexion (bowed) during transition.
- The trail wrist stays extended (bent back) through impact, supporting the face.
- This motion stabilizes the clubface and controls loft — your built-in insurance against flipping or scooping.
See how the wrists move in real time – use the slow-motion player below, then explore Wrists in the Downswing for a deeper look at wrist mechanics, and Wrists & Hands in the Golf Swing (Slow Motion Breakdown) for the full sequence.
Use HackMotion to see these angles live. You’ll instantly know if your wrists are syncing correctly with your body’s motion.
At impact, the lead wrist is flexed about 10–15°, trail wrist is extended 20–30°, and the shaft leans forward.
Common Downswing Sequence Mistakes
It takes some time to get downswing issues fixed in your golf swing. Along the way, you may run into some of these common issues. Work through each one until you feel more confident in your downswing.
| Mistake | What Happens | How to Fix It |
|---|---|---|
| Shoulders fire first | Steep path, pull cuts, loss of lag | Pause at top, start downswing with hips |
| No lower-body shift | Arms dominate, weak contact | Feel lead heel pressure early |
| Over-holding lag | Blocks, fat shots | Allow natural release post-impact |
| Trail wrist straightens too soon | Flip, high weak shots | Use the HackMotion Casting Drill to retain extension |
| Lead wrist stays cupped | Open face, slices | Practice the Motorcycle Drill for proper flexion |
Drills to Train the Downswing Sequence
Once you understand the motion, you need to train it.
These drills help sync your body and wrist mechanics so your downswing sequence becomes second nature.
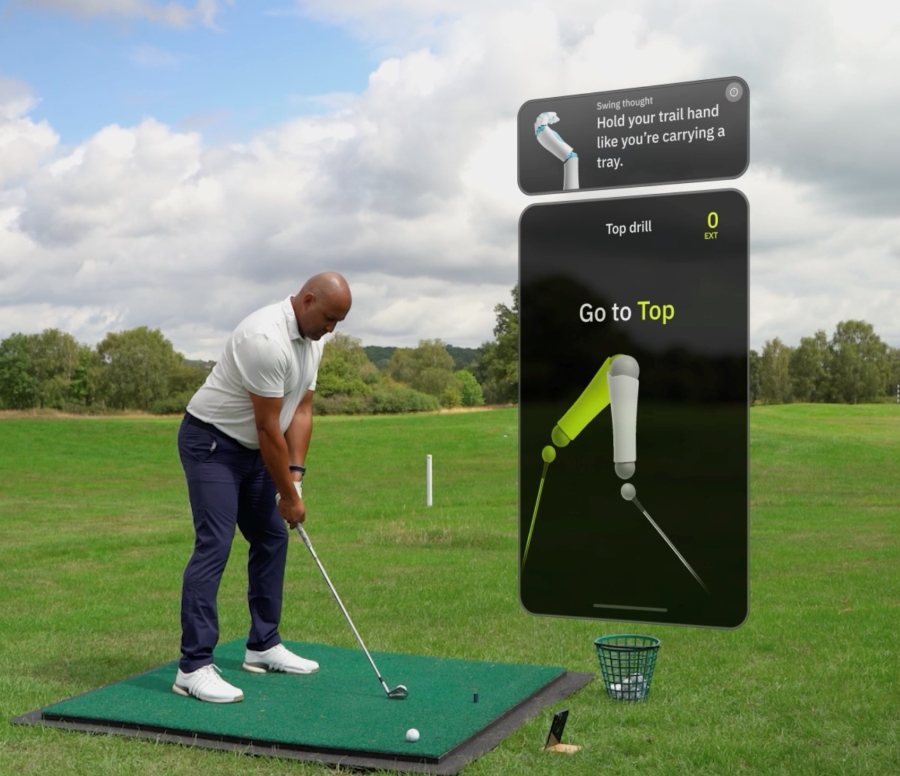
HackMotion Dynamic Transition Drill
This drill links your body shift, rotation, and wrist movement, all crucial for proper downswing sequencing.
Transition Drill in HackMotion
Master your sequencing and pivot to improve your swing efficiency and control.
HackMotion Transition Drill – Step by Step
- Swing to the top and pause.
- Initiate the downswing by shifting pressure to your lead foot while keeping your back facing the target.
- As you move down, feel the lead wrist flex and trail wrist bend back.
- Rotate through to a controlled finish, watching HackMotion’s live data to confirm both wrist angles.
- Repeat slowly, then increase speed once the sequence feels natural.
HackMotion Casting Drill
This one prevents early release by teaching your trail wrist to stay bent back through impact.
HackMotion Casting Drill – Step by Step
- Take your backswing and pause at the top.
- Start your downswing by bumping the hips forward and rotating not pulling with the arms.
- Track your trail wrist in HackMotion; it should stay extended (positive value) until impact.
- Gradually build up to full swings while keeping that extension consistent.
Motorcycle Drill (Lead Wrist Flexion)
The Motorcycle Drill teaches the correct motion of the lead wrist from the top, flattening and bowing to stabilize the face and control loft.
HackMotion Motorcycle Drill – Step by Step
- Swing to the top and pause.
- As you start down, “rev the throttle” rotate your lead hand so your knuckles face the ground.
- Watch HackMotion’s live data: your lead wrist should move toward flexion.
- Rehearse the motion slowly, then hit short half-swings while maintaining the same feel.
- If your shots leak right, increase the bow; if they hook, reduce it slightly.
Final Thoughts
Mastering the downswing sequence is about timing. You’ll have to get each part of your downswing mastered and then time them all correctly.
It can’t be forced, and until you have the process down, speed isn’t going to help. Let the lower body lead, the arms follow, and the wrists control the final delivery.
Use HackMotion to monitor your progress and make sure you have proper angles on both the downswing and the backswing.
