Fix an Outside Takeaway: 4 Simple Ways to Stop Taking the Club Outside
An outside takeaway occurs when your club drifts away from your body and swings along a path that’s too far to the outside.
The outside takeaway starts your swing on the wrong path, and then the rest becomes recovery. An outside takeaway often leads to coming “over the top” on the downswing, resulting in a pull or slice.
Below are four practical ways to correct your takeaway, focusing on neutral wrist positions, better body rotation, and avoiding early over-hinging.
Key Takeaways
If you don’t have time to read our complete guide on how to stop your outside takeaway, here are the most important tips you can take with you right now:
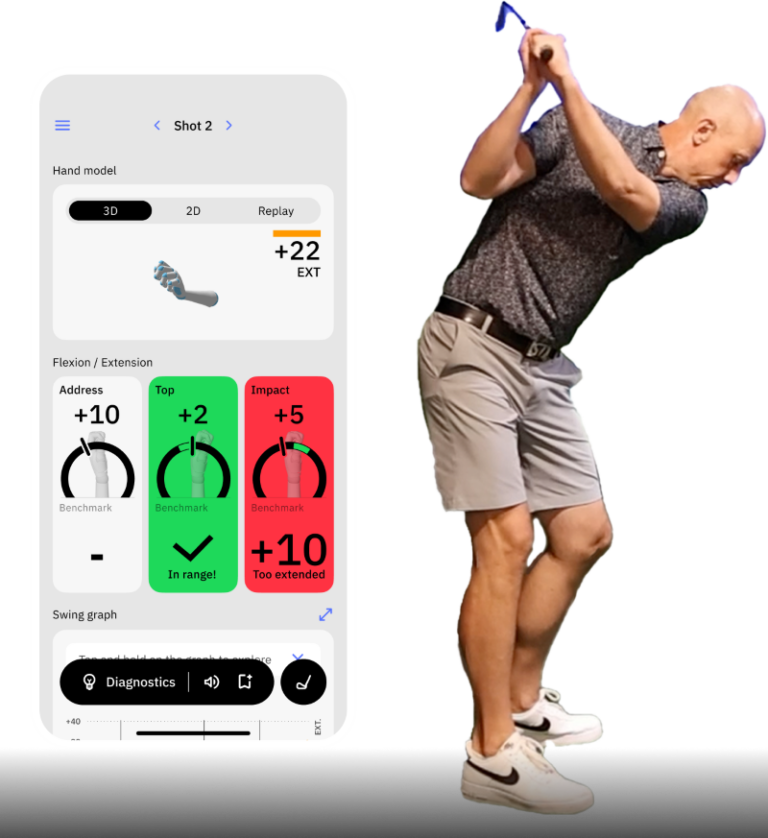
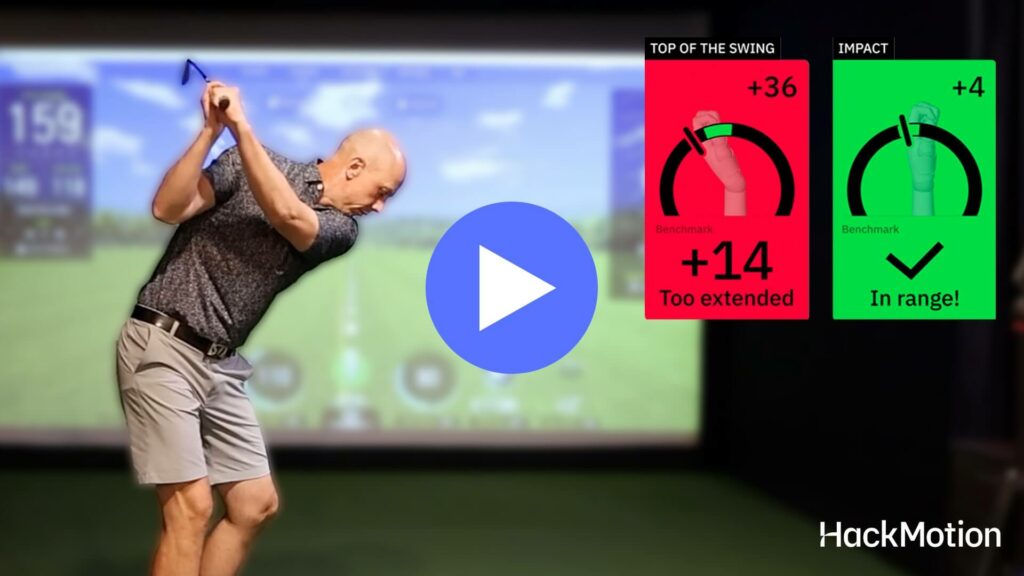
- Too much wrist hinge in the first move back causes the club to lift, roll open, and move outside your hands. Keep the wrists quiet until the club reaches hip height. Use HackMotion to check wrist position.
- At setup your lead wrist should not be too cupped or too flat. Starting in a neutral position makes it easier to return to a square face and avoid fanning the club open during the takeaway.
- The arms, chest, and club should all move together in the early part of the swing. A connected, one-piece takeaway helps keep the club on plane and prevents it from drifting outside.
How to Fix an Outside Takeaway
Stop Over-Hinging Early (Fix the Wrists First)
One of the most common causes of an outside takeaway is excessive wrist hinge early in the backswing.
Golfers who hinge too early are often trying to find a way to start the swing and they use hands and wrists instead of the larger muscles.
The early hinge or fanning of the club pushes the club outside the hands and opens the clubface.
The Fix: Use a “no-wrist” takeaway feel. Imagine your thumbs never point toward your face until well after the club is past your trail leg. Let the wrists stay quiet until your body rotation naturally sets the club.
This gives you a more connected, neutral clubface position at P2 (shaft parallel).
You’ll also reduce early extension in the lead wrist which is often a root cause of the club moving outside.
Improve Your Setup and Wrist Position at Address
For some golfers, fixing the takeaway starts before you move the club back. If your wrist is already extended excessively at setup, the clubface is more likely to fan open during the takeaway.
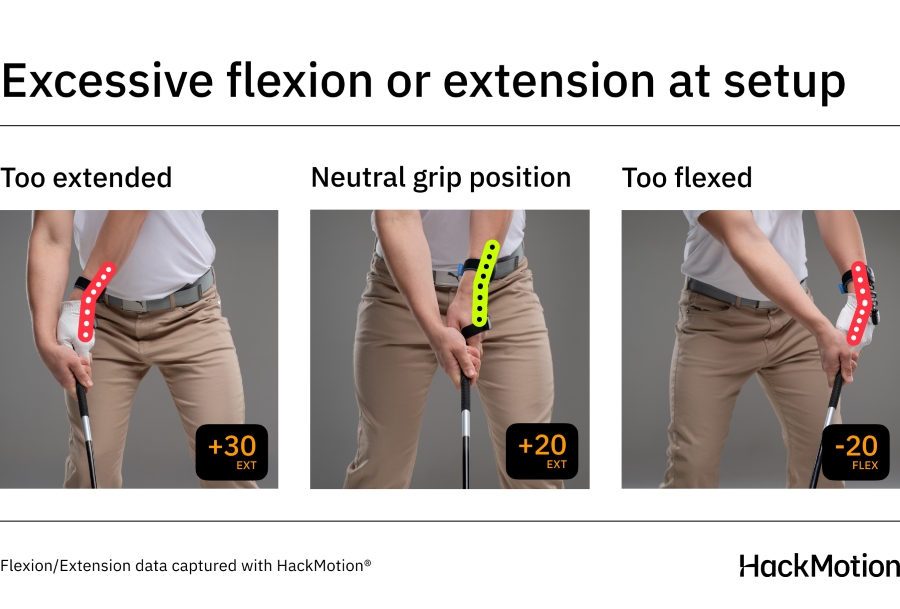
Being aware of your lead wrist extension and flexion throughout the swing will help you learn to manage the angle of the clubface throughout your swing.
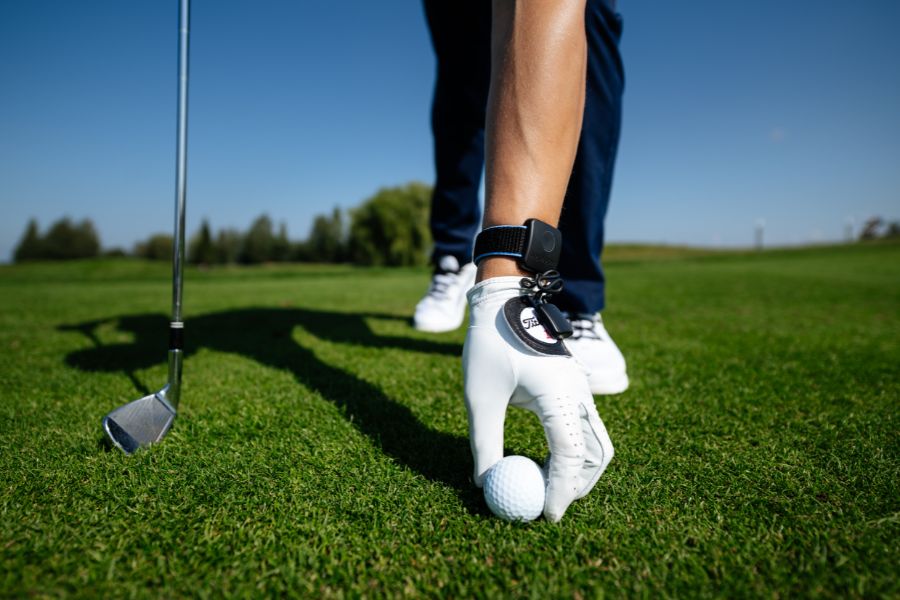
The Fix: At address, the lead wrist should have around 20–25° of extension, just enough to keep the clubface square. Using HackMotion can help you find and repeat this ideal position.
A neutral wrist at setup leads to a more square takeaway and reduces the urge to manipulate the club. This sets the stage for a takeaway that moves more around the body rather than out and away from it.
Use Your Body Not Just Your Hands
The upper and lower body have to work together to create a connected and consistent golf swing.
If the hands work independently of the body, it’s very easy to take the club outside and lose that connected feel.
Golfers who take the club outside often fail to rotate the upper and lower body in sync.
The Fix: Focus on a connected takeaway of the arms, chest, and club moving together. Sometimes you’ll hear this referred to as the one-piece takeaway.
The early part of the swing should feel like a body-driven motion, not a handsy start where the club just snaps back.
Train a Centered Pivot
Swaying in the lower body can also cause you to push the club outside. Your instinct to move your lower body in your golf swing is good.
However, if the trail hip doesn’t turn properly and instead sways, it’s easy to lift and push the club outside.
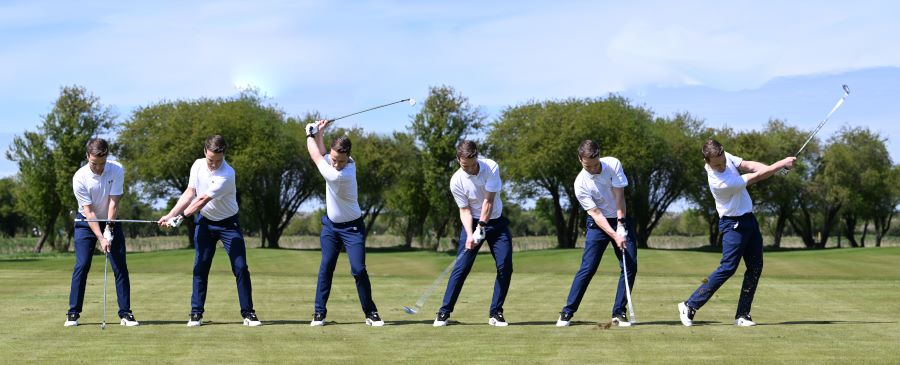
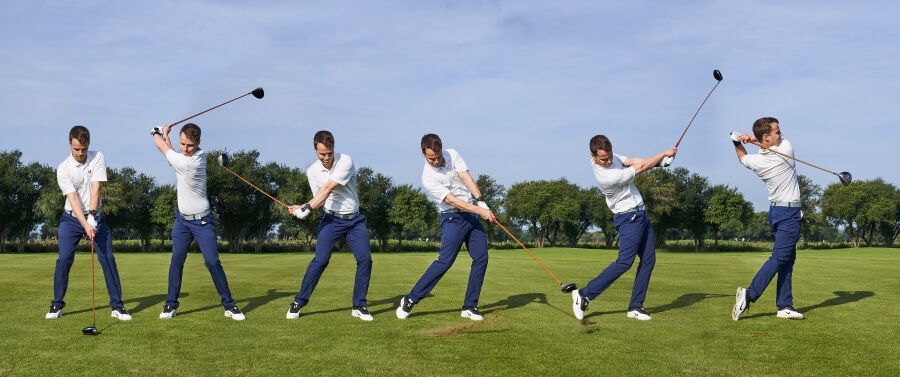
You’ll need to learn to turn without drifting away from the ball. This is what a proper swing sequence looks like. Pause the video anytime to each key position throughout the swing.
The Fix: Use a station drill with an object (like a chair or alignment stick) just outside your trail hip. Turn your trail hip away from it during the backswing, don’t bump into it.
This helps create a centered turn and keeps your swing more rotational than lateral.
Additional Drills to Fix an Outside Takeaway
These three drills will help reinforce the proper motion and eliminate early wrist breakdowns and arm lifts. Drills can help you train the correct movement and benefit your practice sessions.
Preset Wrist Drill (P2 Checkpoint)
Getting the correct wrist angles in your golf swing right from the start will help ensure that the rest of your golf swing is much easier.
This drill checks your club and wrist positioning at the P2 position, where the club is first parallel to the ground.
Preset Wrist Drill – Step by Step:
- Set the Target Line: Place an alignment stick on the ground along your target line.
- Wrist Hinge to P2: From your setup, hinge your wrists until the shaft is parallel to the alignment stick (this is the P2 position).
- Check Clubface: The clubface should be slightly tilted down—not pointing straight up.
- Pause and Continue: Pause to verify your wrist angles and clubface, then complete the swing.
- Optional: Hit short shots starting from this preset position to reinforce proper takeaway mechanics.
Why It Works: Gets you used to the correct clubface and wrist condition early in the swing.
Alignment Stick Rotation Drill
If you can improve your body rotation through the ball and prevent your arms from taking over in the takeaway, you’ll have a more powerful and repeatable golf swing.
This drill requires an alignment stick to help you get the proper feel.
Alignment Stick Rotation Drill – Step by Step:
- Setup: Attach an alignment stick to the butt end of your club so it runs up your lead side (slide it under your grip).
- Check Position: At address, the stick should rest just off your lead hip—without touching.
- Small Swings: Make short swings, focusing on torso rotation and maintaining space between the stick and your body.
- Body Rotation Check: If the stick hits you, you’re likely stalling your body and flipping your wrists—classic signs of compensation after an outside takeaway.
Why It Works: This drill encourages rotational movement from the start and forces your arms, body, and wrists to work in sync.
Tees Under the Arms
If your issue is staying connected in the golf swing, the Tees Under the Arms drill ensures your upper and lower body are working together.
This drill promotes body rotation and eliminates arm lift in the takeaway.
Tees Under the Arms Drill – Step by Step:
- Setup: Place a tee (or glove) under each armpit.
- Short Swings: Make small swings while keeping the tees in place throughout the motion.
- Body Turn Focus: Initiate the swing with your torso rotation—not by lifting your arms.
Why It Works: Keeps the arms connected to the torso, training a more rotational takeaway.
Final Thoughts
Fixing an outside takeaway isn’t just about one swing thought; it’s about getting the proper setup and knowing what your first move away from the ball should look like.
The club will move around your body naturally, not outside it, and your clubface remains square throughout.
Working on your takeaway with your HackMotion can encourage consistency in the wrist position and allow you to make sure your clubface is not fanning open early in the swing.
