Proper Forearm Rotation in the Golf Swing (Gain More Power & Control in Your Swing)
If you struggle with inconsistent shots and lack of power, proper forearm rotation could be the issue.
After analyzing more than 1,000,000 golf swings with HackMotion, we have learned exactly what the forearms do, how they rotate, and how you can get your golf shots longer and straighter with the help of proper forearm rotation.
Let’s break it down and give you the drills, common mistakes, and exact ways to perfect your forearm rotation.
Forearm Rotation in the Golf Swing – Key Takeaways
Forearm rotation in the golf swing needs to happen; the amount of forearm rotation will depend on the golfer’s takeaway and their position at the top of the golf swing.
- Proper forearm rotation promotes straighter shots and better distance.
- Forearm rotation and shoulder rotation are not the same; you have to navigate forearm rotation on its own by practicing proper positioning using the HackMotion.
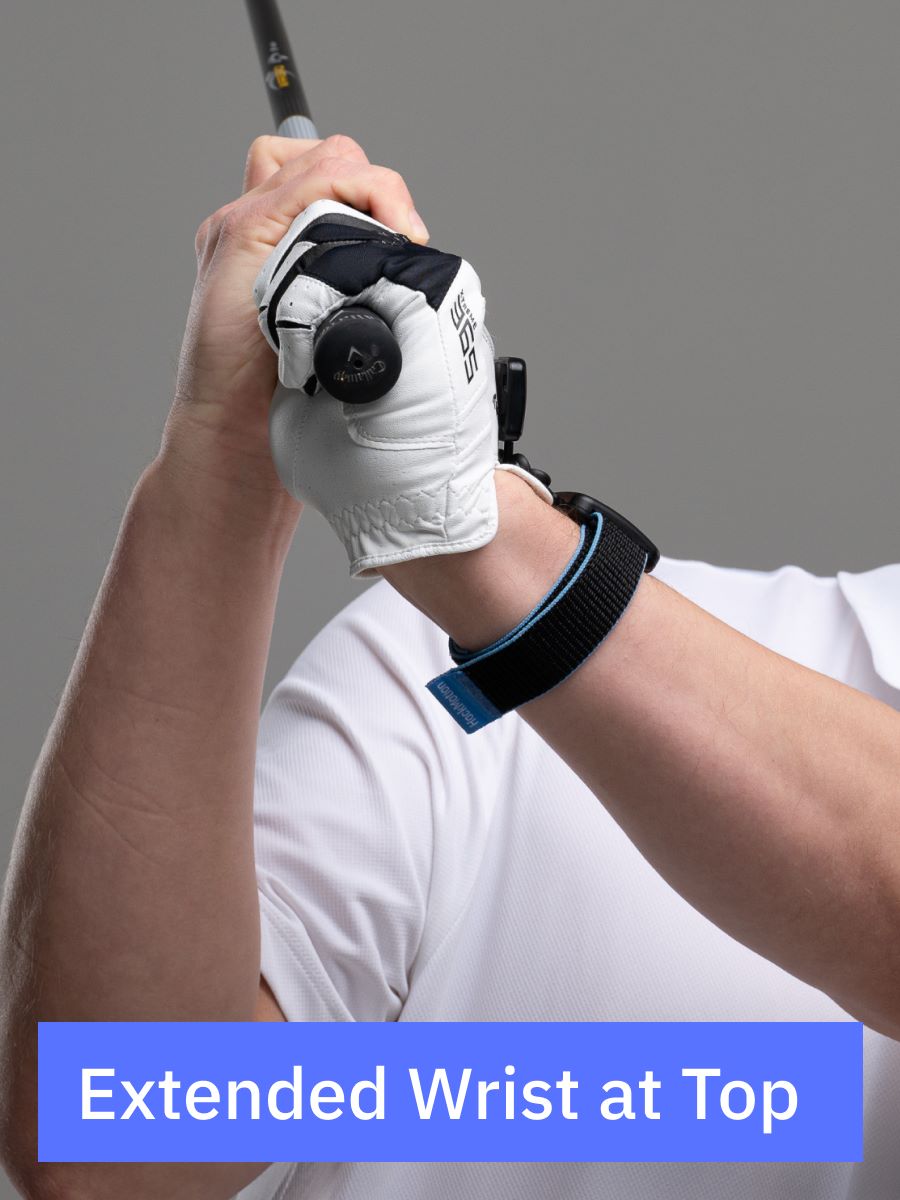
- Use the correct wrist extension during the downswing to enable smooth forearm rotation.
- Minimal forearm rotation during takeaway sets you up for better impact.
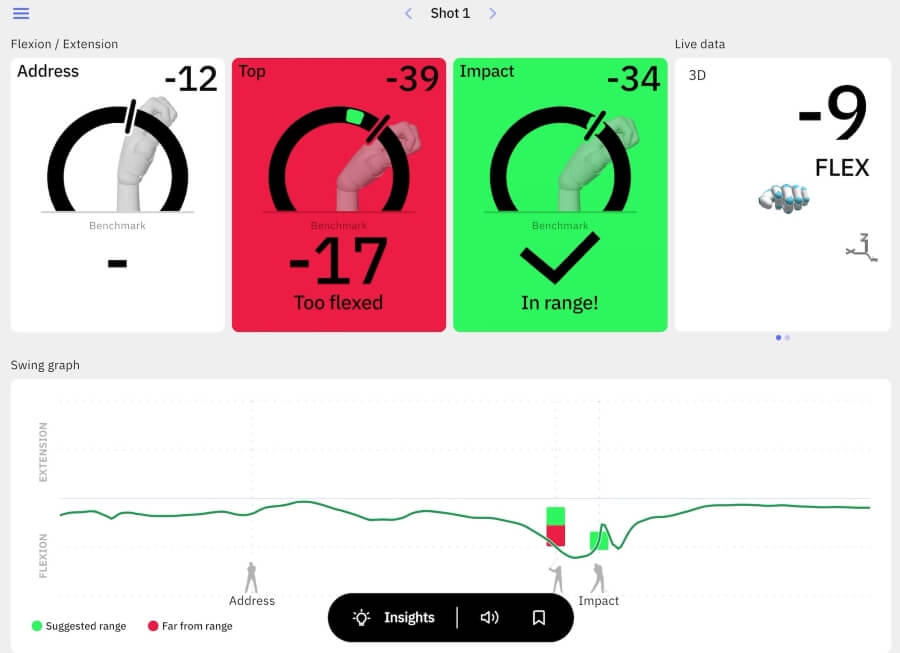
- HackMotion’s real-time feedback shows you exactly how much rotation is happening and helps you correct it on the spot.
If you prefer to watch instead of read, here’s a video recap of everything you need to know about forearm rotation in the golf swing.
Contents
What is Forearm Rotation in the Golf Swing?
Forearm rotation refers to how your lead and trail forearms rotate during the swing, impacting shot shape, power, and control.
Pronation (palms rotating down) and supination (palms rotating up) are the two key movements involved.
The right amount of rotation at the right time is essential for consistent performance.
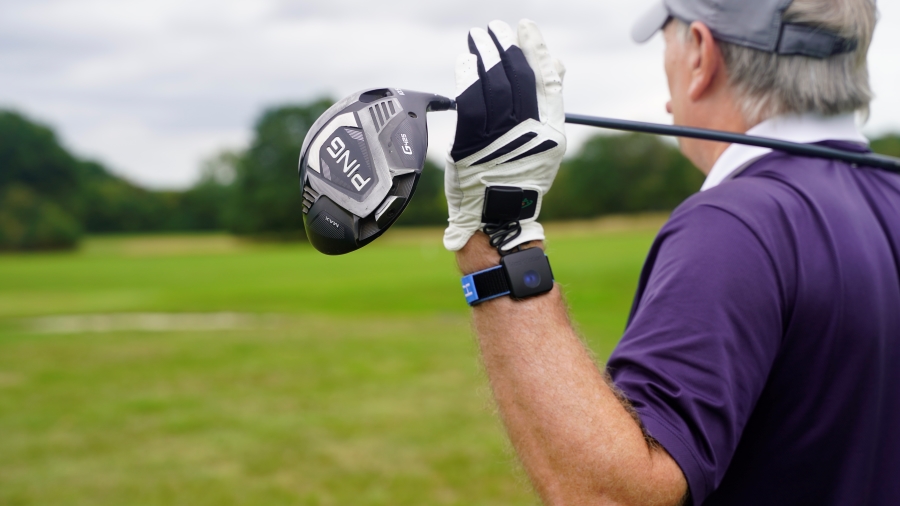
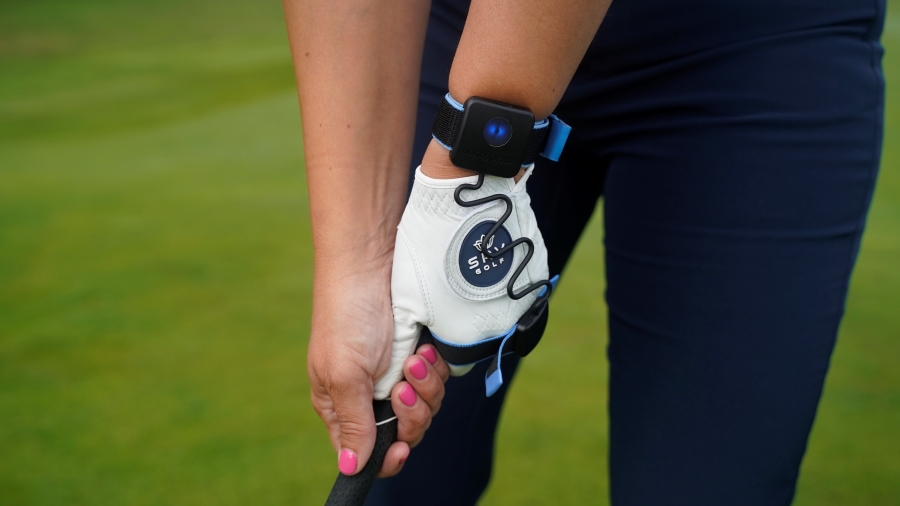
HackMotion’s sensors measure the rotation of your lead and trail forearms in real-time, helping you balance pronation and supination for straighter, longer shots and better control.
It’s like having a golf coach with you 24/7. Try HackMotion and improve your game today!
Wrist Action and Forearm Rotation
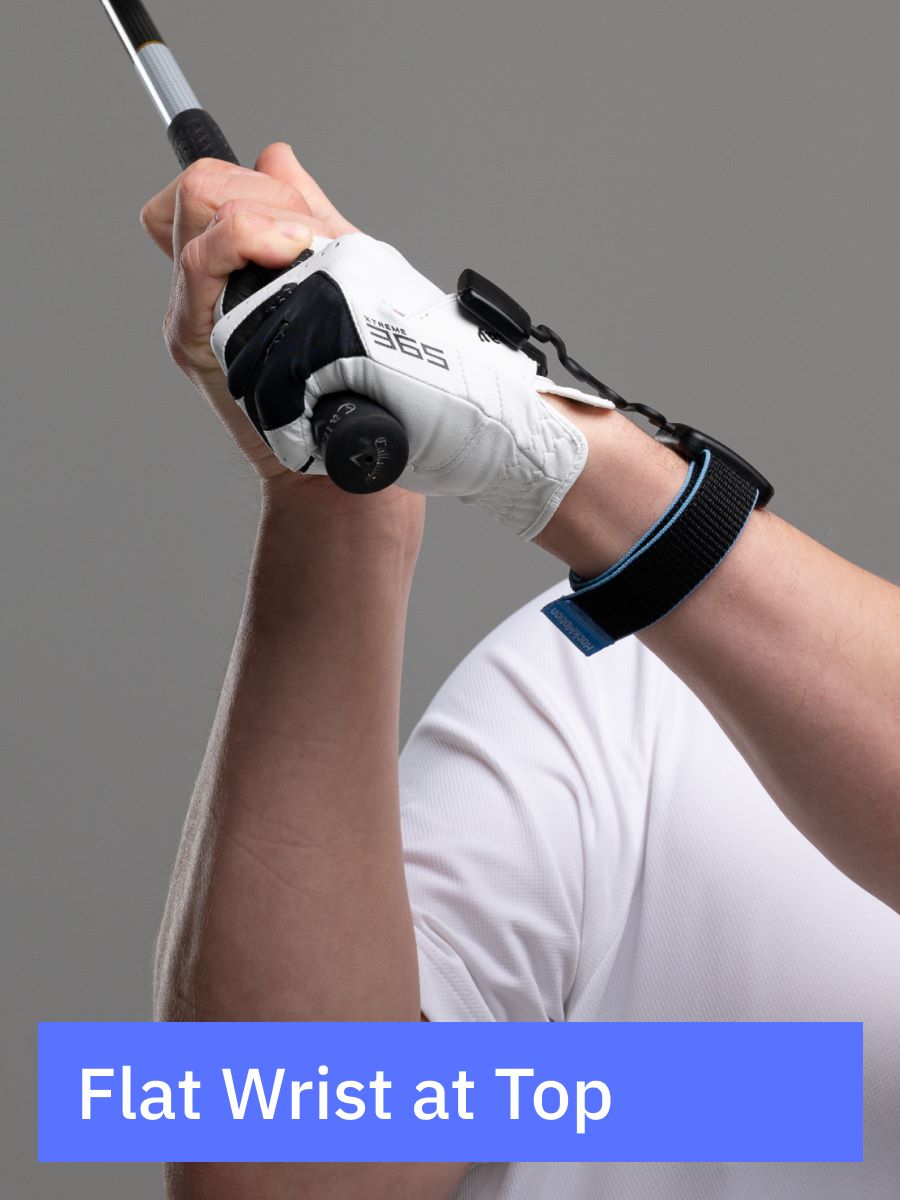
Your wrist and hands, which are responsible for holding the club and controlling the clubface, are connected to your forearms.
So, your forearms play a significant role in influencing the wrists and hands and vice versa.
Since the movement of the forearms directly correlates to your wrists and hands, it helps to keep these wrist-related terms in mind.
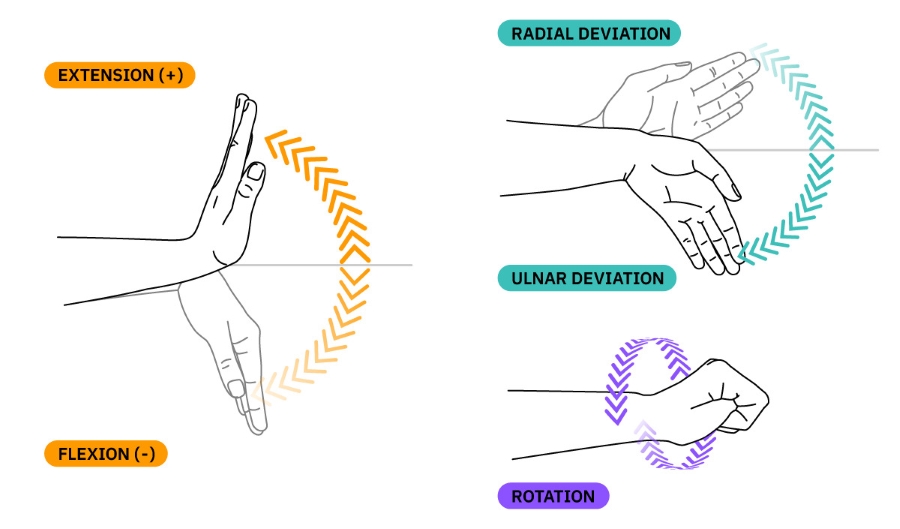
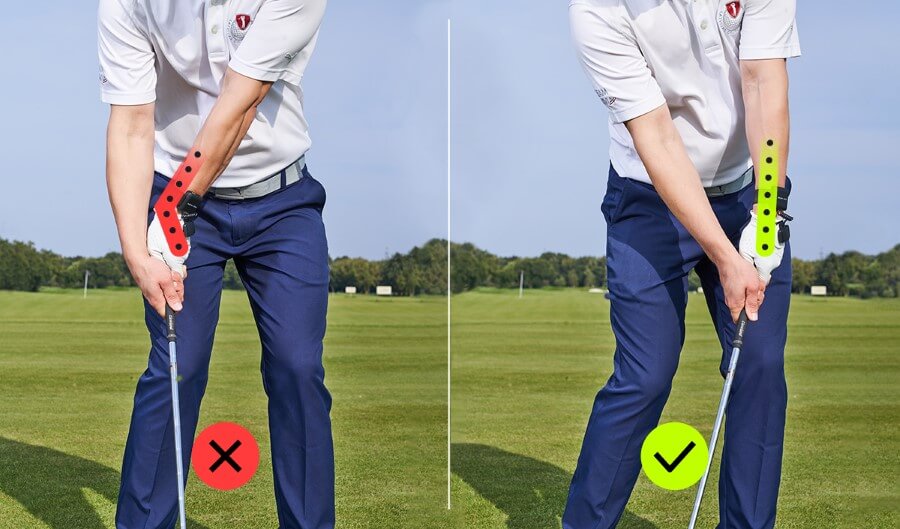
- Wrist Extension: Back of the hand moves toward the forearm.
- Wrist Flexion: Palm moves toward underside of forearm.
- Wrist Radial Deviation: Wrist moves toward thumb.
- Wrist Ulnar Deviation: Wrist moves toward pinky.
If you want to learn more about wrist action in the golf swing, check out our complete guide.
How Should Your Forearms Rotate During the Swing?
Forearm rotation is crucial at every stage of the golf swing, from the backswing to post-impact.
Each phase requires a specific amount of pronation or supination, and mastering this movement can help you square the clubface, optimize ball flight, and gain consistency.
Let’s break it down:
Backswing
During the backswing, your lead forearm should rotate in pronation (palms down) while your trail forearm rotates in supination (palms up).
This balanced movement sets the foundation for proper rotation throughout the swing.
HackMotion’s sensors can track whether your rotation is consistent and within the ideal range, providing instant feedback.
To better understand this motion, imagine keeping the club horizontal to the ground during practice swings, as seen in the video below. This visualization ensures your forearms are moving correctly.
Key Points:
- Lead forearm pronation.
- Trail forearm supination.
- Visualize keeping the club horizontal during practice swings to build muscle memory.
Downswing and Impact
As you transition into the downswing, forearm rotation plays a pivotal role in squaring the clubface.
The lead forearm begins supinating while the trail forearm pronates, enabling the clubface to align with the target line. Proper timing is essential to avoid slices or hooks.
The Dynamic Transition Drill from HackMotion is a game-changer here.
This drill helps train your forearm and wrist rotation from arm parallel (P6) to impact (P7), ensuring a consistent and powerful release.
Dynamic Transition Drill in HackMotion
Master your sequencing and pivot to improve your swing efficiency and control.
Key Points:
- Forearm rotation is supposed to help square the clubface.
- Incorporate the Dynamic Transition Drill to master rotation from P6 to P7.
Post Impact
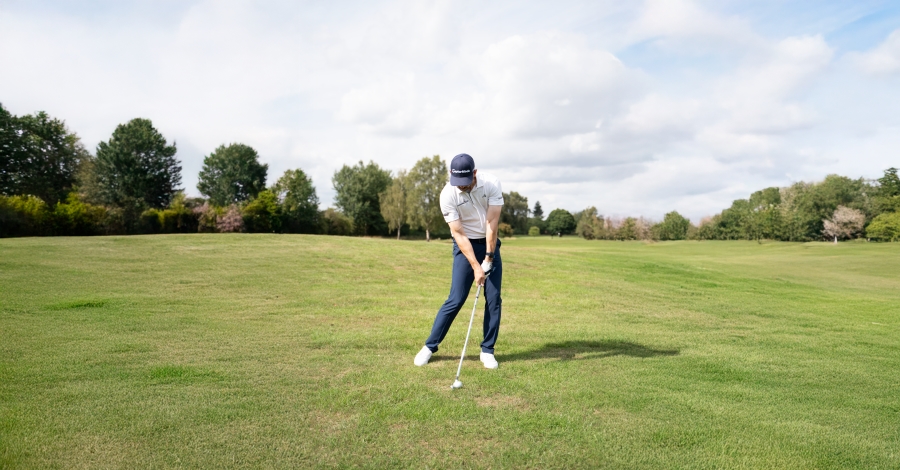
After impact, proper forearm rotation ensures a smooth follow-through and balanced finish. The trail forearm should move over the lead forearm, continuing the earlier rotational pattern.
This movement not only promotes better ball flight but also helps maintain control and power through the shot.
Key Points:
- Proper rotation post-impact promotes a balanced finish.
- Trail forearm moves over the lead forearm for consistent ball flight.
- Proper forearm rotation through impact is a blend of arm and body movement.
Common Forearm Rotation Errors
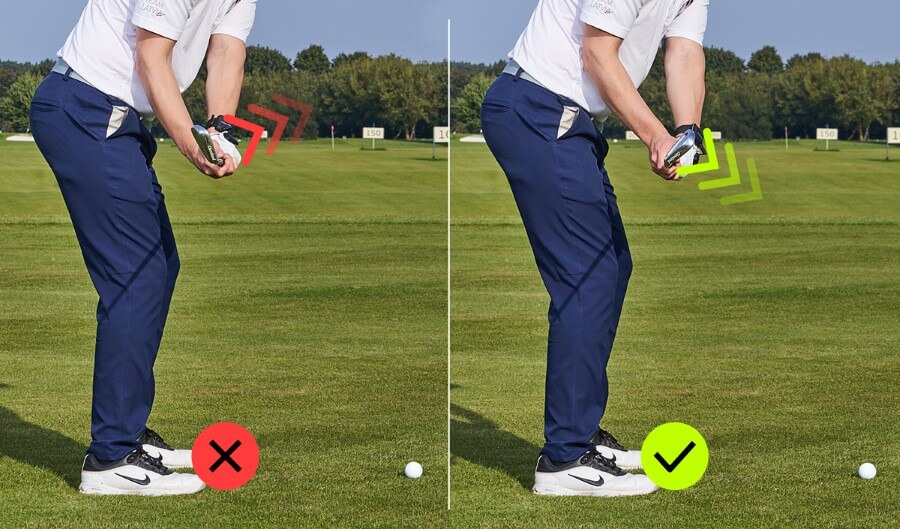
Many amateur golfers, especially beginners, have a few preconceived ideas about what the forearms should do. Some feel the arms should be rotating excessively through impact to add power and others focus on more body rotation through impact.
Like we have discovered in other areas of the game of golf, there is always a mix of body and arm movement to create the perfect shot.
If you struggle with any of these forearm related issues, try these simple fixes.
| Error | Result | How to Fix It |
|---|---|---|
| Lack of rotation in the backswing | Poor power, inconsistent strikes | Try the Dynamic Transition Drill in the HackMotion app. |
| Excess rotation in takeaway | Clubface misalignment, slices/hooks | Use real-time feedback on forearm angles with HackMotion to correct your takeaway. |
| Confusing shoulder/forearm rotation | Over-the-top swing, inconsistency | Track lead vs. trail forearm movement with HackMotion. |
Drills to Improve Forearm Rotation
The proper way to fix issues with forearm rotation is to work on drills.
With the right drills you will feel exactly what your forearms should do, how much rotation is necessary and become more confident in your forearm rotation to help increase total distance.
1. HackMotion Release Drill
The Release drill will help with both forearm rotation and wrist flexion/extension. The drill emphasizes moving the club into a parallel position on the backswing and then to the club parallel position after impact.
The goal is to keep forearm rotation and flexion consistent throughout the drill.
Perfect Your Release with HackMotion
Fine-tune your release for consistent contact. Start with a short swing to master control before adding power.
HackMotion Release Drill – Step by Step
- Start with the club at address.
- Swing back to parallel to the ground on the backswing.
- Swing through to a position where the club is parallel post-impact.
- Use HackMotion to ensure your forearm rotation and wrist flexion remain consistent.
- Repeat this motion until the movements feel natural and efficient, at least 10 times before moving to the next drill.
2. HackMotion Dynamic Transition Drill
This drill trains the forearm rotation required between arm-parallel positions (P6 to P7) to ensure proper sequencing and control through impact. Essentially you’ll take the club back a little further (about ¾ of the way) and check to see if you are rotating properly.
If you can get the impact position correct, you can take swings of varying length and have success.
Dynamic Transition Drill in HackMotion
Work on your body sequencing and pivot by adding a longer backswing.
Dynamic Transition Drill – Step by Step
- Start with the club at address.
- Swing the club back so the arms are parallel to the ground.
- Rotate through impact, finishing with your arms parallel on the other side (P7).
- Monitor your HackMotion data for smooth and consistent forearm rotation.
- Repeat to build muscle memory and improve timing.
3. Feet Together Drill
If you remember we talked about the importance of arms and the body working together in the golf swing.
If you have found that your body is moving too much, over-rotating and making it hard for you to match up the forearm rotation and body movement try the feet together drill.
This drill isolates forearm rotation, encouraging better timing and control.
Feet Together Drill – Step by Step
- Stand with your feet together to limit lower-body movement.
- Take a normal swing, (½ to ¾ length is fine) focusing on forearm rotation.
- Note how the reduced body involvement helps isolate the forearms.
- Practice until you achieve a smooth forearm rotation and a square clubface at impact.
4. No Roll Drill
If you hook the ball your forearm rotation may be exaggerated. This would be for the golfer who has the opposite problem of the player in drill three.
This drill will minimize excessive forearm rotation by helping to get the body moving a bit more.
No Roll Drill – Step by Step
- Swing while consciously limiting forearm roll through impact.
- Focus on turning your shoulders 90° to complete the swing.
- Stop at a point where the club shaft trails your lead arm slightly.
- Use HackMotion to ensure you are minimizing forearm rotation.
Final Thoughts
If you are struggling with lack of power and inconsistency in your ball flight, it could be caused by improper forearm rotation.
The tricky thing for many golfers is that with poor forearm rotation you can either have too much or too little.
Use HackMotion to help you practice smarter and find that perfect range of correct forearm rotation.


