5 Essential Bunker Shot Drills for Higher Softer Bunker Shots
Greenside bunkers can be intimidating, yet they don’t have to be.
With the right wrist mechanics and the proper focus, you can get the ball out of the bunker in one swing and have it land softly on the green.
Here are five great drills to help sharpen your bunker game. Even if you can get your golf shots out of the bunker, use these drills to hit more consistent and precise shots.
Contents
The Secret to a Better Golf Swing Starts with Your Wrists
Your clubface angle at impact determines 80% of your shot’s direction—your wrists control that angle. Click here for the best drills to master your wrist mechanics and take control of your game.
5 Effective Bunker Drills to Help Save Strokes
One Hand Sand Drill
Hitting bunker shots with only your trail hand teaches you to preserve the loft and bounce off the wedge.
Sometimes, when both hands are in place, there is a tendency to close the clubface and promote too much forward lean, which keeps your clubface open and allows the ball to pop up instead of getting stuck in the sand.
- Video Timestamp: 0:06–1:01
One Hand Sand Drill – Step by Step:
- Address the ball in your usual bunker stance (weight slightly left, feet open to the target line).
- Remove your lead hand and hold the club only with your trail hand.
- Open the clubface a bit so it points slightly skyward.
- Hinge your trail wrist on the backswing, then “throw” the clubhead into the sand. The club head and your hand should arrive together at impact.
- Once you feel comfortable, place your lead hand back on, but keep that same “toss” sensation through the shot.
Extension in the Lead Wrist Drill
If you have been working on wrist action in your golf swing, chances are you’ve been avoiding adding too much extension in the lead wrist. When your golf ball ends up in the bunker, that’s no longer the goal.
Extension in the lead wrist on a bunker shot is a positive. It helps you keep the clubface open and lift the ball out of the sand softly.
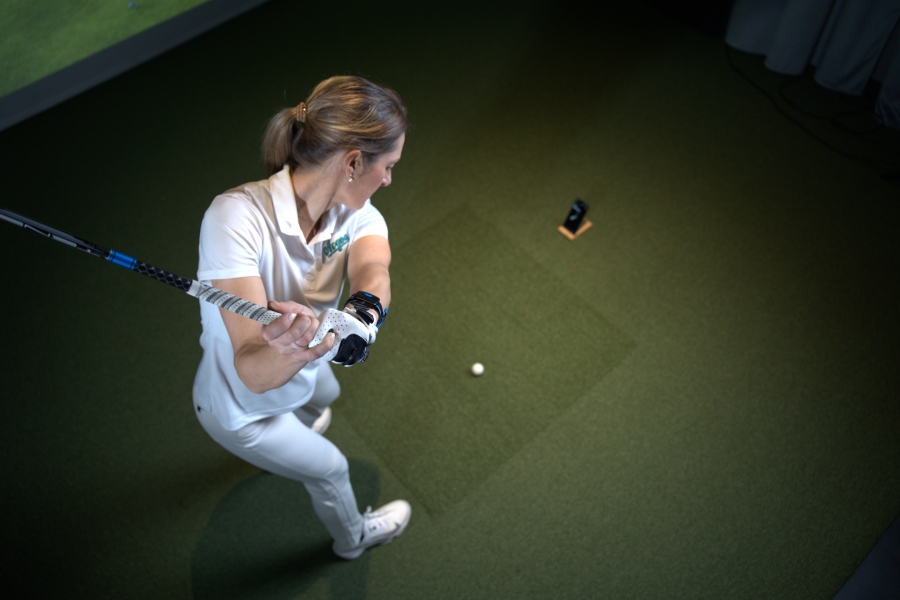
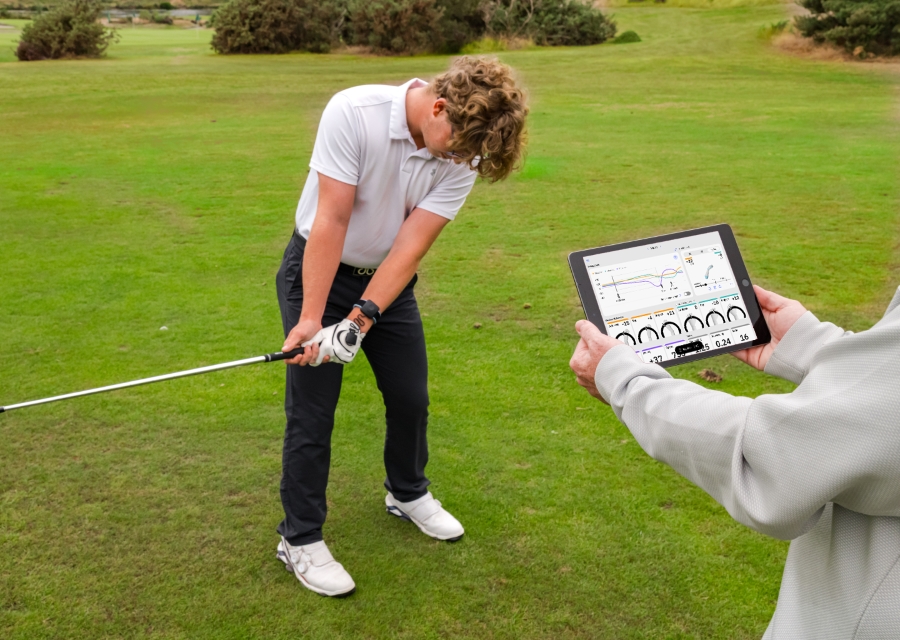
Wearing your HackMotion with the biofeedback sensor will help you quickly master this feeling.
- Video Timestamp: 2:51–3:33
Extension in the Lead Wrist Drill – Step by Step:
- Address the ball with the clubface slightly open and your lead wrist already in a bit of extension.
- Swing the club back, focusing on maintaining or increasing that extension (the back of your lead hand feels bent “up”).
- Through impact, keep that cupped sensation so the clubface remains open.
- Finish with the clubface pointing more toward the sky rather than rotating shut.
- Use a sensor or simply check visually to ensure your lead wrist never goes into a bowed position.
Flick the Mud Drill
Without speed on a bunker shot, you don’t have enough acceleration to get the ball up and out of the sand. A good drill for generating the necessary speed in a bunker shot.
Pretend the clubface has mud or sand on it that you’re “flicking” off over your shoulder in the backswing. This drill encourages a steeper wrist hinge and faster clubhead speed.
- Video Timestamp: 5:24–5:43
Flick the Mud Drill – Step by Step:
- Set up in your normal bunker stance, with weight favoring your lead foot.
- On the takeaway, quickly hinge your wrists as if flipping mud over your trail shoulder. This fosters a steeper, more vertical backswing.
- Transition smoothly, letting that wrist hinge remain intact until you accelerate through the sand.
- At impact, feel the club “splash” under the ball, continuing to accelerate.
- Finish high with a confident wrist release—don’t decelerate or hold back.
Made in the Shade Drill
Sometimes, all you need is the right mindset to hit a great bunker shot. The Made in the Shade drill helps you avoid a flatter backswing that may not be wristy enough to get the ball out of the sand.
The key to this drill is to get the proper wrist hinge, so wearing the HackMotion and looking for an increased hinge will be the best way to confirm that.
- Video Timestamp: 0:05–2:13
Made in the Shade Drill – Step by Step:
- Set up in the bunker, visualizing (or physically using) an umbrella above your head and arms.
- As you begin your takeaway, feel your thumbs hinge upward so the handle of your club stays under that “umbrella.”
- Avoid letting your hands swing flat around your body—keep them “in the shade.”
- Swing down along this steeper path, splashing the sand out from under the ball.
- Repeat until the motion feels natural and you hear that distinct “thump” of the bounce striking the sand first.
Chopsticks Drill
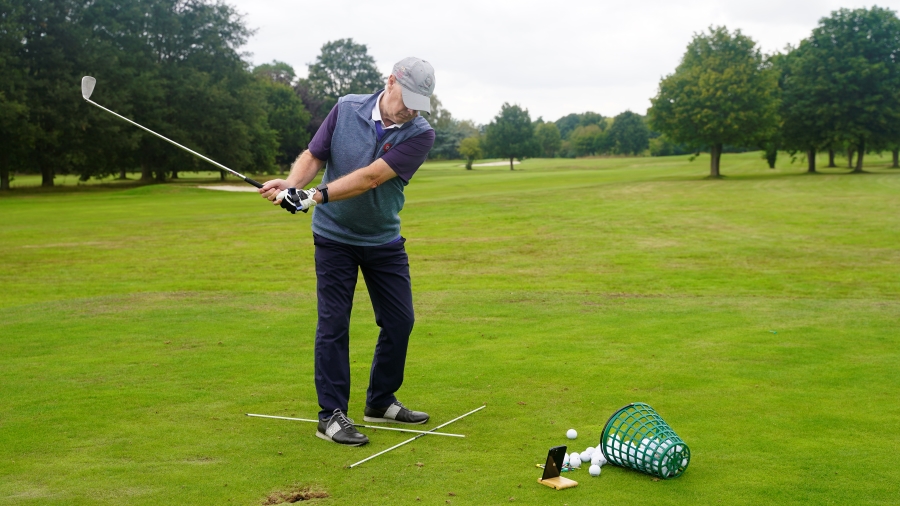
The Chopsticks drill is a great way to use alignment sticks to improve your bunker shots.
The key to this drill is to help your arms, wrists, and body work better together. Disconnected arms or excessive wrist flipping can ruin bunker contact.
By locking the club to your body with alignment sticks, you learn to turn through the shot in one piece.
Most importantly, when you master this motion, you can keep the lead wrist slightly extended and see higher and more consistent shots.
- Video Timestamp: 8:00–9:20
Chopsticks Drill – Step by Step:
- Attach two sticks at one end with a rubber band to form a narrow “V”.
- Slide each stick under your armpits so the open part of the “V” is just in front of you.
- Rest your club’s grip/shaft into that cradle near the top of the handle.
- Make small bunker swings, feeling how your chest, arms, and club move as one unit.
- Brush the sand consistently without letting the club roll off-plane or behind you.
Final Thoughts
Bunker play hinges on two vital elements: maintaining loft and using the club’s bounce. These goals can both be achieved by perfecting your wrist angles.
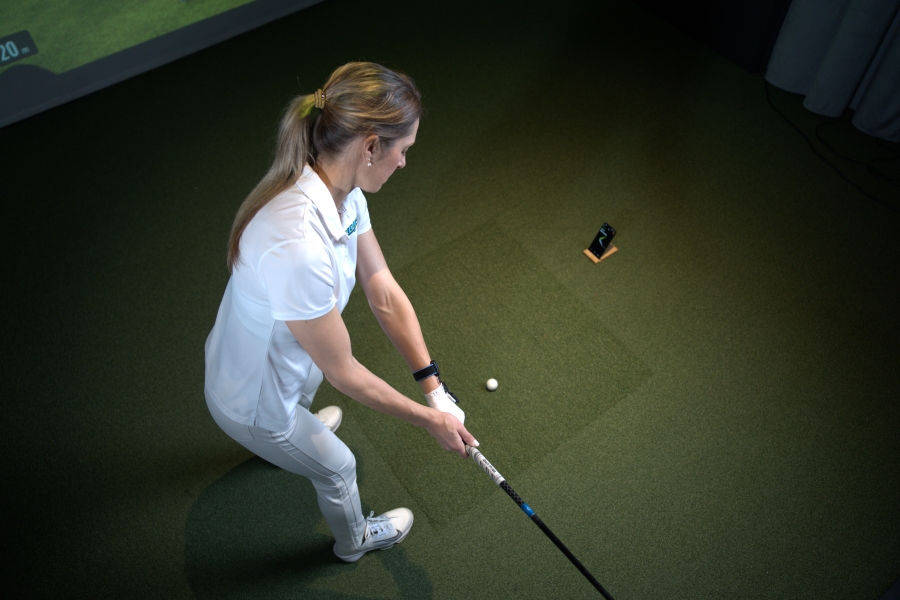
Wear your HackMotion when you practice bunker shots to measure your wrist angles and check for a little more extension in the lead wrist.
By consistently working these drills, you’ll notice the ball popping out of the bunker higher, stopping faster, and giving you more confidence around the greens. For additional guidance with sand play fundamentals, consider learning from a certified golf coach who uses HackMotion to teach proper wrist action in bunkers.


