9 Effective Chipping Tips for Senior Golfers (That Actually Work)
Here’s the good news: as a senior golfer, you can be just as good at chipping as a 30-year-old golfer.
The problem is that most seniors focus too much on hitting the golf ball further and regaining those extra few yards they have lost, so they skip out on chipping practice and improvement.
If you are ready to leave a few of those yards behind and actually start scoring lower than you did when you were younger, you are in the right place.
Here are 9 chipping tips for seniors that you can implement into your golf game today.
Golf Chipping for Seniors (Key Takeaways)
Here are a few of the key takeaways that you might want to focus on while improving your chipping.
- Use a larger grip to lower tension in your hands.
- Learn to use more than one club to chip with.
- Keep the lead wrist more flexed at impact.
- Consider switching to graphite shafts and a slightly higher spinning ball to improve your touch and feel around the greens.
- Narrow your stance and lean more on the left side to make cleaner contact.
Contents
What are the Main Problems Seniors Have with Chipping?
The areas that senior golfers seem to struggle the most include lack of distance control and feel, proper club selection, and poor fundamentals. If you aren’t sure which clubs to use and how to use them, then it’s time to get your chipping skills down.
You likely see shots like:
- A low skull shot hit across the green.
- A flubbed shot that doesn’t make it to the hole.
- Inconsistency between rounds with no real explanation for the differences.
- Trouble with spin and ball control.
9 Simple Chipping Tips & Techniques for Older Golfers
These tips address chipping, a lower-lofted shot that lands on the green and then runs towards the hole. Pitch shots are different in that they hit the green and then stay very close to the landing position.
1. Learn to Use Other Golf Clubs
Learn how to chip with everything from your 7-iron down to your lob wedge. Yes, take all of these clubs to the chipping green with you and start practicing and learning how each one responds to a chip shot.
As the loft gets lower, you’ll need a shorter backswing and more room for the ball to roll. I would only use a 7-iron for a more bump-and-run type chip shot—when you have plenty of green to work with and the ball can roll to the hole.
As you get closer to the pin with less green to work with, use higher lofts. The key is to dial in your distances and practice them so you’re prepared for all types of shots on the course.
Here’s a quick reference for when to use each club:
| Club | Use When… |
|---|---|
| 7-Iron | You have lots of green to work with and want maximum rollout |
| 9-Iron | There’s still plenty of green, but you need a bit more loft |
| Pitching Wedge | You’re closer to the pin but still want some rollout |
| Gap Wedge | Less green to work with, need the ball to stop a little quicker |
| Sand Wedge | You’re short-sided or need to carry a ridge |
| Lob Wedge | You need to stop the ball quickly near the pin |
2. Consider Getting Graphite Shafts
Graphite shafts may give you a slightly better feel around the greens. You’ll also notice that you can get a bit more speed and maybe some extra spin because of it.
Many senior golfers change their irons to graphite but often overlook the need to change their wedges as well.
Not only can this help with your approach shots and pitch shots, but it will give you a better feel around the greens with your chips.
3. Ease Up On the Grip Pressure
When you grip the club too tightly, it leads to tension in your arms and shoulders. This tension causes you to use the incorrect muscles in your chip shots (hands) and results in a more inconsistent golf shot.
To develop better chip shots, you need a softer grip. The soft grip promotes a smoother swing, a better tempo, and more consistency. You’ll also be less likely to completely lock your lower body in.
You’ll need to experiment with the amount of grip pressure. If you currently struggle with chipping, you may be a 10 on a scale of one to 10; start by getting that down to a 7. From there, move closer to 5 if possible.
4. Larger Grips Can Help
A larger grip on your irons and wedge can provide some stability through impact. When chipping, even just the slightest turn or twist of the clubhead can lead to decreased accuracy and poor results.
Instead, choose a golf club with a slightly larger grip, which allows for reduced tension in the hands and wrists, comfort, and improved accuracy with the golf ball.
If you currently have a standard-size grip, start by switching to a mid-size grip.
5. No Tension Through Impact
Think of impact as the middle of your chip shot, not the end. Many golfers, especially seniors, tend to add a “hit” at impact, which can lead to tension, deceleration, and poor contact.
Instead, stay relaxed and let the club swing naturally through the ball. Focus on brushing the grass after contact, keeping your motion smooth and continuous.
This helps maintain speed through impact and leads to more consistent, clean chips.
6. Keep the Lead Wrist Flexed at Impact
At HackMotion, it’s been interesting to see the significant impact the wrists have on the short game.
Most importantly, there is a significant difference between what the wrist does with a chip shot and what it does with a pitch shot.
For a chip shot, you’ll want to make sure your lead wrist is in more of a flexed position at impact.
This position allows for a clean strike and a slightly lower ball flight. Many amateurs are guilty of flipping their wrists at impact, causing a topped or skulled shot.
Use the HackMotion to stay flexed in your chipping stroke and see more consistent shots roll toward the pin.
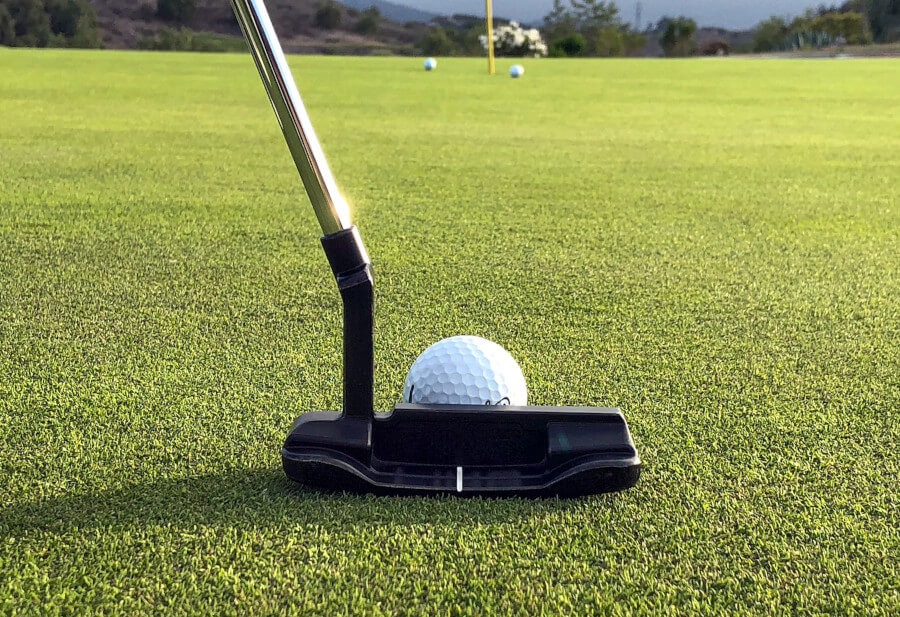
7. Forward Shaft Lean – But Not Too Much
A little forward shaft lean is smart on chip shots, but too much can be a problem. When you overdo it, you loft the club too much, causing the ball to come out lower and hotter than intended.
Yes, we expect chip shots to roll, but they still need to stop near the hole, not bounce harshly past it.
Instead, use this simple checkpoint: keep your hands just in line with the ball at setup. There’s no need to push them significantly forward.
If you’ve been struggling with inconsistency or low, skidding chips, exaggerated shaft lean could be the reason.
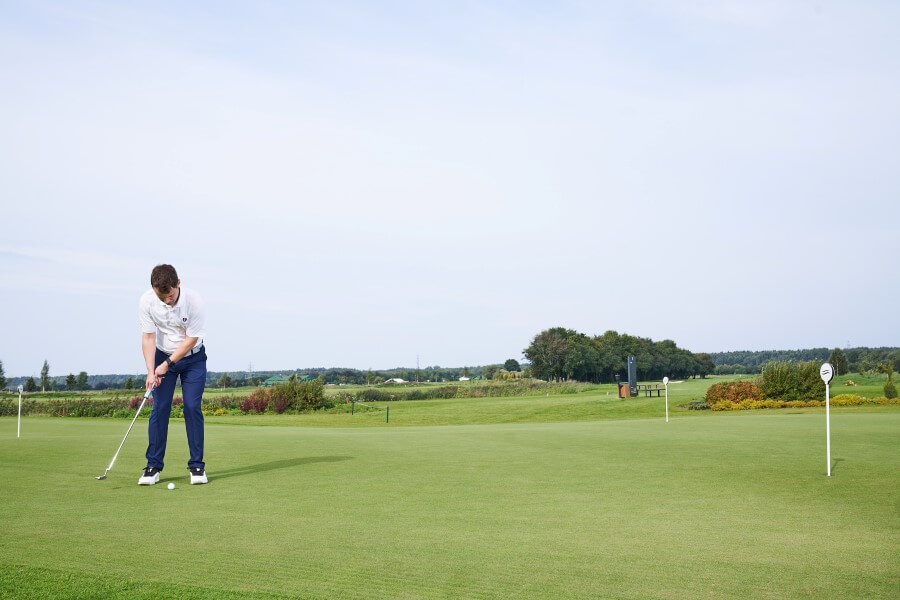
8. Lean On the Lead Foot
The lead foot is where your weight should be when setting up. We want to make sure you swing down and through and strike this ball cleanly, so leaning on the lead foot at setup will help.
There can be a little turn and weight transfer depending on the length of the chip. However, you’ll never transfer all your weight onto the lead foot.
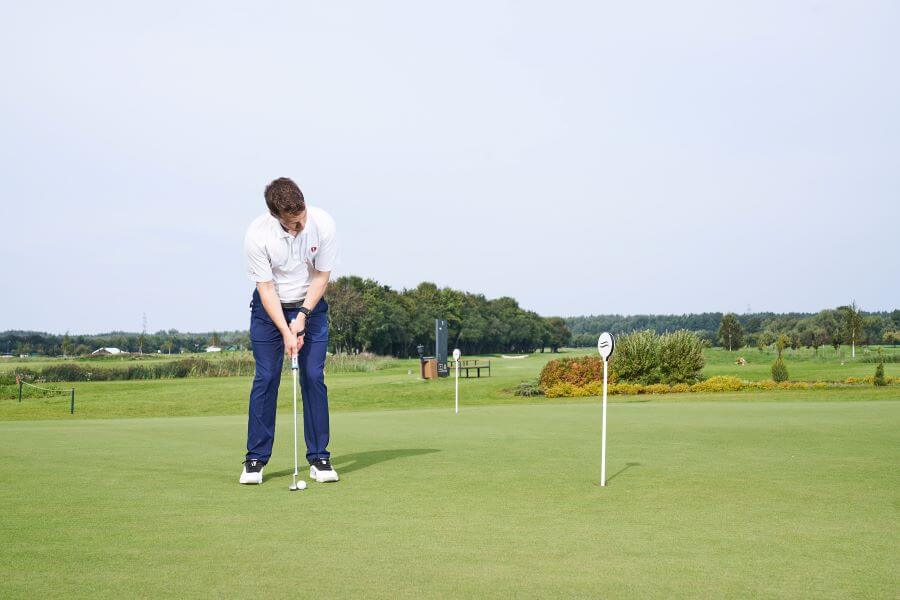
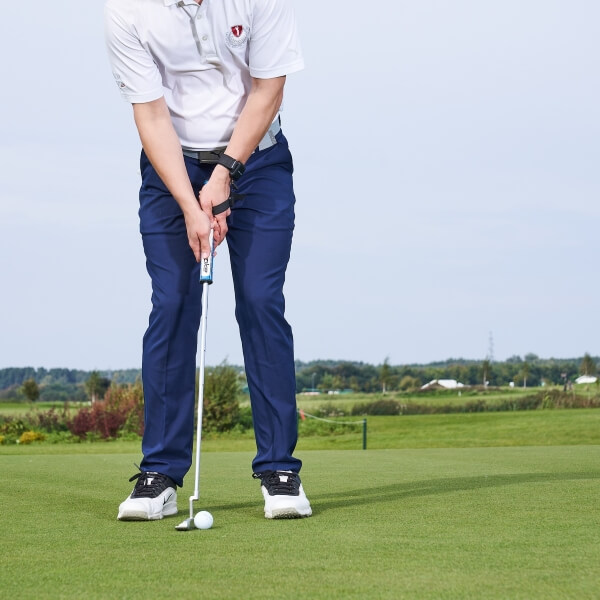
9. Narrow Stance
Finally, make sure you have a narrow stance and stand a little closer to the ball.
When you only have a few yards to the pin, consider taking an 8-iron and putting it in your hand. Standing closer to the ball and narrowing your feet will help you control the distance.
When you set up as you normally would to hit a longer full-swing shot, you leave too much room for error. Standing close like this highlights what you should be working on.
Drills to Work on Chipping
If you’re looking for additional ways to practice your chipping, here are a few of our favorite drills.
Plane Chipping Drill
One of the most common mistakes in chipping—especially for senior golfers—is taking the club too far inside or outside on the takeaway.
When that happens, it’s tough to return the club to the right spot at impact.
This simple drill helps train a more natural, on-plane chipping motion, resulting in cleaner and more reliable contact.
Plane Chipping Drill – Step by Step
- Set up four water bottles (or headcovers) around the ball to create a gentle swing gate.
- Start with a wider gate to allow for easy movement.
- As you improve, bring the bottles closer to tighten your path.
- Swing the club back and through without touching the obstacles.
- Use foam or airflow balls if you’re practicing indoors or in a small space.
- Focus on keeping the motion smooth and shallow—no sharp or forced movements.
Thumbs Down Pitch Drill
If you struggle with controlling short pitch shots, especially those in the 20–30 yard range, this drill helps you simplify your motion and improve consistency.
The Thumbs Down Drill promotes a low-trajectory, pivot-driven swing that minimizes wrist action and encourages clean, repeatable contact.
Thumbs Down Pitch Drill – Step by Step
- Set up close to the ball—about 1 to 3 clubhead widths from your feet.
- Use a narrow stance and place the ball in the middle.
- Lean the shaft slightly forward at address, but don’t overdo it.
- Keep your wrists quiet and focus on using your body to rotate.
- As you swing back and through, imagine your thumbs pointing down toward the ground.
- Maintain the “Y-shape” between your arms and the club throughout the motion.
- If you’re using HackMotion, monitor your ulnar deviation and lead wrist flexion to help produce a lower, more controlled ball flight.
Chopsticks Drill
One of the most common short game problems is a breakdown in structure, arms separating from the body, wrists taking over, and poor contact as a result.
The Chopsticks Drill is a great way to build connection and consistency in your chipping motion.
It helps maintain radius, keeps the club on plane, and reinforces a proper wrist position through the swing.
Chopsticks Drill – Step by Step
- Create the setup: Use two alignment sticks and a rubber band to form a “V” shape cradle at the bottom.
- Tuck the sticks under your arms: Hold them in place with gentle pressure under both armpits.
- Place the club in the cradle: The butt end of the grip should rest where the sticks form a “V,” around where the steel of the shaft begins.
- Take your setup and begin chipping motions: Make small swings, brushing the ground while keeping the sticks in place and the club in the cradle.
- Focus on synchronized motion: The goal is to move your body, arms, and club as one unit, no excessive wrist hinge or elbow separation.
- Use HackMotion if available: Track lead wrist extension during takeaway and impact. You should see a small amount of extension held consistently, preventing the clubface from shutting or flipping.
Final Thoughts
At this point, you should be itching to get to the chipping practice green to work on your short game.
These tips can be implemented immediately to help you become a better chipper and take your game to the next level.
Chipping is such a great scoring opportunity for seniors. Learn to get your chip shots closer, and you’ll shoot lower scores.
Incorporate the HackMotion into your short game practice to measure your progress. There are likely mistakes you are making with your wrists that you are unaware of.