6 Proven Golf Drills for Accuracy to Help You Hit Your Target
Most golfers like to focus on distance. It’s hard to argue with them; hitting the ball a long way is fun.
However, if you can’t hit your target, what’s the point of hitting the ball far?
These six accuracy drills will help you hit your target and score lower.
In the end, the closer you can get to your target, the easier it is to score lower.
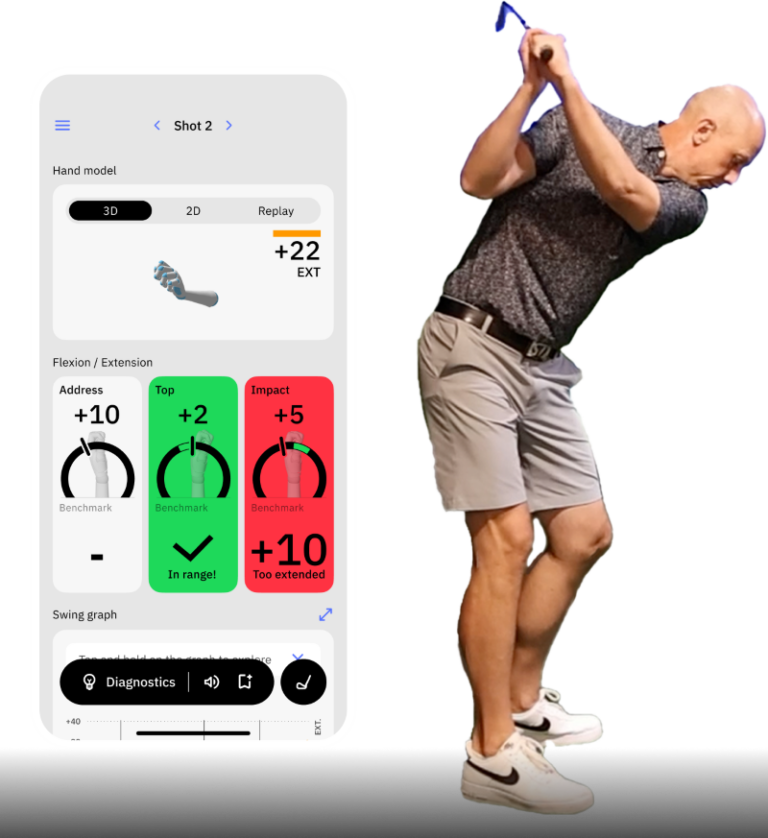
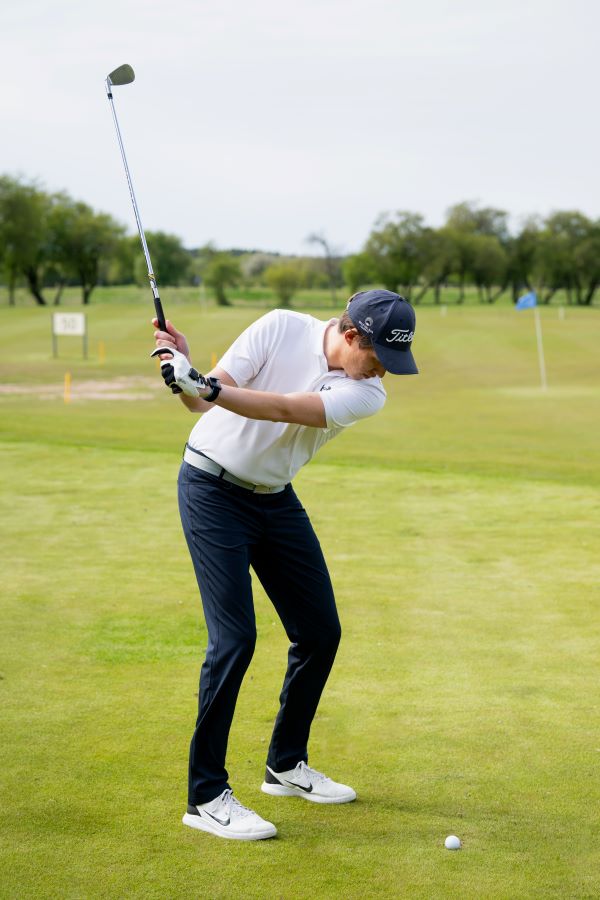
To hit more accurate shots, you need to be more aware of your body and your wrist angles throughout your golf swing. Each of these drills will help ensure that for you.
Contents
The Secret to a More Accurate Golf Swing Starts with Your Wrists!
Your clubface angle at impact controls over 80% of your shot’s direction—and it all comes down to your wrists. Click here for the best drills to master your wrist mechanics and improve your accuracy.
6 Golf Drills for Accuracy to Stop Missing Your Target
Preset Over the Stick Drill
The golf swing should happen naturally, and it is a series of positions you will have to achieve throughout the entire swing. However, learning those positions individually can help you achieve your goals.
This Preset Over the Stick drill ensures your clubface is square earlier in the backswing. You’ll stabilize your wrist angles and notice more consistent and solid contact.
- Video Timestamp: 0:36
Preset Over the Stick Drill – Step by Step
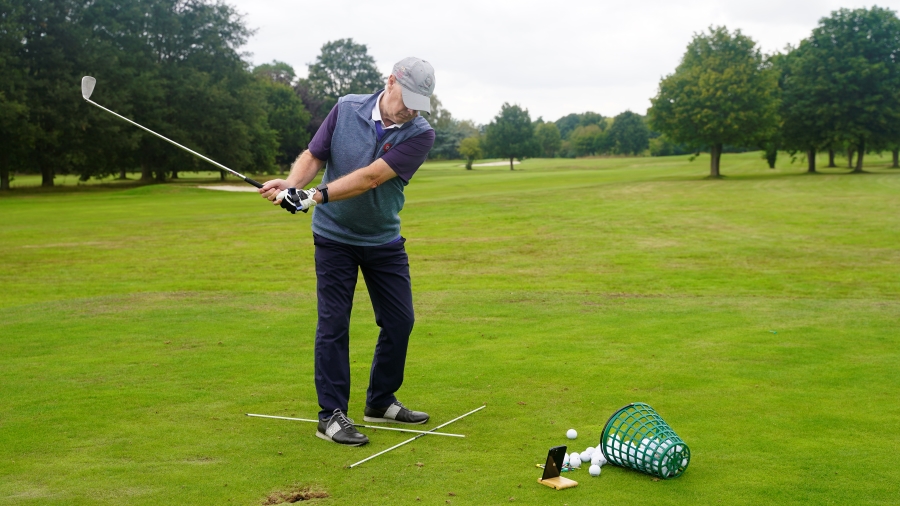
- Set an Alignment Stick: Lay a stick on the ground parallel to your target line (along your feet).
- Address & “Preset”: At setup, keep your arms in place and hinge your wrists so the shaft hovers right above the stick when the club is about waist-high (P2 position).
- Check Clubface: The face should point slightly down. Your trail wrist should extend while the lead wrist moves toward flexion.
- Go to the Top: From that preset, complete your backswing. Return down to the ball, maintaining stable wrists.
- Optional Ball-Striking: If comfortable, hit shots right from that preset position. It might feel tricky at first, but it teaches you strong, repeatable wrist conditions.
No-Sway Hip Station Drill
Swaying in the golf swing is not a good way to gain power. However, it can feel powerful, and that’s why many amateurs fall into the poor habit of swaying.
The No Sway Hip Station drill helps you stay centered instead of swaying. It reduces fat/thin shots, boosts accuracy, and keeps the low point more consistent.
- Video Timestamp: 4:50
No-Sway Hip Station Drill – Step by Step
- Set a Barrier: Place a bag, stick, or tripod just an inch or two outside your trail hip at address.
- Turn Behind You: In the backswing, straighten your trail leg slightly and rotate your trail hip “behind” you. Avoid bumping into the barrier.
- Feel the Centered Pivot: This ensures your upper body doesn’t shift away from the target.
- Hit Ball: Make a few practice swings, then hit shots, staying clear of the barrier. Notice more solid contact and a straighter flight.
- Build Repetitions: Keep focusing on that stable pivot—no drifting sideways—so you can deliver the club on a consistent path every time.
Tees Under Arms Connection Drill
When your arms and body start working independently of each other in the golf swing, you will struggle with accuracy.
The arms working on their own will often lift or disconnect, leading to an inconsistent plane and more thin and fat shots at impact.
You can use tees, a glove, or even a headcover to work on this drill. The items simply help to remind you of how to stay connected.
- Video Timestamp: 8:40
Tees Under Arms Connection Drill – Step by Step
- Tuck Tees or a Glove: Place a tee (or small object) under each armpit so your upper arms rest lightly against your torso.
- Backswing Awareness: As you swing back, keep the tees from falling. That means your arms stay connected rather than lifting vertically.
- Downswing & Impact: Maintain that connection into impact; your arms should stay “on” your rib cage well past the ball.
- Short Swings First: Begin with slow half swings to get used to the feeling.
- Extend to Full: Build into full swings once you can reliably retain the tees through the backswing and early downswing.
Line Drill for Low-Point Control
Hitting the ball first and then the ground is a great way to hit more accurate golf shots.
The Line Drill is very simple, and you can find ways to create a line with spray paint or chalk. The goal is to simply focus on crisp contact.
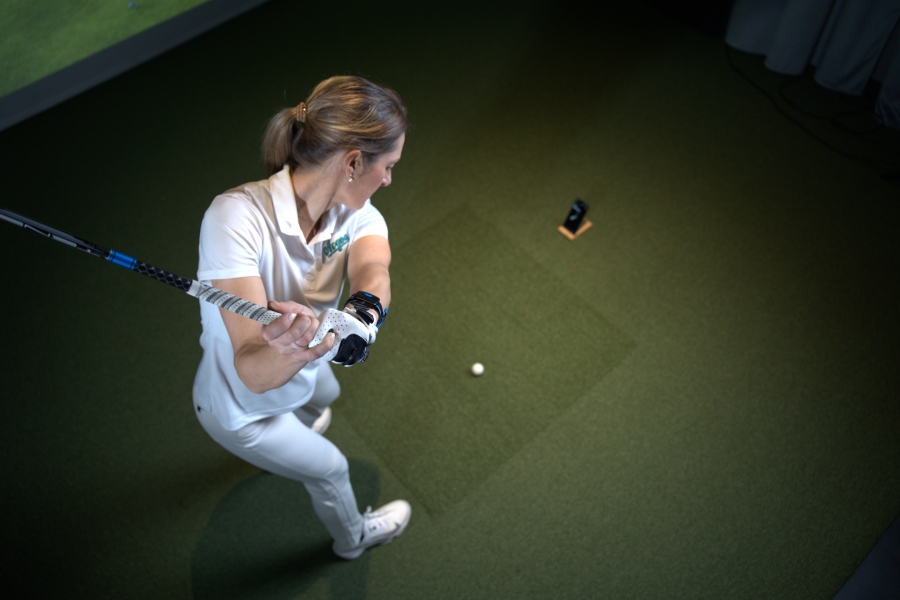
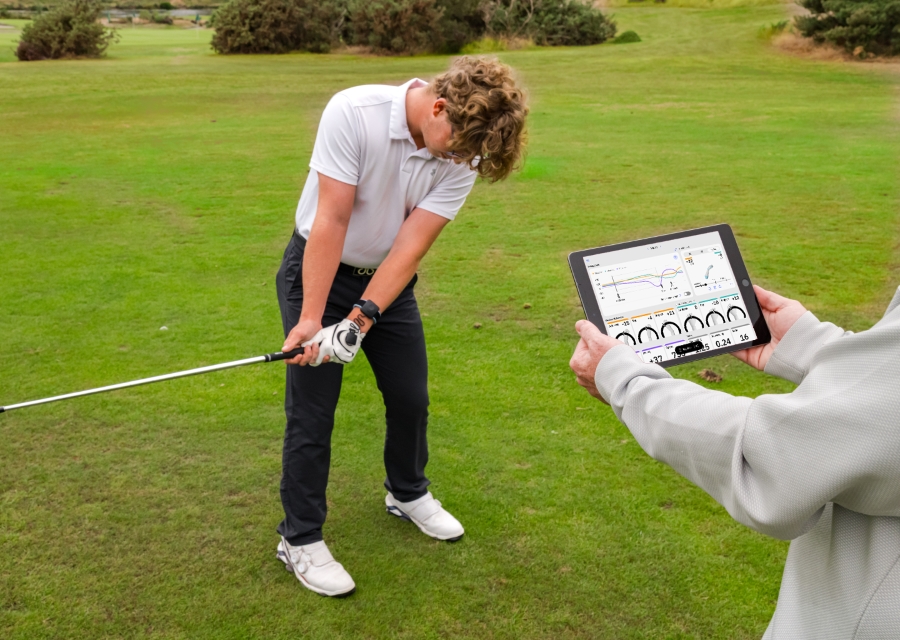
However, wearing your HackMotion while you practice the line drill should help improve wrist flexion at impact and create a square clubface.
- Video Timestamp: 0:00
Line Drill for Low-Point Control – Step by Step
- Draw a Line: Spray a straight line or use chalk on grass. You can lay down a thin piece of tape/string indoors or on a range mat.
- Ball on the Line: Place the ball directly on or just behind that line.
- Swing & Hit: Aim to contact the ball first, then brush the ground just in front of the line.
- Weight Forward: Feel ~90% of your weight on the lead foot at impact to encourage a forward low point.
- Refine with Wrist Data: Use HackMotion to ensure your lead wrist moves toward flexion (less cupping) through impact.
Gate Drill for Centered Contact
If your strike point is inconsistent, making the strike zone smaller is a great way to force yourself into more accurate strikes.
The Gate Drill is a classic golf drill for increasing consistency and getting the club to pass through an area leading to better contact.
- Video Timestamp: 5:42
Gate Drill for Centered Contact – Step by Step
- Create the Gate: Lay down two soft objects (e.g., a headcover and a glove) on the ground, just slightly wider than your clubhead.
- Address Normally: Line up so your clubhead sits between these two objects.
- Hit Without Collision: Make swings, contacting the ball without hitting either object. If you clip one, it indicates a heel/toe strike or path error.
- Start Slow: Use half swings until you can strike the ball cleanly.
- Full Swings: Gradually increase speed while continuing to miss the objects. Over time, your center of contact and your accuracy will improve.
Combined Top-of-Swing Drill
Finally, the Combined Top-of-Swing Drill helps you to practice getting to the proper position at the top of the backswing in real time.
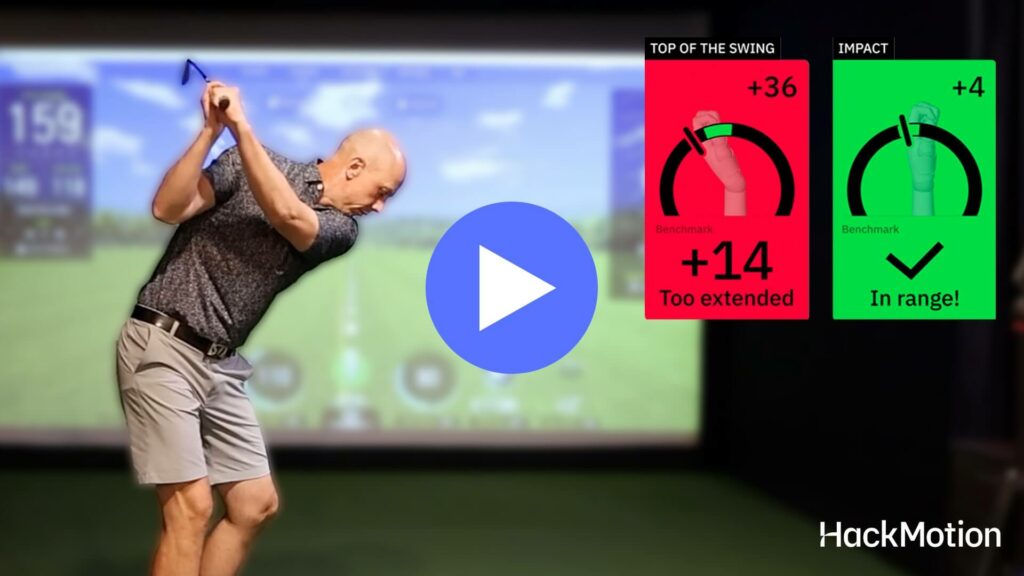
For this one, you’ll wear your HackMotion and train that ideal wrist angle at the top of the backswing.
Combined Top Drill in HackMotion
Train your top position by mastering optimal wrist angles. Challenge yourself to reach the ideal wrist position during a full-speed backswing.
HackMotion Combined Top Drill – Step by Step
- Go Full Speed to the Top: Address the ball normally with HackMotion on. Make a fast backswing—no deliberate pause.
- Peek at Wrist Angles: Upon reaching the top, check if your lead wrist is where you want it (in the HackMotion green zone).
- Transition & Swing Through: From that verified top position, swing down smoothly to impact, blending the correct top-of-swing wrist angles into your normal release.
- Refine: If you struggle, do “false starts.” Swing quickly to the top, pause a moment, then come back down. Shorten the pause as you improve until you can do it fluidly.
Final Thoughts
At this point you have six accuracy drills to make you a better ball striker. The more you work on golf swing accuracy the easier it is to hit the shots you want on the course.
If your game has made that transition from making contact to wanting to hit the target, use these drills to become a more accurate player.
Incorporating the HackMotion into your routine will also ensure you have measurable data and a clear path towards improvement. If you want additional guidance while improving your accuracy, you can also work with a golf instructor who uses HackMotion to help players sharpen their ball striking and precision.
