6 Essential Golf Follow-Through Drills for Better Accuracy & Swing Consistency
A golfer’s follow-through can tell us a lot about the efficiency of their swing.
When the follow-through is in the wrong direction, at an incorrect speed, or even unbalanced, we know there are issues that will impact distance and accuracy.
Golf swing follow through thoughts are great to have on the course. Practicing golf swing follow through drills will give you some direction on where the club should be after impact, and maybe even help you fix things like a slice or a chicken wing!
Here are our six favorite golf swing follow-through drills.
Contents
The Secret to a Better Golf Swing Starts with Your Wrists
Your clubface angle at impact determines 80% of your shot’s direction—your wrists control that angle. Click here for the best drills to master your wrist mechanics and take control of your game.
6 Effective Drills to Perfect Your Golf Follow-Through
Three Checkpoints Drill
The Three Checkpoints drill will help you find the balanced and controlled position you need to create consistent golf swings.
One of the great things about the Three Checkpoints drill is that it can help you see issues with your swing path and get them cleared up.
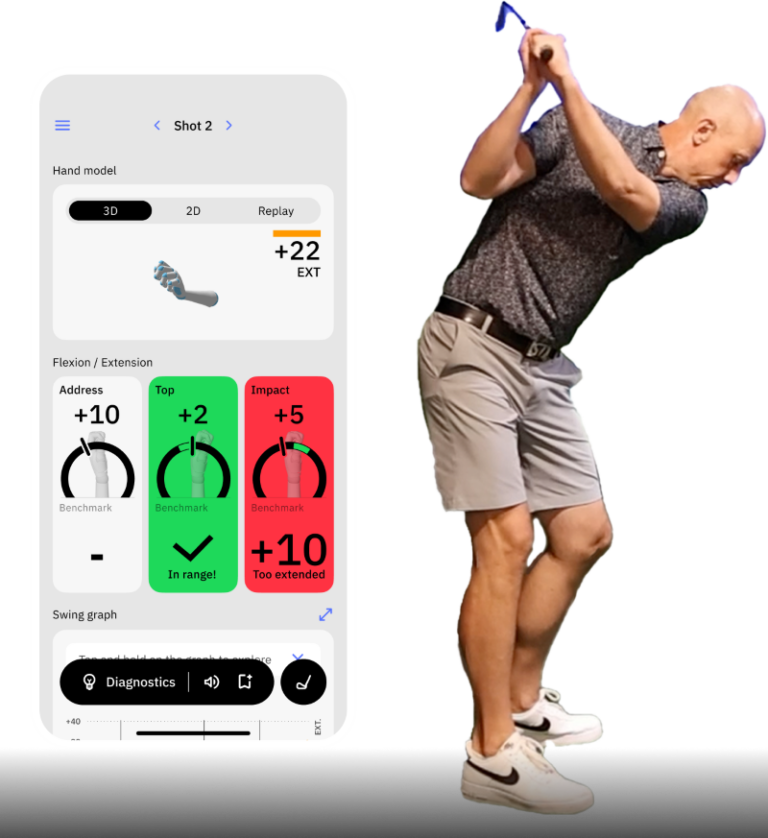
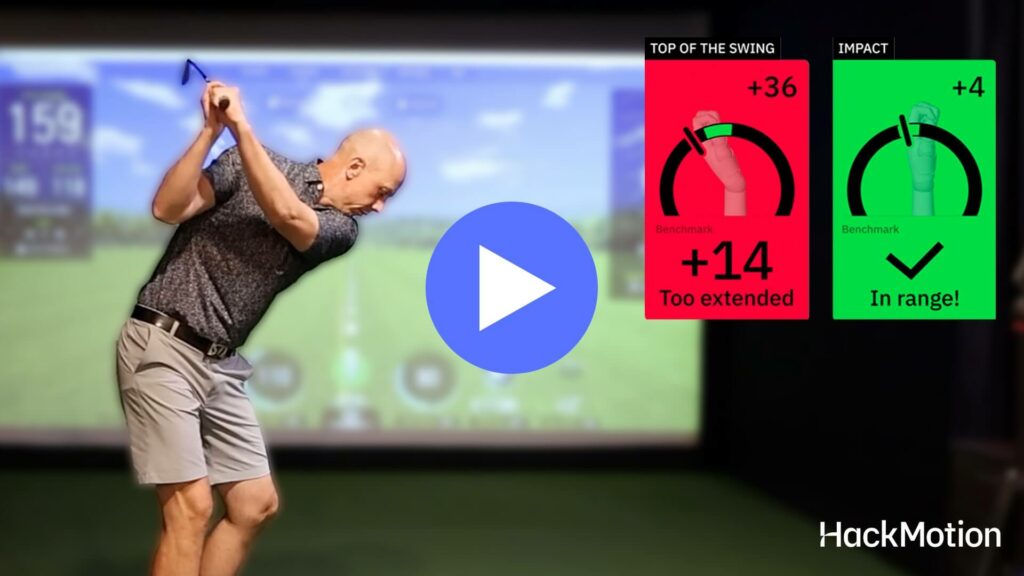
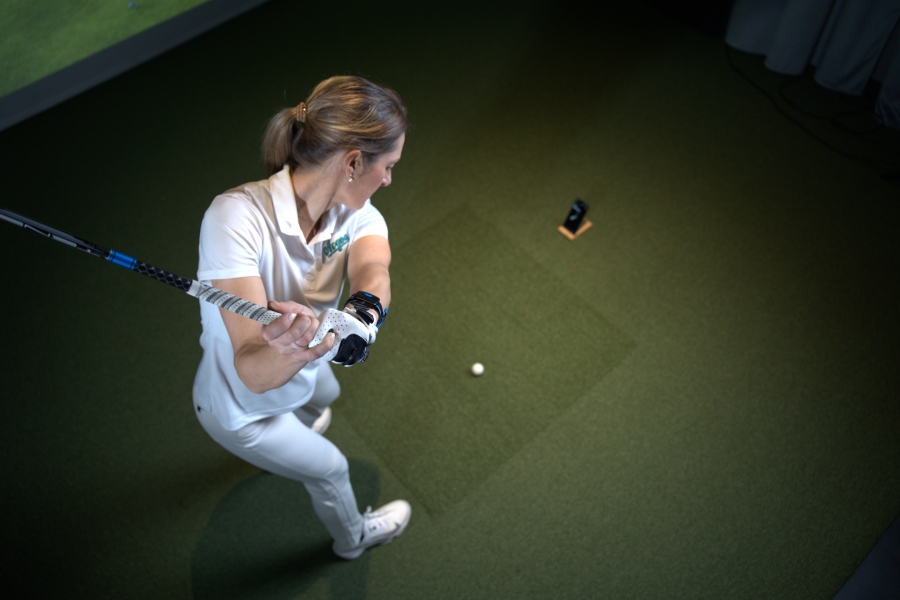
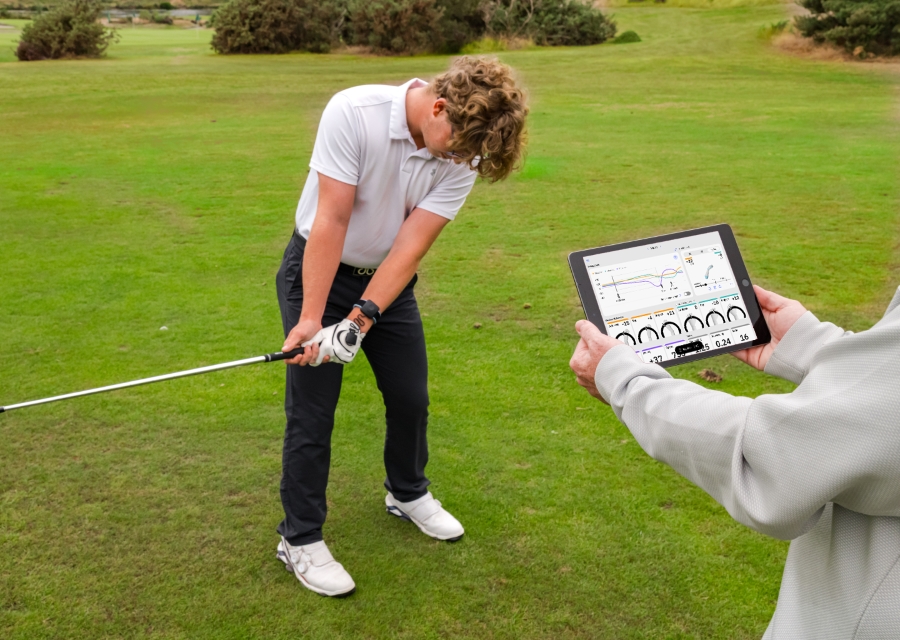
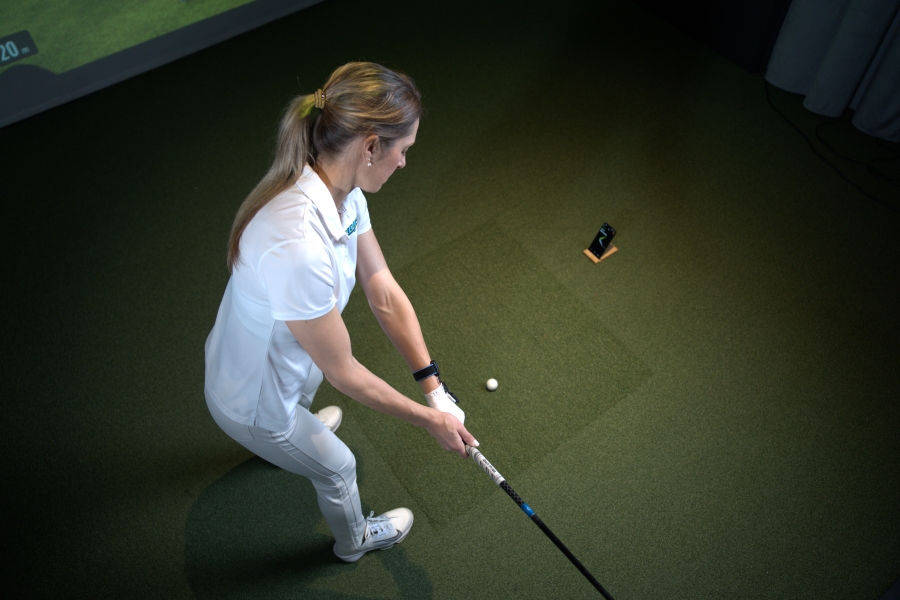
When working on a drill like this, wearing the HackMotion to measure wrist angles will help deepen your understanding and provide additional data.
- Video Timestamp: 0:17
Three Checkpoints Drill – Step by Step:
Take a golf swing and look for these three checkpoints. Continue until you can produce all three naturally.
- Back Foot on the Toe: At the end of your swing, lift your trail heel so the shoe’s sole points directly behind you.
- Squeeze the Knees: Bring your knees together so that your hips have been released and your weight is fully through the shot.
- Club Shaft Behind Ears: Finish with the club behind your head, roughly across your ears (if your flexibility allows).
If you’re falling back or lunging forward at the finish, it often reveals you came into impact too far inside?out or outside?in.
Finish to the Wall Drill
You’ll want to be located near a wall for this follow-through golf drill. The goal here is to rotate fully through the ball instead of slowing or stopping at impact.
This is a slow-motion drill where you won’t be hitting golf balls, so it can work as an indoor exercise.
- Video Timestamp: 0:07
Finish to the Wall Drill – Step by Step:
- Set Up Near a Wall: Stand one arm’s length from the wall, lead-side toward the wall, palm flat against it.
- Take Your Posture: Mimic the takeaway, then feel your body and club rotate through impact.
- Tap the Wall: Let the club release naturally over your lead shoulder until your trail hand can lightly tap the wall.
- Rehearse, Then Hit: On the range, imagine that same wall behind you to encourage a full finish past the ball.
Alignment Rod Follow Through Drill
The alignment stick can be a great tool for improving follow-through.
If your divot is behind the ball or your weight remains on your trail foot, this hip bump drill can help you achieve a more complete follow-through position.
Alignment Rod Follow Through Drill – Step by Step:
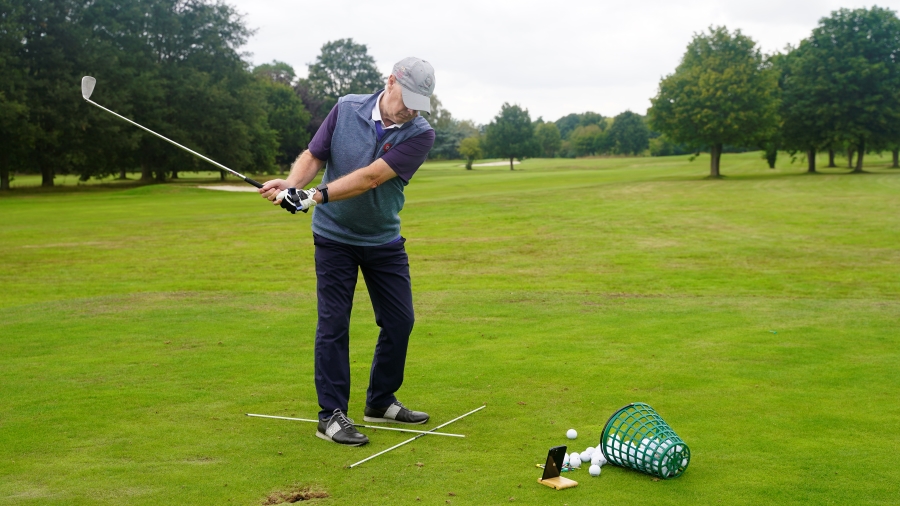
- Place an Alignment Rod: Set a rod in the ground (or a standing alignment stick) about one grip-length outside your lead hip.
- Slow Practice Swings: Swing in slow motion, feeling your hips “bump” and rotate so that by impact or just after, your lead hip gently touches the stick.
- Finish Tall: End with your chest up, lead leg supporting your weight, and trail foot on the toe.
- Gradually Increase Speed: Once comfortable, add speed until you can contact the ball smoothly without losing balance.
Vertical Finish Drill
The vertical finish drill helps you train the follow through position without even taking a backswing.
Since you are artificially creating the position, building muscle memory is easier. If you find yourself falling back on your follow-through, this vertical finish drill should help the situation.
Vertical Finish Drill – Step by Step:
- Set Up as Normal: Position the ball slightly left of center (for irons).
- No Backswing Rehearsal: From address, place the club in a simulated impact position with hands ahead.
- Push Through: “Push” the club forward to a tall finish. Your arms and body should extend toward the target, and your trail foot should be light on the ground.
- Repeat Without a Ball: Build muscle memory by repeating this half-swing into finish. Then, introduce slow, half-speed shots.
Hit Hard, Stop Quick Drill
While the Hit Hard, Stop Quick Drill may seem to be stopping your finish position, it can help you avoid flipping and keep the handle leading at impact.
For this drill, wear your HackMotion to ensure that your lead wrist position is flexed at impact.
You’ll also be able to tell if the flipping error is causing you to lose that perfect finish position.
Your goal is to delay the clubhead passing your hands. “Stop Quick” forces you to stabilize that lead wrist and control the face angle through the strike.
- Video Timestamp: 3:45 – 6:45
Hit Hard, Stop Quick Drill – Step by Step:
- Mini Swing: Take a small backswing and accelerate through the ball.
- Stop Immediately After Impact: Check that your lead arm and the club shaft are still aligned (shaft not overtaking your hands).
- Weight on Lead Foot: Feel almost all your weight on your lead side.
- Repeat & Build Speed: Gradually increase swing length and speed, but stop the club immediately after impact to reinforce the feel.
HackMotion Impact/Release Drill
While the release in golf tends to be confusing, the HackMotion app Release Drill can make things a little easier to understand.
Perfect Your Release with HackMotion
Fine-tune your release for consistent contact. Start with a short swing to master control before adding power.
The idea here is that if you can train a release position from waist high to waist high without rolling the wrists or flipping the club, you can do it on the full swing.
Check for things like consistent forward shaft lean and a consistent release pattern. If you are a player who struggles with a slice or a hook, the Release Drill is a great place to start gaining control.
- Video Timestamp: 7:00 – 9:00
HackMotion Impact/Release Drill – Step by Step:
- Waist-High Backswing: Swing slowly to waist height, ensuring your lead wrist is in a good, slightly flexed (or flat) position.
- Move Through Impact: Strike the ball, maintaining lead-arm?to?shaft alignment until just after contact.
- Waist-High Finish: Continue to waist height on the other side, feeling the wrists “hinge up” rather than roll over.
- Check Data: Let the HackMotion app verify your wrist angles—aim to keep the face stable and avoid sudden flips.
Final Notes
Many golfers believe the follow-through will happen naturally after a perfect swing. While this can sometimes be the case, there are still issues with the follow-through that need to be worked out.
Try combining some of these drills, wearing your HackMotion wrist sensor, and progressing from slow half swings to full swings.
Mastering the follow-through position will help you improve your consistency and even hit more powerful shots. If you want structured help dialing in this movement, consider taking golf lessons for improvement with a coach who uses HackMotion to guide proper mechanics.
