5 Release Drills Every Golfer Should Know for Better Ball Striking
The release of the golf club is a crucial part of your swing that impacts ball striking, clubface control, and power.
However, many golfers struggle with flipping the clubhead past their hands too soon, leading to inconsistent contact and weak shots.
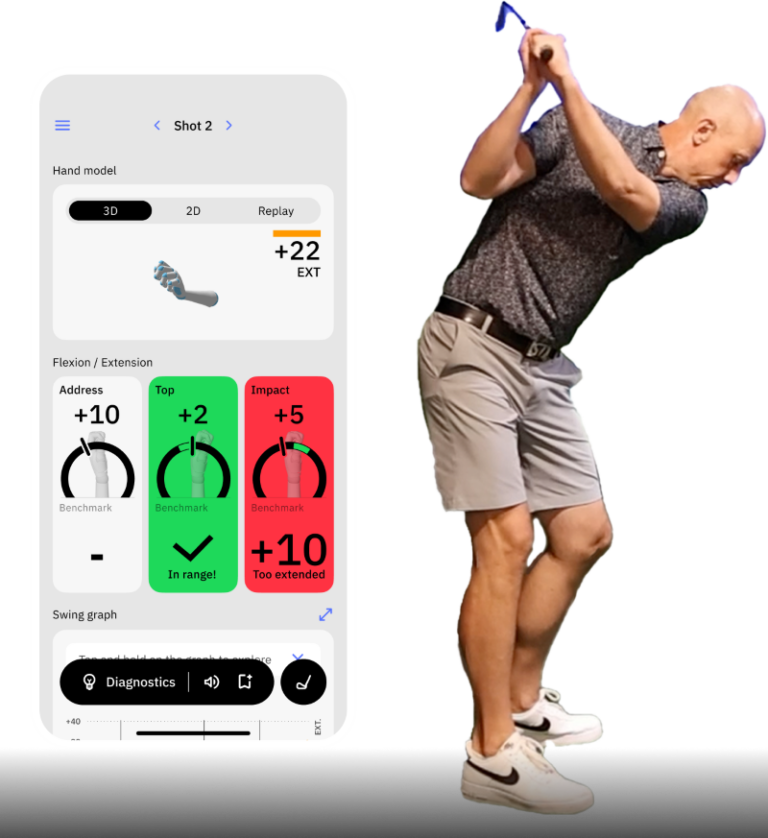
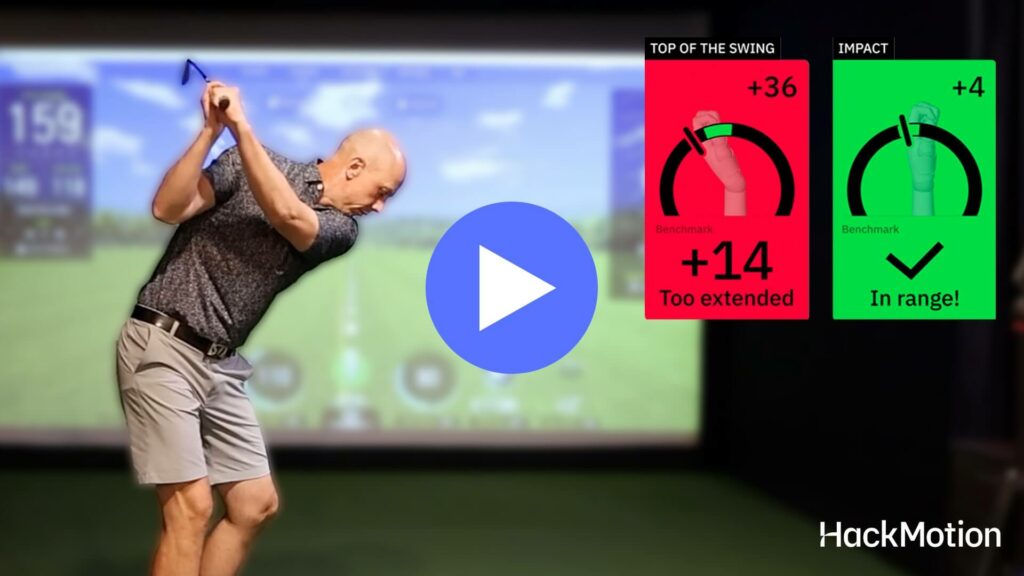
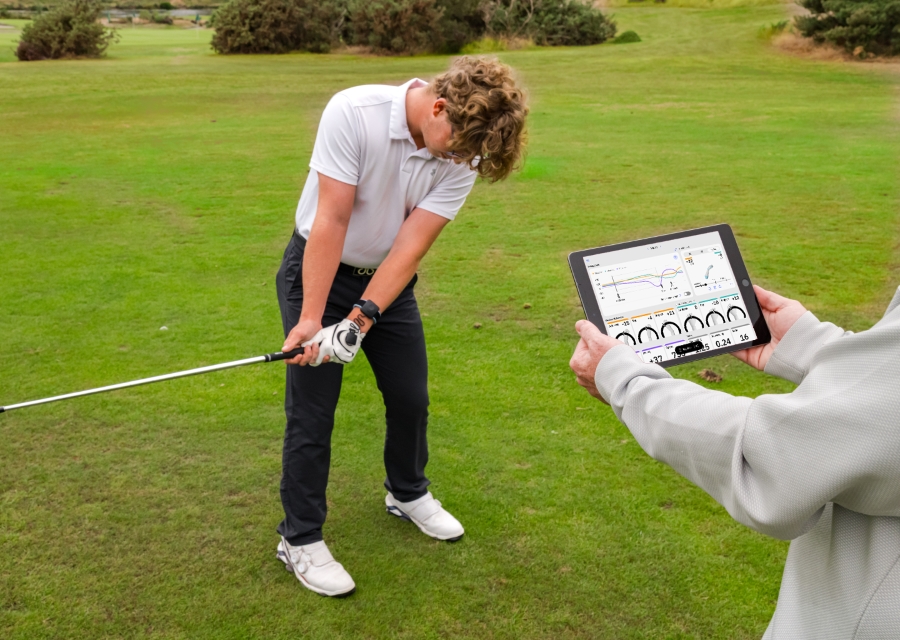
Using HackMotion, we can measure and train the correct release patterns.
Below are the best drills to help improve your release, reduce early flipping, and gain better control over your ball flight.
If You Struggle With… Try This Release Drill
If you know your specific release issue, use this guide to find a quick fix.
- Flipping at impact – Hit Hard, Stop Quick Drill
- Weak or inconsistent release – Full Release Progression Drill
- Club overtaking hands too soon – Extend the Clubhead Drill
- Losing lag in the downswing – P6 Acceleration & Stop Drill
- Inconsistent impact – HackMotion Release Drill
The Key to a Better Release Starts with Your Wrists!
Your wrists play a major role in controlling the clubface through impact. Click here for the best wrist mechanics drills to train a proper release and strike the ball with confidence.
5 Golf Release Drills That Actually Work
Hit Hard, Stop Quick Drill (Fix Early Release & Flipping)
The most common issue among high-handicap golfers is the club flipping past the hands before impact.
Flipping is often done as a last-minute save to help square the clubface, but it causes a loss of distance and accuracy in the golf shots.
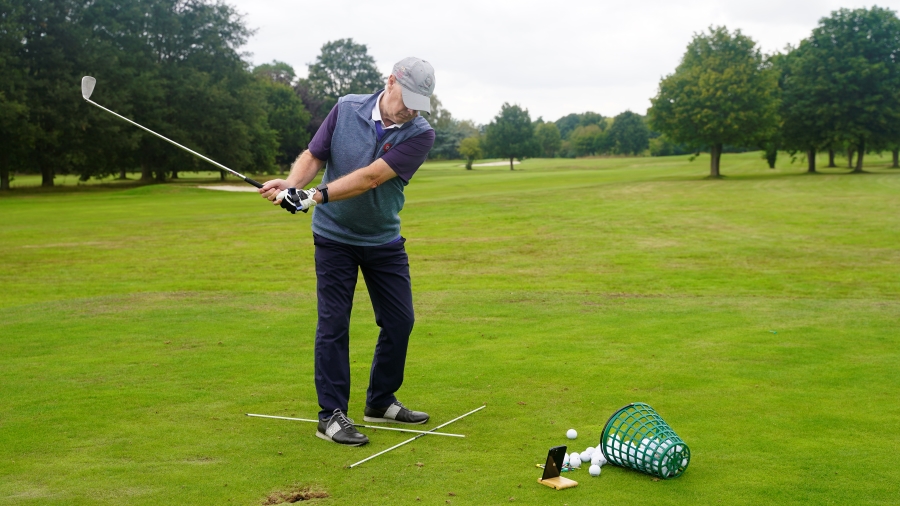
The Hit Hard, Stop Quick Drill is a simple one that forces you to stop immediately after impact. It naturally produces correct wrist angles and helps you maintain a forward shaft lean.
- Video Timestamp: 3:11-5:00
Hit Hard, Stop Quick Drill – Step by Step
- Set Up Normally: Take your standard address position with a mid-iron.
- Short Swing First: Start with a small backswing to waist height.
- Hit and Stop: Strike the ball firmly and stop the club immediately after impact.
- Check Shaft Lean: Ensure the handle of the club is still ahead of the clubhead at the stopping point.
- Repeat & Build Speed: Perform at least 10 reps at a controlled speed before increasing intensity.
Full Release Progression Drill (Train a Functional Follow-Through)
Many golfers struggle with what happens after impact. This drill builds upon the Hit Hard, Stop Quick Drill by extending the follow-through while maintaining correct wrist angles.
If you can get the Hit Hard Stop Quick Drill down you’ll then use this to train what happens after impact.
- Video Timestamp: 7:59-9:52
Full Release Progression Drill – Step by Step
- Start with the Hit Hard, Stop Quick Drill.
- Arms Parallel Checkpoint: Allow the arms and club to continue moving past impact until they reach parallel to the ground.
- Upward Wrist Hinge: Instead of rolling the wrists, hinge them upwards to maintain clubface control.
- Maintain Lead Arm Alignment: Ensure the club does not overtake the lead arm too soon.
- Progress to Full Swing: Once mastered, integrate into a full swing.
HackMotion Release Drill (Wrist Control for Impact)
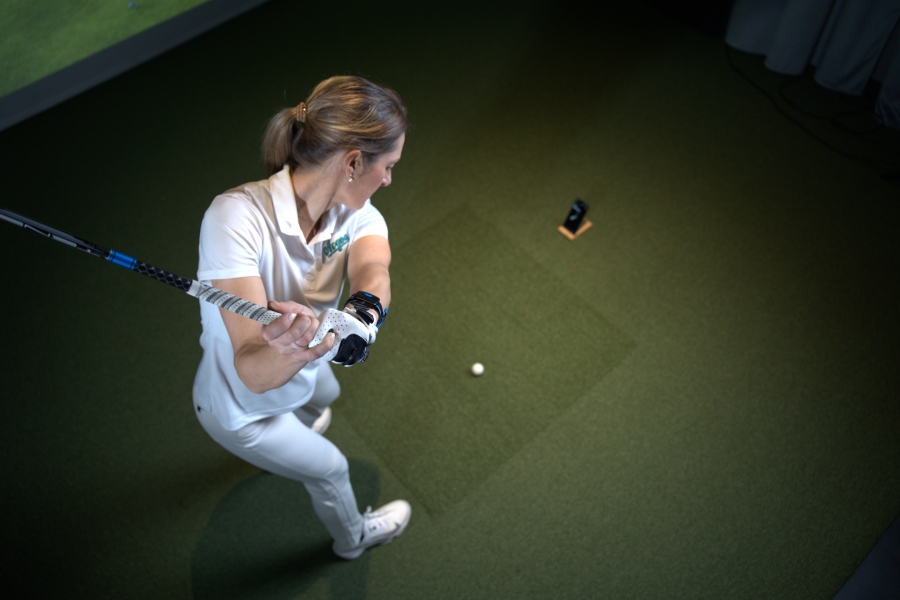
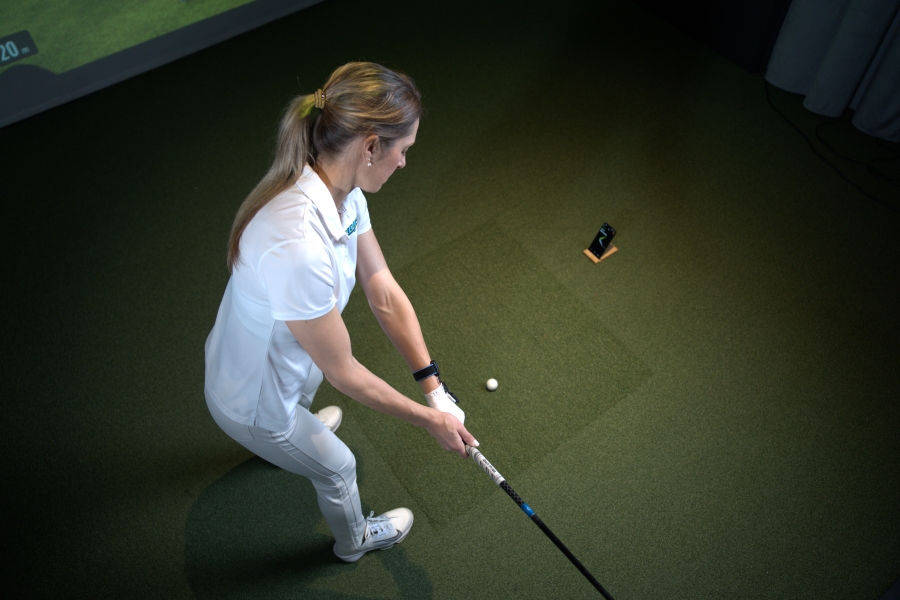
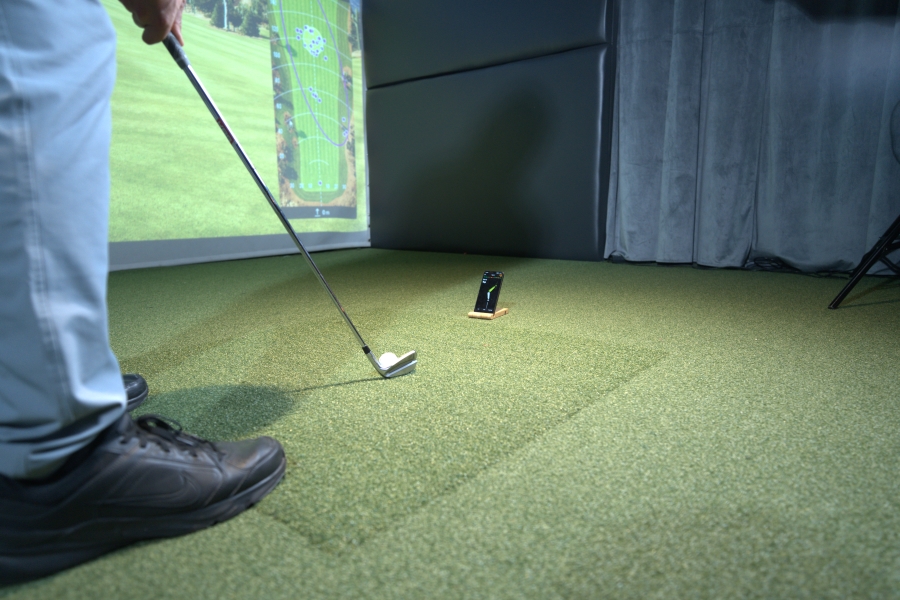
One of the issues amateur players have with the release is that it’s difficult to feel. The Release Drill in the HackMotion app lets you work on a proper release in real-time.
The Release Drill is designed to teach proper wrist angles from club parallel (P7) to impact, ensuring a controlled and repeatable release.
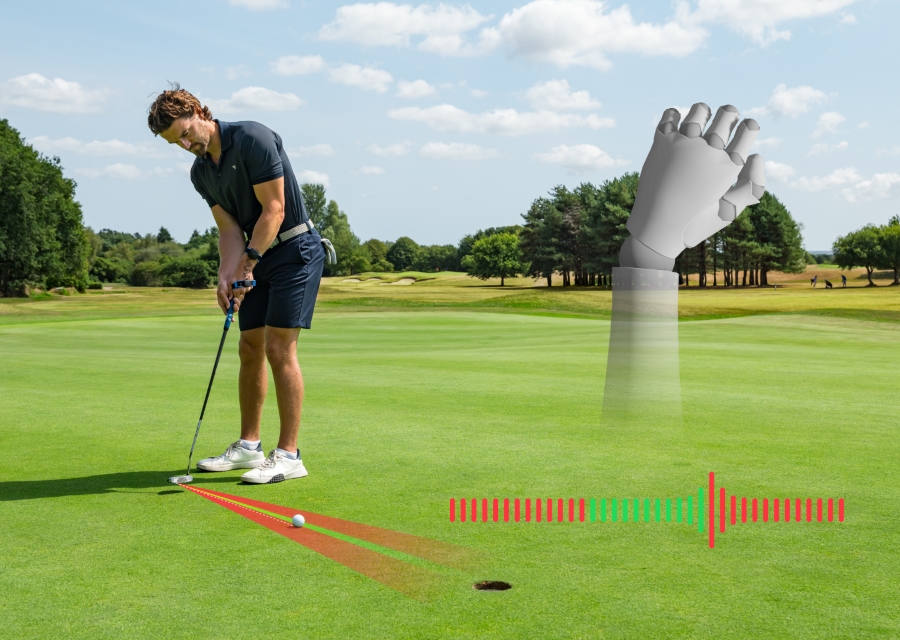
Perfect Your Release with HackMotion
Fine-tune your release for consistent contact. Start with a short swing to master control before adding power.
HackMotion Release Drill – Step by Step
- Set Up: Address the ball with a controlled, short swing in mind.
- Club Parallel to Impact: Swing from club parallel in the downswing (P7) into impact.
- Hands Forward: Keep your hands slightly ahead of the ball at impact.
- Check Wrist Angles: Use HackMotion to confirm wrist angles remain within the correct “in-range” zone.
- Perform 10 Reps: Execute at least 10 repetitions before progressing to full swings.
P6 Acceleration & Stop Drill (Prevent Early Release)
If you want to improve your club’s release position in golf and increase your distance, try the P6 Acceleration and Stop Drill.
This drill helps train the proper downswing sequence, ensuring the hands accelerate early while preventing premature club release.
Finding the perfect balance of speed and proper release can help you hit longer and straighter drives.
- Video Timestamp: 3:36-5:19
P6 Acceleration & Stop Dril – Step by Step
- Use an Alignment Stick: Grip an alignment stick like a club.
- Start at the Top of the Swing: Get into your full backswing position.
- Accelerate to P6: Pull down quickly to the point where the shaft is parallel to the ground (P6).
- Stop Immediately: Halt the movement to emphasize speed control and proper sequencing.
- Progress to a Club: Once comfortable, transition to a golf club while maintaining the same move.
Extend the Clubhead Drill (Proper Arm & Clubhead Control)
The Extend the Clubhead Drill is yet another anti-flip drill that helps encourage proper extension through impact and a better release position.
If drills that require you to hit shots become complicated for you, this is a good one to focus your attention away from hitting shots and instead get the correct motion in your swing.
- Video Timestamp: 2:02-5:22
Extend the Clubhead Drill – Step by Step
- Stand Upright: Hold the club in front of you with both arms extended.
- Preset Delivery Position: Move the club back to simulate a downswing position.
- Extend the Clubhead: Swing forward while keeping the clubhead as far away from your body as possible.
- Prevent Club from Passing the Lead Arm: Focus on keeping the club in line with the lead arm rather than flipping it past.
- Add Body Rotation: Incorporate a slight body turn to support the movement.
- Progress to Full Swings: Gradually integrate this movement into a normal swing.
Final Thoughts
Training a proper release takes time and the right drills. By using HackMotion data, you can get real-time feedback on your wrist movements, ensuring that you’re making improvements.
While your ball flight and distance are good indicators, it is now possible to measure the proper release. Start with these drills the next time you go to the driving range. If you want help refining your release even further, you can pair these drills with golf coaching from a coach who uses HackMotion to teach proper wrist movement through impact.
