6 Effective Golf Swing Drills for Senior Golfers
Some golf swing drills are highly effective for improving your game, but as a senior golfer, not all drills are suited to your needs.
Many focus on big turns, generating extra speed, or adding lower-body tension factors that may not align with your physical capabilities.
We’ve sifted through thousands of golf drills to hand-pick six that are ideal for senior players.
Each one targets specific areas of your swing, helping you make small but impactful adjustments to improve your consistency, distance, and overall performance on the course.
Contents
The Secret to a Better Golf Swing Starts with Your Wrists
Your clubface angle at impact determines 80% of your shot’s direction—your wrists control that angle. Click here for the best drills to master your wrist mechanics and take control of your game.
6 Golf Swing Drills Perfect for Seniors
The Flare & Turn Drill
One of the issues senior golfers run into is difficulty turning and rotating. With your body aging, you may feel that you can’t rotate the same way you did years ago.
The Flare and Turn Drill helps you realize that you may not have to rotate quite like that to hit the ball long and far.
With this drill, you should be able to learn to take more of a turn, have a longer hand path, and create more potential power in your golf swing.
- Video Timestamp: 0:50-1:25
The Flare & Turn Drill – Step by Step:
- Flare Both Feet: Point each foot about 20°–30° outward.
- Drop the Trail Foot Back: Pull your right foot (for right-handers) slightly behind the lead foot to close the stance.
- Allow Knee Flex Changes: Let your trail leg straighten and your lead leg flex in the backswing.
- Stay Centered: Don’t sway – rotate around a steady upper-body position.
- Check Feel: Make some slow swings to sense the bigger turn.
The No-Sway Pivot Drill
The more efficient your golf swing is, the easier it is to make contact with the center of the club face.
Efficient golf swings typically don’t have extra movement and unwanted lateral shifts during the golf swing.
Staying centered as your agility decreases and focusing on that consistent contact will lead to better shots and less risk of injury.
- Video Timestamp: 4:14-4:30
The No-Sway Pivot Drill – Step by Step:
- Normal Setup: Flare your feet if you like, but keep your weight balanced.
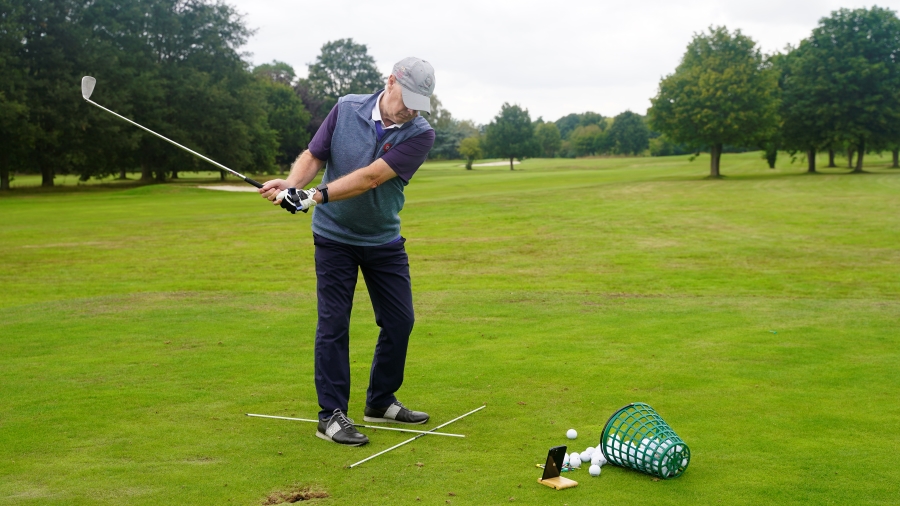
- Alignment Stick Check: Place a stick or golf club just outside your trail hip as a “no-sway” barrier.
- Slow Backswings: Turn hips/shoulders without letting your trail hip bump into the stick.
- Stay Centered at the Top: Avoid sliding off the ball; you’ll feel more coiled and less lateral.
- Transition & Follow-Through: Keep a gentle move onto your lead side, but no big lateral lunge.
The Knee Unlock Drill
Another great drill to help you improve your hip turn and see a more pronounced shoulder turn would be the Knee Unlock drill.
The key here is to make sure you know the role of the knees in the golf swing and how they will perform when they don’t have to be locked into place.
- Video Timestamp: 3:15-3:30
The Knee Unlock Drill – Step by Step:
- Feet Flared: Start with both feet turned out slightly.
- Exaggerate Knee Flex Change: In the backswing, let the trail knee straighten and the lead knee gain flex.
- Feel the Bigger Turn: Notice how your pelvis rotates more freely when the knees aren’t locked in place.
- Practice Slowly: Do rehearsal swings focusing only on knee movement.
- Full Swings: Integrate that same feel into a normal-speed swing.
The HackMotion Motorcycle Drill
Once you have your body in control and there is less saying and unnecessary movement, you’ll want to get your wrists in the right position.
Wrists control the clubface in the golf swing, and if you can learn to control the clubface, you’ll hit cleaner shots that move straight toward your target.
The problem that most senior golfers run into is an overly open clubface at impact. Too much lead wrist extension creates an open clubface at impact.
The motorcycle drill teaches you how to make a “revving” move that squares the clubface during the downswing.
Motorcycle Drill – Master Wrist Flexion in the Downswing
Focus on continuously adding flexion until the club reaches parallel, then smoothly complete your swing.
The Motorcycle Drill – Step by Step:
- Normal Grip: Focus on your lead wrist (left wrist for right-handers).
- “Rev the Throttle”: Rotate your knuckles down (lead wrist toward flexion), like twisting a motorcycle handle.
- Observe the Clubface: Notice how the face closes or squares up when you reduce extension.
- Slow Swings: Practice half-swings, monitoring that you aren’t “cupping” (extending) the wrist too much.
- If Using HackMotion: Watch your extension/flexion numbers at the top and through impact—aim for less extension.
The Whoosh Drill
If your clubhead speed has started to slow down, you can make up for some of it by increasing the wrist snap that you have in your swing.
The Whoosh Drill is a simple one where you feel the release and unhinging of the wrists.
For senior golfers who tend to try and guide or direct the ball, the Whoosh Drill does a great job of loosening you up and getting the clubhead to move quickly through impact.
- Video Timestamp: 7:20-7:50
The Whoosh Drill – Step by Step:
- Flip the Club: Hold the club near the head so the grip end is in the air.
- Practice Swings: Swing and listen for a loud “whoosh” at the bottom—this is where speed should peak.
- Emphasize Wrist Snap: Let your wrists unhinge freely instead of “holding on.”
- Minimal Lower Body: Keep the hips from over-rotating; let the arms and wrists do the work.
- Normal Swings: Flip the club back and try to replicate the same whoosh sound with a ball.
Alignment Stick for Body and Arm Synchronization Drill
Alignment sticks can be a great resource as you spend time on the driving range.
This alignment stick drill will synchronize the body and the arms to promote a more connected and efficient swing. As a senior player, you need everything to work together.
- Video Timestamp: 6:00
Body and Arm Synchronization Drill – Step by Step:
- Setup: Insert an alignment stick into the back end of your club’s grip, extending its length. You can also try gripping the club and the alignment stick at the same time.
- Positioning: At address, ensure the extended stick points just to the left side of your body, promoting proper shaft lean.
- Execution: Perform small half swings, focusing on turning your body through impact. The goal is to keep the stick from touching your side, indicating proper body rotation and arm synchronization.
- Progression: As you become comfortable, gradually increase the length and speed of your swings, maintaining the stick’s distance from your body throughout.
It can help to wear your HackMotion while you complete this drill to see the flexion in your lead wrist. This is the position you’ll want to get to when the alignment stick is removed.
Final Thoughts
One of the best ways to learn golf is through drills. Golf drills help you feel, see, and understand what your game is missing.
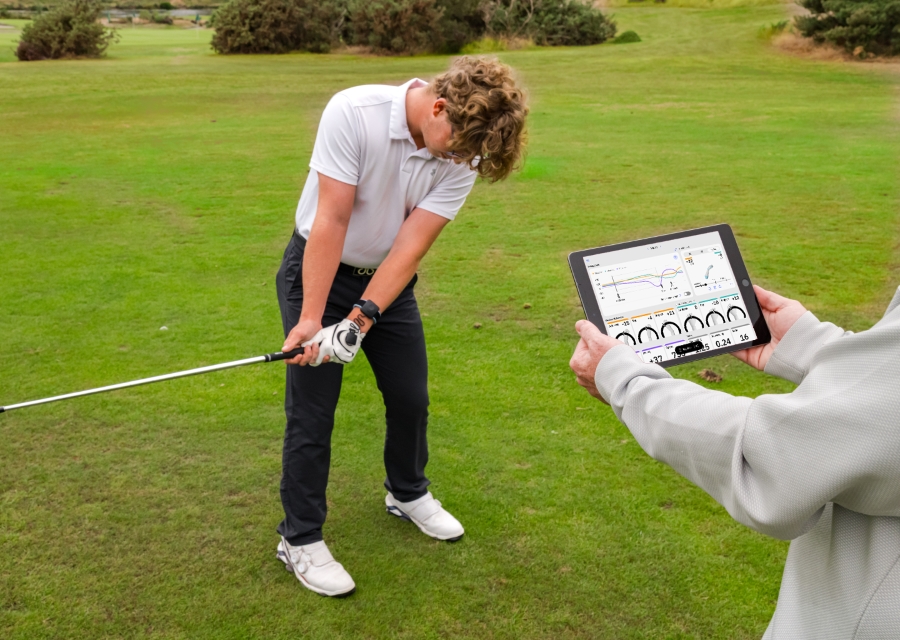
These 6 golf swing drills for seniors are even more effective if you can record and track data about what the wrists do throughout the swing.
Wear your HackMotion when doing the drill, and then compare the results to when you go back to your regular swing or stroke. For even better evaluation and personalized guidance, you can also work with a golf coach who uses HackMotion to help senior golfers improve efficiently.


