How to Flush Irons: 7 Tips for Pure Contact Every Time
Flushing an iron feels effortless, but getting there takes real control.
That pure strike, ball-first, then turf, isn’t about swinging harder. It’s about doing a few key things right: stable wrists, weight forward, hands ahead, and a low point in front of the ball.
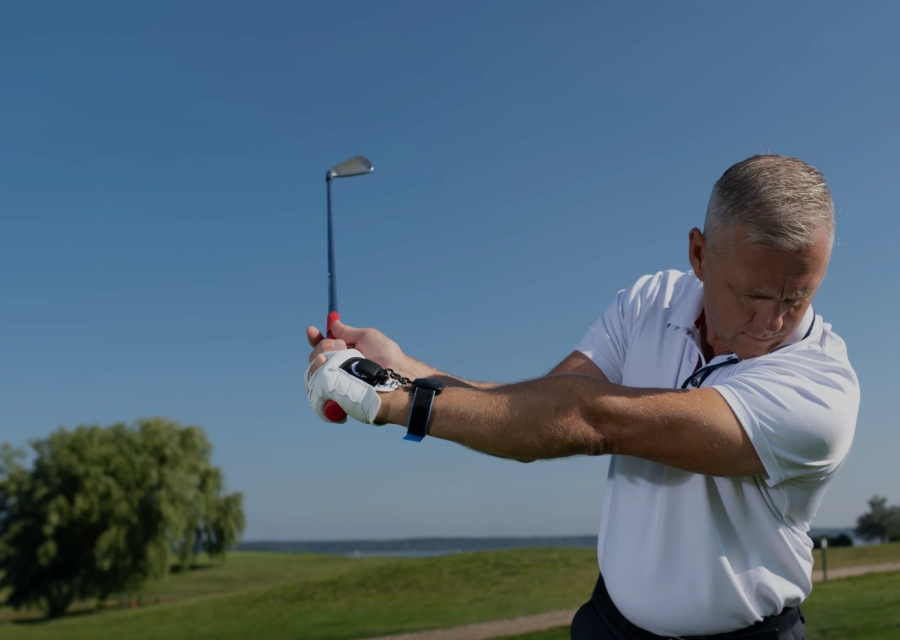
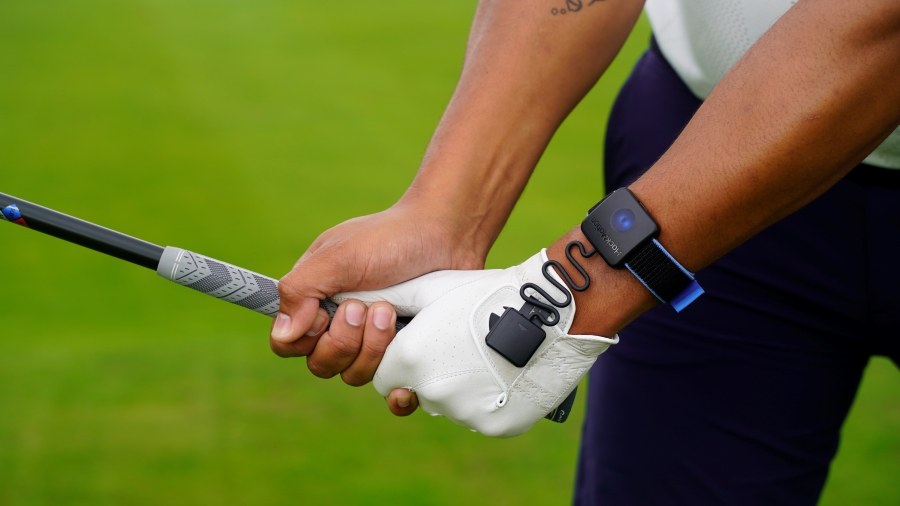
Most golfers guess at those. HackMotion lets you measure them. When you can see exactly what your wrists are doing at impact, you can finally build the consistency you’ve been chasing.
Let’s walk through the seven things that turn scattered contact into a pattern of pure.
Flush Your Irons Every Time (Key Takeaways)
If you’re short on time but desperate to start flushing your irons, here are the critical elements you can implement immediately.
- Ball Position Matters: Place the ball center to slightly back of center in your stance for optimal contact.
- Forward Shaft Lean: Maintain 3-7° of shaft lean at impact to compress the ball properly.
- Weight Forward: Keep 60-65% of your weight on your lead foot through impact.
- Maintain Wrist Angles: Preserve your lead wrist conditions from setup through impact.
- Swing Bottom Control: Position the low point of your swing 2-4 inches ahead of the ball.
- Stable Lower Body: Resist excessive sliding or spinning for consistent contact.
- Tension-Free Grip: Hold the club firmly but without tension that restricts proper release.
7 Keys to Flushing Irons Consistently
Perfect Your Ball Position
Ball position is the foundation of solid iron contact. Too far forward, and you’ll catch the ball on the upswing, producing thin shots. Too far back, and you’ll hit behind the ball, creating fat shots.
For mid-irons (5-7), position the ball in the center of your stance. For short irons (8-PW), place it slightly back of center. For long irons (3-4) or hybrids, position it just forward of center.
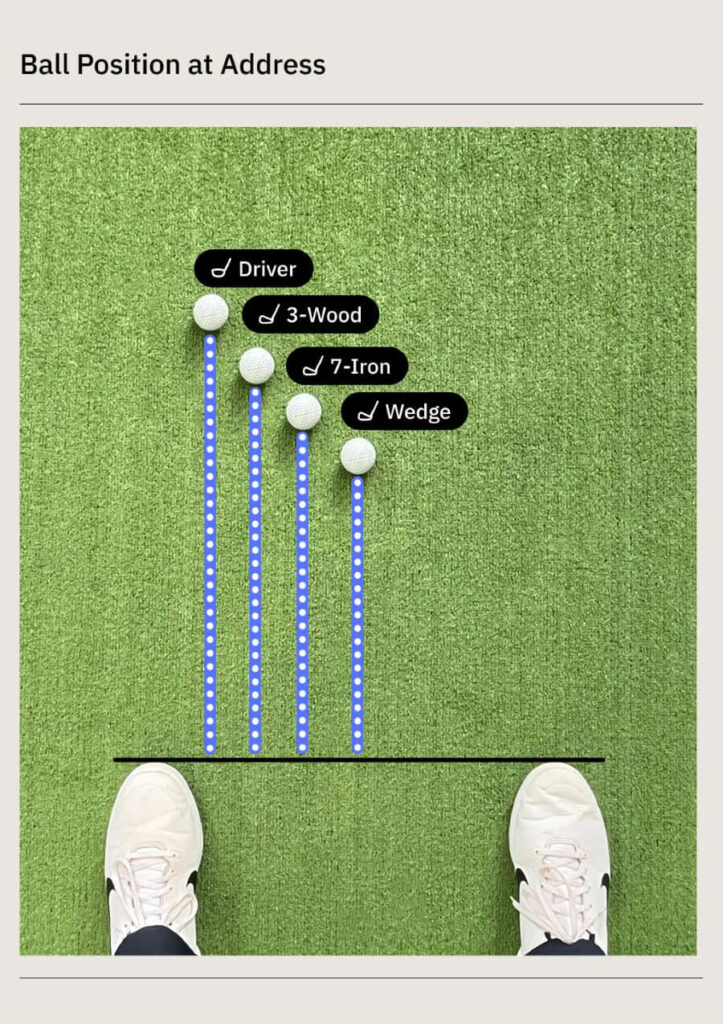
A simple way to check your ball position is to set up normally, then drop your right foot back (for right-handed golfers) into a narrow stance. The ball should be opposite your lead heel for a driver, gradually moving back toward the middle as the clubs get shorter.
Remember that ball position isn’t just forward or back—it’s also about distance from your body. Stand far enough from the ball that your arms can hang naturally, with about a fist’s width between your lead hand and thigh at address.
Master Forward Shaft Lean
Your hands should be ahead of the clubhead at impact, creating a descending blow that compresses the ball.
Most amateurs struggle because they “flip” their hands at impact, releasing the club too early and losing that critical forward shaft lean.
This flipping motion adds loft, reduces compression, and often leads to fat or thin contact.
To create proper shaft lean, start with it at address. Set up with your hands slightly ahead of the ball, establishing about 3-5° of forward shaft lean. Then, maintain or slightly increase this angle through impact.
Get Your Weight Forward
Weight distribution plays a massive role in controlling your swing’s low point. For crisp iron contact, your weight should favor your lead side through impact.
Start with about 55% of your weight on your lead foot at address. During the backswing, it’s normal for some weight to shift to your trail side, but the key transfers it back to your lead side during the downswing.
Many amateurs hang back on their trail foot through impact, making it nearly impossible to strike the ball cleanly. If you struggle with fat shots, there’s a good chance your weight isn’t shifting forward properly.
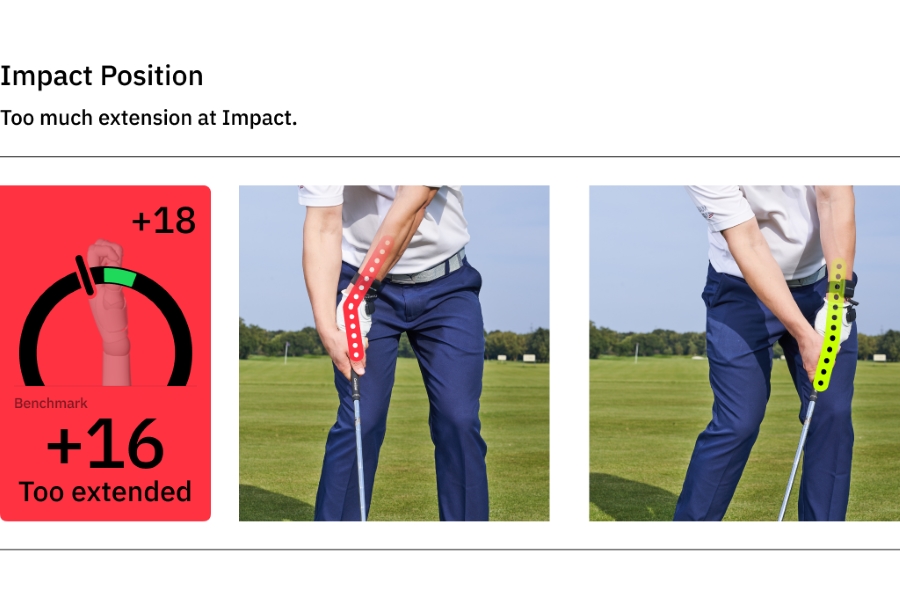
Control Your Wrist Conditions
Controlling your wrist angles is one of the most overlooked keys to flushing irons. The lead wrist, in particular, plays a major role in delivering the club with the correct face angle and shaft lean.
If you’re struggling with inconsistent contact, especially fat or thin shots, chances are your wrist mechanics are off.
Here’s how to fix it:
- Start in a good position: At address, your lead wrist should be flat or in slight extension, not overly bowed or cupped.
- Expect some movement: As you swing to the top, the wrist angle will change slightly, but the key is the transition.
- Transition with control: On the way down, your lead wrist should flatten or bow slightly to maintain shaft lean and control face angle.
- Avoid the cup: A cupped (extended) wrist at impact opens the clubface and steepens the shaft, both lead to poor contact.
- Stay firm but relaxed: Keep the wrist structure solid through impact, but avoid tension that restricts movement.
- Use HackMotion to dial it in: Track your lead wrist extension, staying within -5° to +5° through impact, ensures you’re in position to compress the ball.
Manage the Bottom of Your Swing Arc
Consistent ball-first contact requires your swing to bottom out just ahead of the ball, about 2 to 4 inches.
When the low point is behind the ball, you hit it fat. Too far forward, and you’ll likely blade it. These three fundamentals help control your swing bottom:
- Maintain your spine angle: Standing up or dipping through the swing unpredictably shifts your low point. Stay in posture from setup to impact.
- Rotate, don’t sway: A solid pivot rotates around your spine. Sliding laterally makes it hard to control where the club hits the ground.
- Keep width through impact: Don’t extend your arms too early. Maintaining your radius helps deliver the club at the right spot every time.
Stabilize Your Lower Body
Your lower body provides the foundation for your swing. Excessive movement, whether it’s swaying, sliding, or spinning, makes consistent contact nearly impossible.
During the backswing, resist the urge to sway away from the target. A slight weight shift is natural, but your lead hip should remain relatively stable.
Many amateurs sway too far off the ball, then struggle to get back to a good impact position.
Optimize Your Grip Pressure
Grip pressure might seem like a minor detail, but it significantly affects your ability to deliver the club consistently to the ball. Too tight, and you restrict the natural release of the club. Too loose, and you lose control.
Aim for a grip pressure of about 4-5 on a scale of 1-10, where 1 barely holds the club and 10 is squeezing as hard as possible. This moderate pressure provides control without tension.
Pay particular attention to your grip pressure during the transition from backswing to downswing. Many golfers unconsciously tighten their grip at this point, creating tension that restricts their release and ruins their timing.
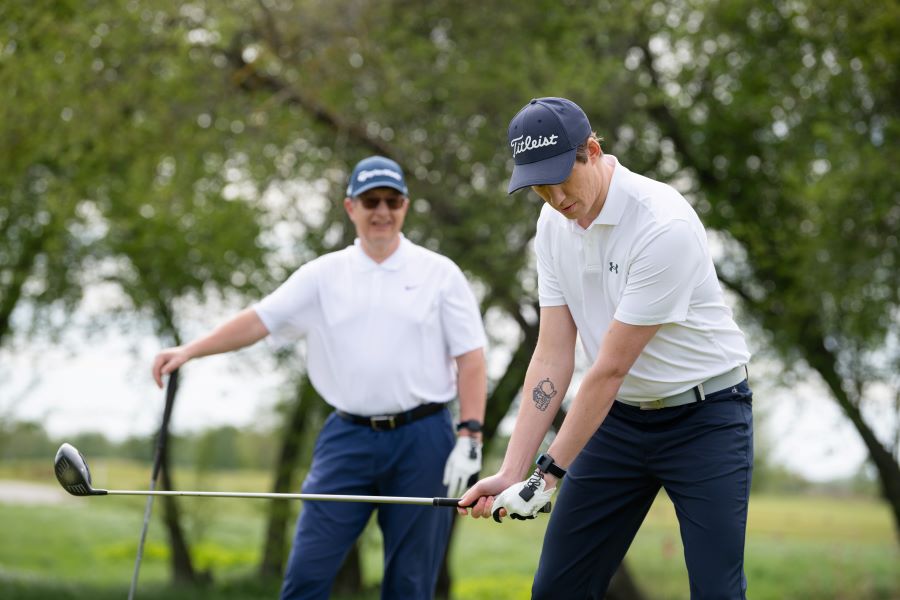
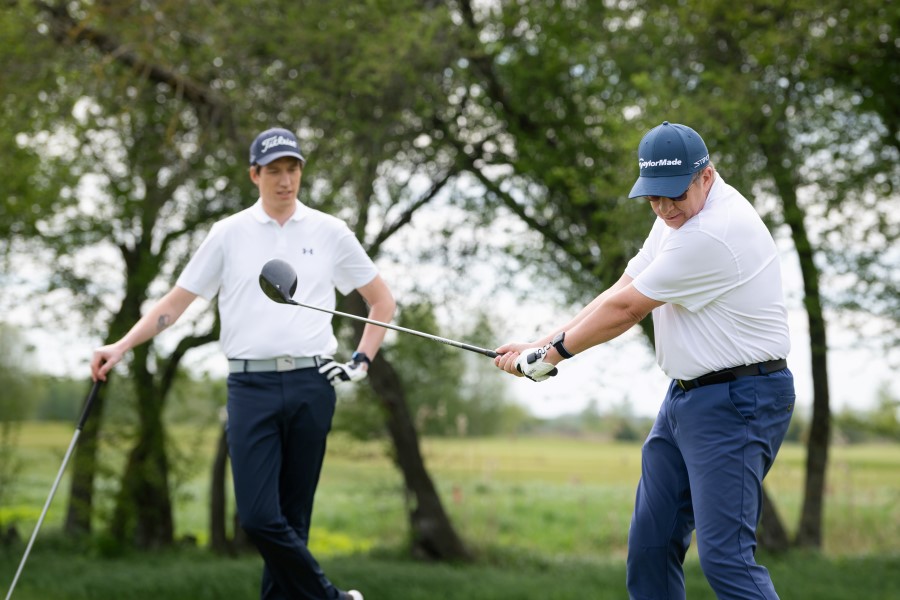
If you want more ball-first, then-turf contact, work with the best golf instructors near you—coaches who rely on HackMotion to measure your wrist positions and sharpen your strike pattern.
Drills to Groove Pure Iron Contact
Now that you understand the key elements of flushing irons, let’s look at some practical drills to ingrain these movements.
Feet-Together Drill
This classic drill improves balance, centeredness of contact, and prevents excessive lower body movement.
Feet-Together Drill – Step by Step:
- Setup: Place your feet together, almost touching, with the ball positioned in the center.
- Narrow Swing: Make three-quarter swings with a mid-iron, focusing on maintaining balance.
- Weight Forward: Feel your weight favoring your lead foot through impact.
- Clean Contact: The restricted lower body movement forces you to contact the ball before the ground.
- Progressive Challenge: Once comfortable, gradually increase to fuller swings while maintaining balance and clean contact.
Towel-Under-Trailing-Arm Drill
This drill helps maintain the connection between your arms and body, preventing the dreaded “chicken wing” that leads to inconsistent contact.
Towel-Under-Trailing-Arm Drill – Step by Step:
- Setup: Place a small towel (glove, headcover, etc., can work too) under your trailing armpit (right armpit for right-handed golfers).
- Maintain Pressure: Throughout the swing, keep enough pressure on the towel to hold it in place.
- Backswing Connection: Feel how this connection helps you make a more coordinated turn back.
- Downswing Sequence: Focus on starting the downswing with your lower body while maintaining the towel position.
- Extension Through Impact: Allow the towel to fall only after you’ve extended through impact.
This drill promotes proper sequencing and connection, leading to consistent ball-first contact. It prevents the common fault of the trail arm disconnecting from the body, which often causes fat and thin shots.
Tee Gate Drill
This drill provides immediate feedback on your swing path and contact quality.
Tee Gate Drill – Step by Step:
- Setup: Place two tees in the ground, just wider than your clubhead, with a ball in the middle.
- Target Line: Align the tees so they form a gate pointing at your target.
- Clean Contact: The goal is to hit the ball without disturbing either tee.
- Path Feedback: Hitting the inside tee indicates an out-to-in path; hitting the outside tee shows an in-to-out path.
- Progressive Challenge: As you improve, narrow the gate to demand more precision.
Final Thoughts
Flushing irons isn’t about swing perfection; it’s about controlling a few key variables: ball position, weight shift, shaft lean, wrist angles, and swing bottom.
Focus on those, practice the right drills, and that pure, compressed strike becomes much more repeatable.
HackMotion helps speed the process by measuring your wrist angles and shaft lean in real time, so you’re not guessing what went wrong.
Build it one piece at a time, and soon that crisp, ball-first contact won’t be a once-a-round accident; it’ll be your new normal.