How to Hit from Uphill and Downhill Lies: 7 Quick Tips
There’s nothing worse than hitting that perfect drive and getting to your ball only to realize the lie is uneven. Uneven lies add just enough tilt to make a normal swing difficult.
As a general rule, a ball above your feet wants to hook; one below your feet fades. Uphill lies launch high, and downhill lies tend to have a hard time reaching peak height.
There are some basic setup tweaks and wrist action adjustments you can make to improve your scoring chances and play better golf.
Key Takeaways
If you don’t have time to read through our entire guide on uphill and downhill lies, here are some of the most important takeaways to keep in mind.
- Mirror the slope with your shoulders and spine. Let your upper body match the hill so the club travels on the new ground line.
- Re-position the ball to find the low point. Uphill, you’ll move the ball one ball forward; downhill, it moves one ball back.
- Club up or club down. Uphill shots launch higher, take more club. Downhill shots fly lower and longer, take less club.
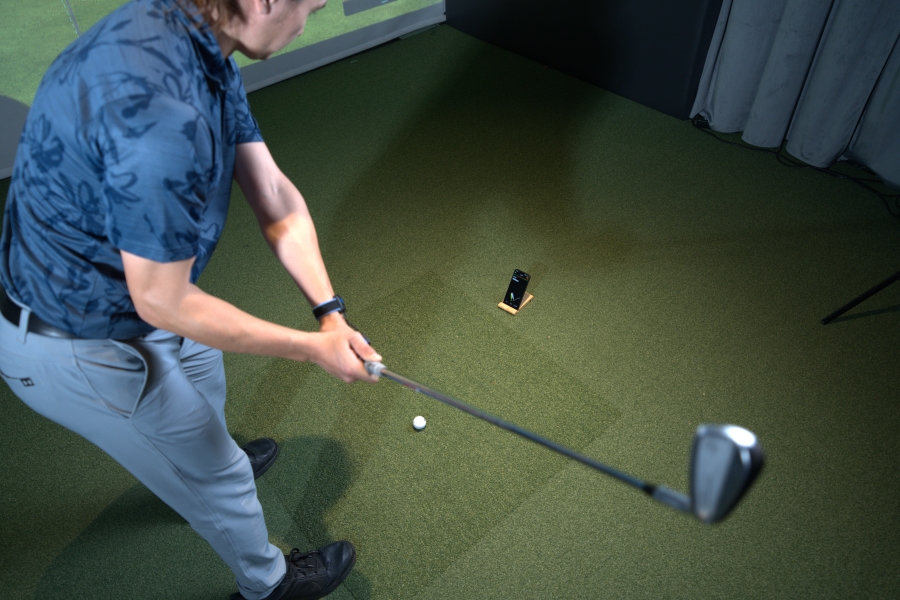
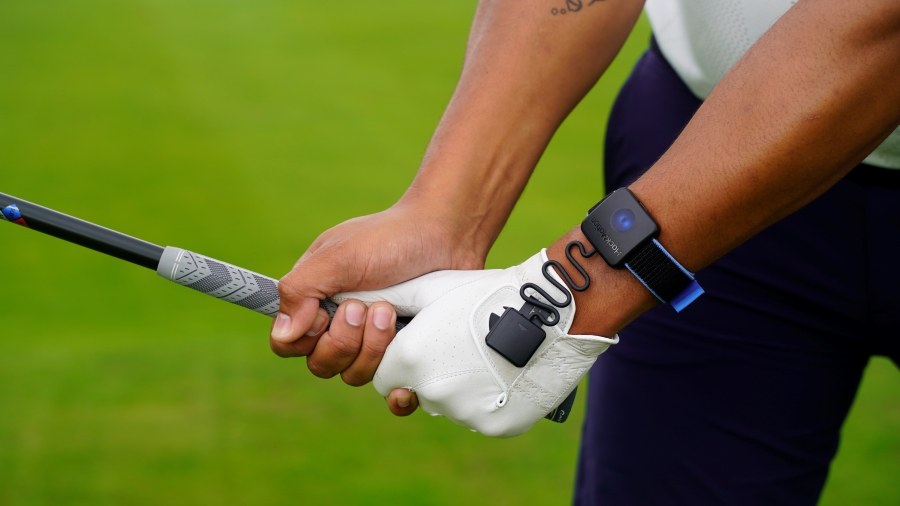
- Hold lead-wrist flexion with HackMotion. Uneven lies change the shaft lean; real-time feedback keeps the face angle consistent. Practice both uphill and downhill lies using the HackMotion to determine the necessary adjustments.
- Stabilize your base. Widen stance, grip the ground, and swing at 80 % speed for balance and a solid strike.
- Expect shot-shape bias. A ball above the feet promotes a draw; a ball below the feet promotes a fade. Make sure to aim accordingly.
If uphill and downhill lies keep costing you strokes, consider taking golf lessons near me from coaches who rely on HackMotion for data-driven feedback.
Contents
How to Hit From Uneven Lies
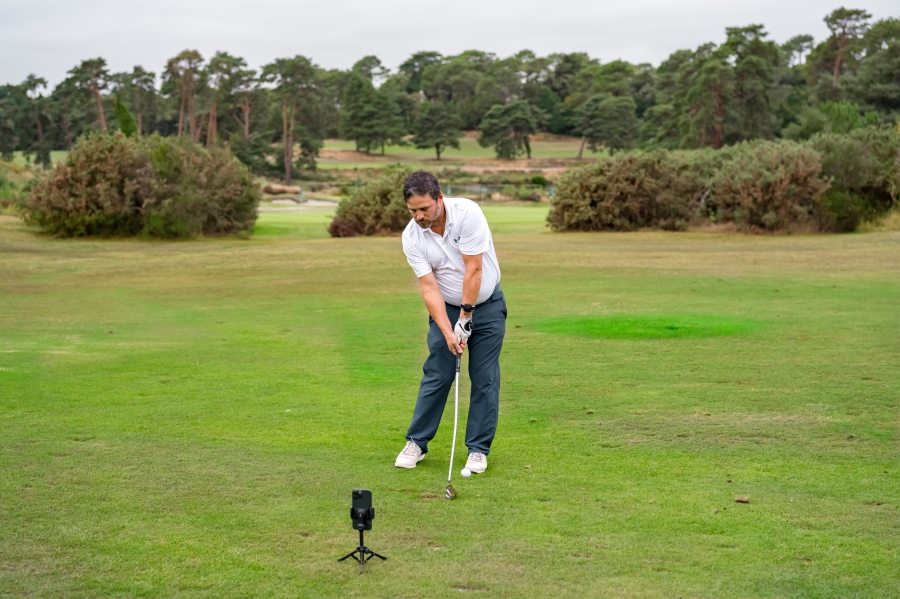
There are some simple adjustments you can make to your setup and swing to accommodate any type of lie.
The goal is to try to ensure solid contact with the center of the face. Here are five things to check on before you hit from an uneven lie.
Shoulder-Tilt Setup
At setup, you’ll need to check your shoulder tilt.
- Uphill: trail shoulder lower, weight 60 % on the trail foot.
- Downhill: lead shoulder lower, weight 60 % forward.
Match your shoulder tilt to the lie so that the club’s low point is in front of the ball instead of behind (uphill) or too far forward (downhill).
Ball & Weight Shift
The ball position and your weight distribution are the next things to check.
For an uphill lie, you will want:
- Ball is slightly forward of normal.
- A little extra weight (about 55-60 %) stays on the trail foot, mirroring the slope.
- Result: the club’s low point shifts forward enough to meet the ball without digging into the hill.
For a downhill lie:
- The ball slightly back of normal.
- Weight (approximately 55-60%) favors the lead foot, again matching the slope.
- Result: the club descends with the hill.
Smart Club Selection
With the adjustments you have to make to your setup and stance, it’s important to understand the impacts this will have on your club selection.
With an uphill slope, you will often get some extra height on your shot. Where you normally hit an 8-iron, you may want to club up and hit a smoother, easier 7-iron.

With the downhill lie, you are going to lose height and hit a lower, more penetrating shot that may have a hard time stopping.
The club will also deloft a bit because of the angle of attack. Try using a 9-iron where you would normally use an 8-iron.
Tempo & Balance
It’s easy to lose balance when dealing with uphill and downhill lies.
When you have an uphill lie, the tendency is to fall back, and the downhill lie will have you falling forward.
Work on ensuring you have a stable base of support and that you are initiating your golf swing movements with your lower body.
On both the uphill and the downhill lies, if the upper body gets overactive, there is a high probability that you will lose your balance.
Use HackMotion to check your tempo as you practice and ensure it doesn’t change on these types of uphill and downhill lies.
Control the Clubface
Finally, the hardest part of these uphill and downhill lies is learning to control your clubface.
Many times, golfers are tempted to flip the club at the last second, and it will create problems with their consistency and ball control.
Practice your lead wrist flexion and extension by getting set up correctly to begin with.
The video below offers advice on how high to hold the handle to promote straighter shots. Apply this to uphill and downhill shots as well.
Ensure that when you achieve impact, you have more flexion in your lead wrist than you did at setup.
This is important on both uphill and downhill lies to promote a clean square strike.
Wear your HackMotion to hit some shots on level ground and record your wrist action.
Then move to uphill and downhill lies and check to ensure there are no last-second flips are manipulations of the clubface.
Drills to Practice Uneven Lies
Now that you have the fundamentals of how to master uphill and downhill lies, here are some drills that can help you get this action down and become more confident in your ball striking.
Transition Drill
The Transition Drill is all about getting a perfect impact position. These impact position fundamentals will help you adjust to any lie you come across on the golf course.
Transition Drill in HackMotion
Master your sequencing and pivot to improve your swing efficiency and control.
HackMotion Transition Drill – Step by Step:
- Set Up: Address the ball on level ground with HackMotion sensor on.
- Backswing Pause: Swing to lead-arm-parallel and pause.
- Add Shoulder Tilt: While paused, add uphill or downhill shoulder tilt to simulate uneven lies.
- Downswing: Swing through, keeping wrists in the HackMotion green zone and hands ahead at impact.
- Repeat: Keep practicing until flexion numbers stay steady for three straight swings.
Wrist-at-Address Consistency Drill
If your wrist position at address is consistent, you’ll eliminate some of the variables in your game.
When setting up for a downhill or uphill lie, you will want to check for the same type of consistency in wrist position.
Wrist-at-Address Consistency Drill – Step by Step:
- Hover the Club: Hover the club slightly above the ground at address.
- Check HackMotion: Confirm extension is in your normal 15–25° range.
- Rehearse: Hover and check this position three times before every uneven-lie shot.
- Adjust if Needed: If variations are large, slow down and rehearse until you consistently find your ideal range.
- Focus: Build repeatability to improve strike and clubface control on uneven lies.
Impact Alignment Mini-Swings
Find a place where you can practice your uphill and downhill lies. No matter what golf course you play, you’ll have them come into play at some point.
- Video timestamp – 3:55
Impact Alignment Mini-Swings – Step by Step:
- Find a Slope: Choose a gentle slope for practice.
- Hit Half-Swings: Play short chip shots with a controlled half-swing.
- Freeze After Impact: Stop when the shaft is parallel to the ground; leading edge should be vertical.
- Check Wrist Data: Use HackMotion to confirm lead wrist flexion and trail wrist extension through impact.
- Progress: Build to three-quarter swings while maintaining correct wrist positions and consistency.
Expert Tip: If your range has a raised tee deck, the front edge provides a built-in downhill, and the back edge an uphill lie. If the range is quiet and it’s acceptable, consider using these areas to practice.
Final Thoughts
Uneven lies won’t be your nemesis if you learn to match your body to the hill, let the loft and ball position do the work, and learn to use your wrist mechanics angles to control the clubface.
HackMotion will help you avoid hitting those high-ballooning shots or the fades that cost you distance.
Dedicate a few practice sessions to uphill and downhill lies, and you’ll have an easier time with things like scrambling and scoring.