6 Low Point Control Drills for Crisp Ball-First Contact
Do you ever have those days on the course where your ball striking feels pure, like every shot comes off the center of the face with crisp contact?
You’re controlling the low point of your swing without even realizing it.
When the low point is in the right place just ahead of the ball, you compress your irons, take a proper divot, and eliminate those frustrating thin and fat shots.
The drills below are designed to help you control the low point more consistently, so you can strike the ball first, then the turf, and bring that flush contact feeling to every round.
Contents
The Secret to Better Ball Striking Starts with Your Wrists!
Controlling the low point of your swing is all about proper wrist mechanics through impact. Click here for the best drills to train your wrists and start compressing every iron shot.
6 Proven Drills to Improve Low Point Control
Line Drill
For golfers who struggle with finding the low point in the golf swing sometimes it helps to have a visual.
The line drill has you draw or spray a line on the ground to train hitting the ball first. Great players make contact with the turf on or just after the golf ball.
If you can’t spray a line because you are practicing indoors, using a piece of tape can work.
- Video Timestamp: 0:00-4:00
Line Drill – Step by Step
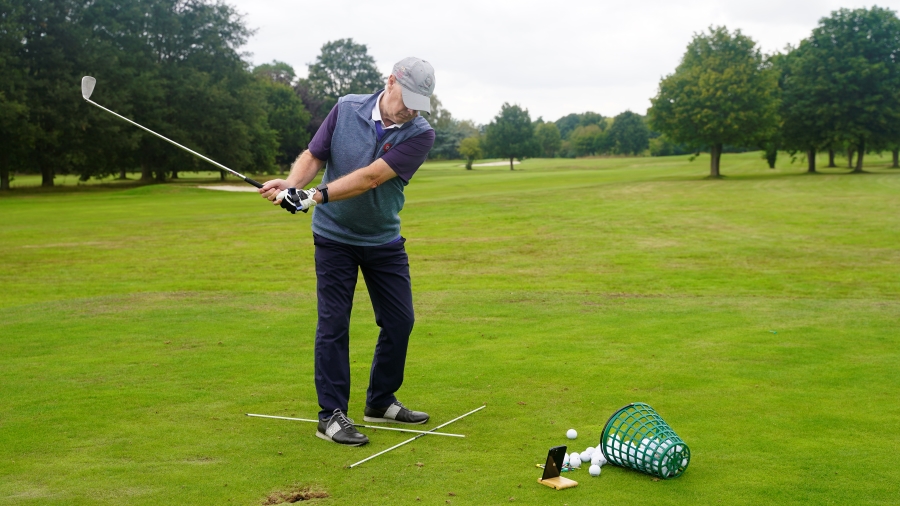
- Mark a Line: Spray paint or draw a straight line on the grass. Place the ball on the line.
- Address the Ball: Set up so the club is over the line.
- Weight Forward: Keep ~80% of your weight on the lead foot at impact.
- Strike Past the Line: Focus on contacting the ground on or slightly past the line.
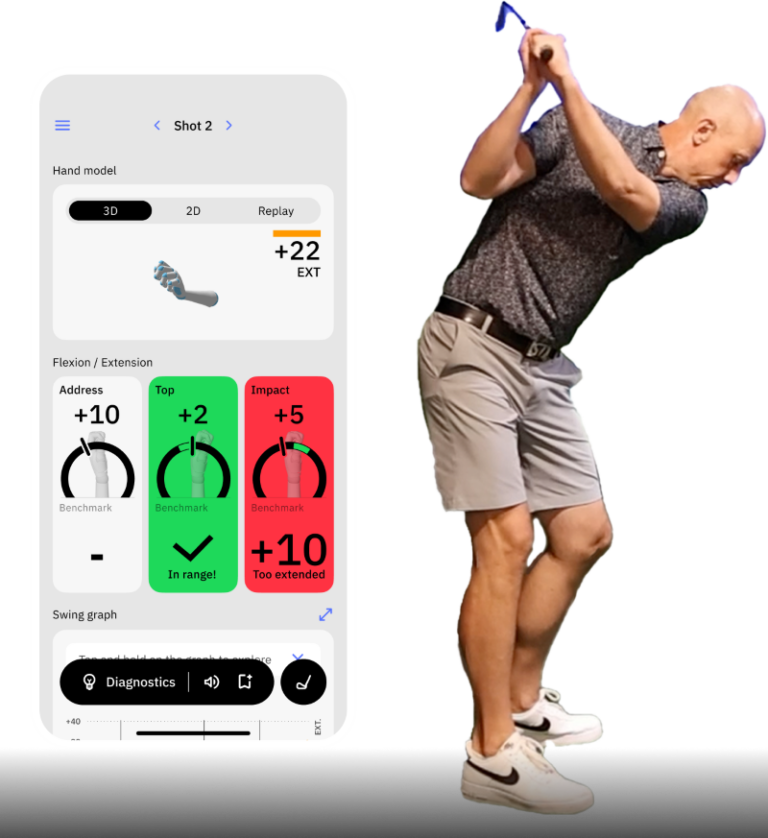
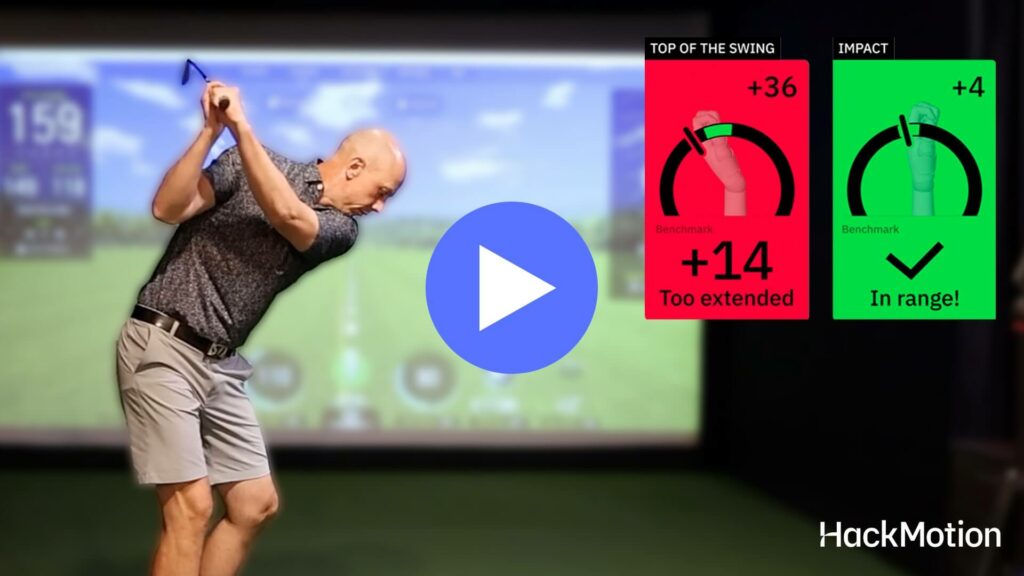
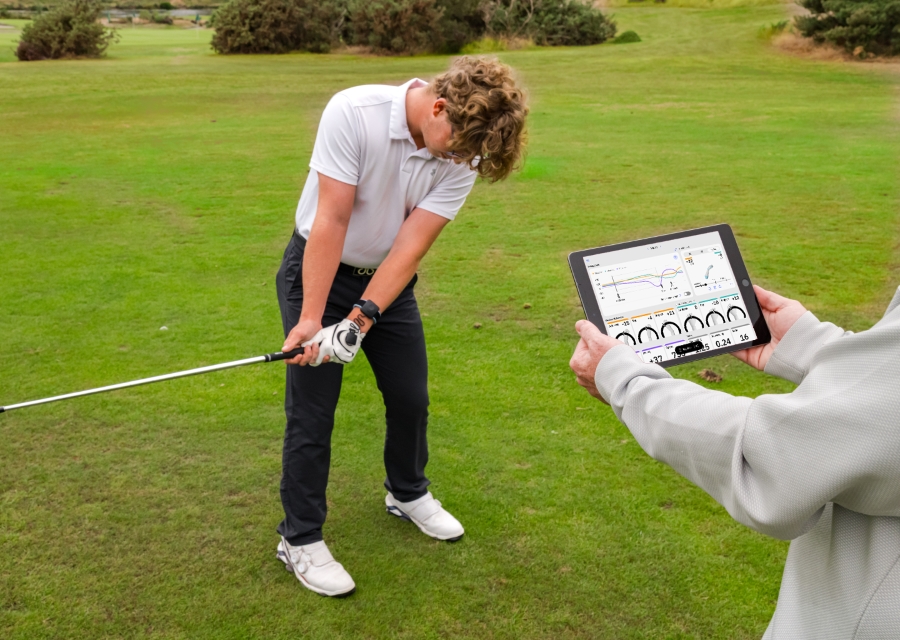
- HackMotion Check (Optional): Look for a flatter or slightly flexed lead wrist at impact. Excessive extension (cupping) indicates hitting behind the line.
Towel Drill
Here is another low point control drill you can use indoors or outdoors.
For this, you’ll need a folded towel placed just a few inches behind the ball. The towel helps create a downward strike to ensure your club is not hitting the ground too soon.
As you get better, you can change the position of the towel to challenge yourself.
- Video Timestamp: 7:22-9:00
Towel Drill – Step by Step
- Fold a Towel: Make a small “ramp” and set it behind the ball (6–10 inches). Distance may vary by skill level; start farther away if needed.
- Normal Setup: Aim as if hitting a regular shot; the towel is behind the club’s path.
- Miss the Towel: Avoid striking the towel on your downswing. You want ball-first contact, then ground.
- Maintain Wrist Angles: Keep your trail wrist bent and lead wrist flatter through impact.
- Progress Closer: Move the towel closer as you improve.
P5 Punch Drill
Hitting punch shots where you really focus on just making clean contact with the golf ball can help make it easier to find the low point in your golf swing.
P5 is the downswing position where your lead arm is parallel to the ground. These are short punch shot rehearsals that help to preserve wrist angles and find better compression.
- Video Timestamp: 9:01-10:13
P5 Punch Drill – Step by Step
- Backswing & Pause at P5: Make a normal backswing. Pause when your lead arm is parallel to the ground in the downswing.
- Exaggerate Wrist Flex: Ensure your lead wrist is more bowed/flat, and your trail wrist remains bent.
- Punch Through: From P5, swing through to a short “punch” finish. Keep hands leading, don’t flip the club.
- Speed Up Gradually: Once you can consistently brush the ground forward, lengthen the swing.
Playing with Point Drill
If the idea of low point in the golf swing is new to you, the Playing with Point drill helps you become more aware of your upper and lower body positioning and how that will influence where the club contacts the ground.
The drill teaches you to play around with the low point until you improve your low point contact.
- Video Timestamp: 1:00-2:30
Playing with Point Drill – Step by Step
- Set your Reference Point: Place a tee or golf ball on the ground as a reference point for your setup.
- Center The Ball: Set up so the ball or tee is centered between your feet.
- First, shift your upper body backward: Make small swings with relatively straight arms. Note how the club contacts the ground behind the ball.
- Make a Shift: Then shift your upper body forward and repeat the swing — the ground contact should move forward.
- Add in the arms: Now, keep your upper body centered but vary arm extension: Extend arms early — you’ll contact the ground behind the ball. Extend arms later — the club will bottom out more forward.
- Incorporate HackMotion: Use HackMotion to observe your lead wrist motion: more flexion through impact will help delay arm extension and shift low point forward.
Head on The Wall Drill
To make it easier to consistently find the low point in your golf swing it’s smart to be aware of the rest of your body movement.
The head on the wall drill makes you more aware of your movements and ensures that you are turning but staying centered.
In addition, the Head on The Wall Drill will help you maintain spine angle throughout your swing.
- Video Timestamp: 0:19-2:21
Head on The Wall Drill – Step by Step
- Set Up a Wall Station: Rest your forehead lightly against a wall, door frame, or alignment stick positioned vertically.
- Get into Golf Posture: Take your normal stance, keeping your head in contact with the wall.
- Backswing with Tilt: Turn your shoulders while keeping head contact. Maintain spine angle throughout.
- Shift Pelvis Forward: On the downswing, move your belt buckle toward the target while keeping your head stable.
- Track with a Stick: Use a stick through your belt loops to see pelvic movement—belt buckle should finish over or ahead of the lead foot.
- Stop at Extension: Finish when arms are fully extended and parallel to the ground. Let your head come off the wall after that point.
- Slow Reps: Repeat slowly to train proper pivot, posture, and balance.
Wrist Flexion Progression Drill
Having the correct wrist position in your golf swing will help improve your ability to consistently find the low point.
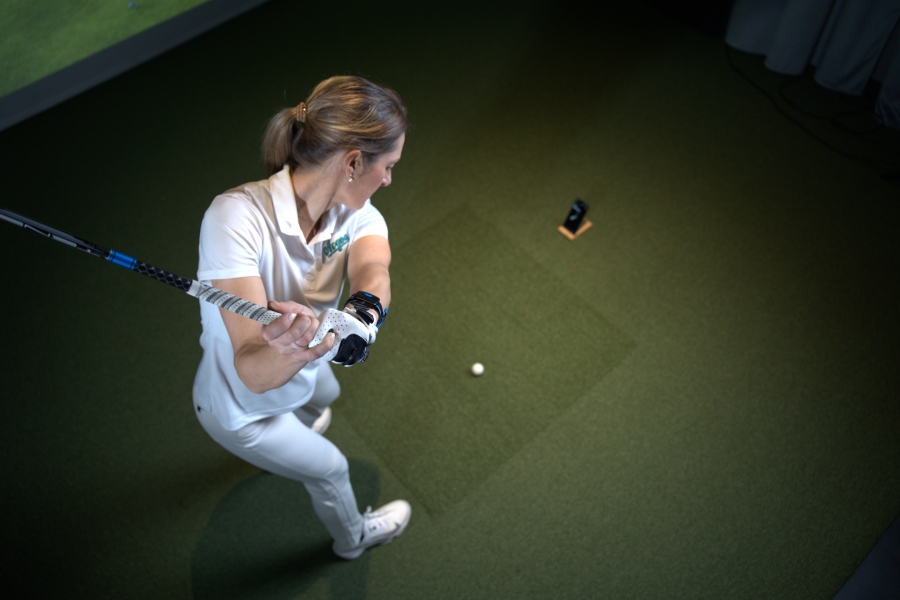
When working on wrist action start with small swings and gradually add length and speed. Wearing your HackMotion while you practice can help give you measurable data to process.
- Video Timestamp: 3:55
Wrist Flexion Progression Drill – Step by Step
- Start Small: Begin with chip-length swings and no ball. Focus on building the feel of proper wrist mechanics.
- Rehearse Wrist Angles: From setup (slight cupping is normal), rehearse a flat or slightly bowed lead wrist at impact with forward shaft lean.
- Add Light Chips: Hit small chips (30–70 yards) keeping the lead wrist flat/bowed through impact. Look for low, controlled flight.
- Use HackMotion: Monitor lead wrist data track the change from extension at setup to flexion at impact (e.g., +20° to +30°).
- Build Gradually: Progress to half-swings, then ¾ swings while holding the same wrist structure.
- Checkpoint: In follow-through, arms and shaft should be around parallel to the ground to avoid flipping or full release.
Final Thoughts
Even as your golf game improves, inconsistency will remain if your low point isn’t in the right place.
Use these low point drills to sync your body and arms, train proper wrist flexion and forward shaft lean, and ensure you’re consistently making ball-first contact. Golfers who want help diagnosing low-point issues can also work with golf coaches near you who use HackMotion to teach reliable impact positions.
