6 Best Putting Drills to Improve Speed Control & Eliminate 3-Putts
Even with a technically sound putting stroke, if you can’t control speed, your chances of making putts drop fast.
Speed control is one of the most underrated parts of putting—and one of the most frustrating.
Greens change every round. Uphill and downhill putts react differently. If you want to putt well consistently, you have to train your ability to adapt to those changing conditions.
Below are six of the most effective putting drills for improving speed control. Each one targets a different piece of the puzzle—from stroke symmetry to face contact to wrist movement—and gives you the tools to start rolling putts with better pace and confidence.
Speed Control in Putting (Key Takeaways)
Here are the most important takeaways about speed control in putting, if you don’t have time to work on the drills right now at least take this with you:
- The key to getting better at putting is learning to control speed, not just reading the line.
- Start every putting session by focusing on feel. Practice varying distances so you’re always adjusting to new green speeds.
- Speed control comes from both stroke length and stroke tempo, you need to understand and manage both.
- Wrist angles affect how much loft you deliver at impact, which changes how far the ball rolls. Stable wrists = better distance.
- It’s normal for wrist movement to vary slightly from short to long putts. What matters is that you can measure and manage it.
- Wear your HackMotion during practice to track how your wrists behave throughout the stroke. Use the feedback to develop a stroke that withstands pressure.
Contents
6 Proven Putting Drills to Master Speed Control
Symmetry Drill
This drill helps you develop a balanced putting stroke with equal-length backstroke and follow-through.
Great speed control starts with a consistent stroke shape. Great putters do this naturally. Wearing your HackMotion will help you get real-time feedback on stroke length and tempo.
Symmetry Drill – Step by Step
- Set up to a straight 10–15 foot putt on a flat section of the green.
- Use HackMotion to record your stroke, focusing on the length of the backstroke and follow-through.
- Make a stroke and check if your backstroke and follow-through are close to equal in length.
- If one side is longer, adjust the stroke length accordingly until the stroke becomes symmetrical.
- Repeat and refine using vibration feedback or visual cues inside the HackMotion app.
Sweet Spot Control Drill
Striking the center of the putter face is crucial for consistent ball speed.
This drill teaches you how your wrist movements (particularly radial and ulnar deviation) influence your stroke arc, and, ultimately, where you strike the ball.
- Video Timestamp: 2:34
Sweet Spot Control Drill – Step by Step
- Hit putts while wearing the HackMotion sensor and monitor radial/ulnar deviation.
- Take note if your stroke moves too far inside or outside the ideal arc, this can cause heel or toe strikes.
- Focus on maintaining minimal radial or ulnar movement to keep the putter moving on a natural arc.
- Pair this with face contact feedback using face tape or a foot spray to verify the strike location.
- Practice until your strokes start consistently hitting the center of the putter face.
Chopsticks Drill
The Chopsticks Drill is a physical training aid that helps reduce excessive flexion/extension in your lead wrist.
It also improves the connection between arms and body, encouraging better tempo and stroke shape for improved distance control.
- Video Timestamp: 7:18
Chopsticks Drill – Step by Step
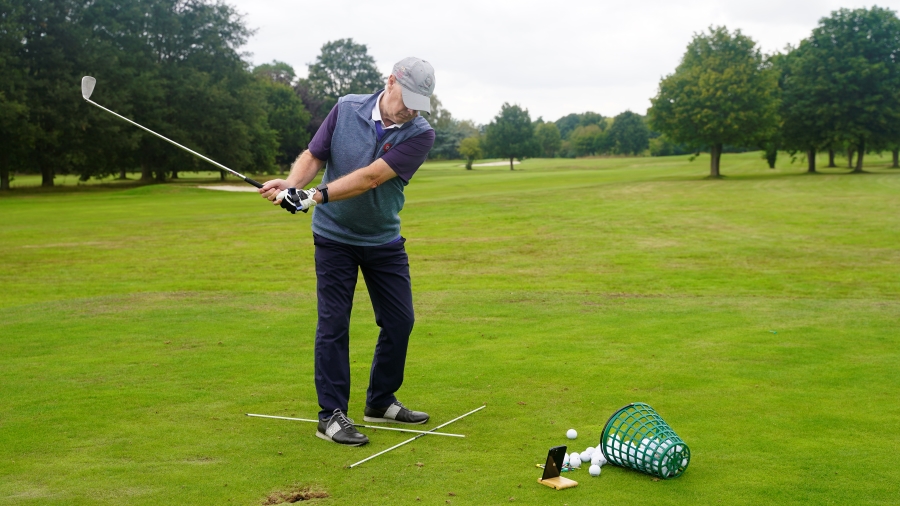
- Take two alignment sticks and join them at the bottom with a rubber band or elastic.
- Slide the sticks under your arms so they’re pinned between your upper arms and torso.
- Place the butt end of the putter grip in the “cradle” formed between the two sticks.
- Hit putts while keeping the putter connected to the cradle, focusing on maintaining extension in the lead wrist.
- Use HackMotion to verify that your flexion and extension remain within the ideal range during the stroke.
- Repeat and adjust until your lead wrist avoids excessive breakdown, leading to better launch and speed control.
Loft Control Drill
Should you use your wrists when putting? The answer is yes—but only if you can control how much.
The Loft Control Drill in the HackMotion app trains you to manage wrist flexion and extension through the stroke, which directly influences how much loft you deliver at impact.
If you’re flipping the putter or leaning the shaft too far forward, your putts may bounce, come off too hot, or die short. This drill helps you deliver consistent loft for more predictable distance control.
HackMotion Putting Flexion / Extension Drill
Get a feel for the wrist movement that controls your putter’s loft.
Loft Control Drill – Step by Step
- Open the Loft Control Drill in the HackMotion app and attach your sensor.
- Take your normal putting setup and wait for the app to recognize your address position.
- Hit a few putts and observe how much flexion (lead wrist bowing) or extension (cupping) shows up in your stroke.
- Use the vibration feedback from HackMotion to feel when your wrist angles move out of range.
- Work toward minimizing excessive movement by focusing on maintaining a more stable wrist angle throughout impact.
- Continue practicing with HackMotion until you can consistently stay within the app’s target zone.
Tee Gate Speed Ladder
Most golfers work on their putting line when they should be working on speed.
This drill forces you to focus only on how far you roll the ball, not whether it goes in. That’s exactly the skill that helps avoid three-putts and lag it close from 10+ feet.
Use tees, coins, or ball markers to create a “speed ladder” and work both directions up and down the putting surface.
Tee Gate Speed Ladder – Step by Step
- Set up three tees or coins in a line, each spaced roughly 9–12 inches apart.
- Place your ball about 5 feet from the first gate.
- From that distance, try to roll the ball between the first and second tee (short target zone).
- If successful, turn around and putt back in the opposite direction toward the first and third tee (longer roll zone).
- After succeeding both ways, move your starting point back 6 inches and repeat.
- Keep alternating directions and progressing backward until you reach 15 feet.
- If you’re putting on a slope, work both uphill and downhill to train adjustment in both directions.
LeapFrog Drill
This is a favorite among competitive golfers because it trains pure speed feel without any concern for the line.
The LeapFrog Drill is simple, effective, and perfect as a pre-round warm-up. Your only goal? Make each putt go slightly farther than the last, without ever jumping the final tee.
It’s harder than it sounds—and that’s what makes it one of the best speed drills in golf.
LeapFrog Drill – Step by Step
- Place a pile of golf balls next to your starting point.
- Set a tee or coin 5 feet away from you, and another one 20 feet away—creating a 15-foot target zone.
- Hit your first putt so it just passes the first tee.
- Hit your second putt so it finishes just past the first ball.
- Continue putting, trying to leapfrog each ball slightly farther without going past the final tee.
- Count how many balls you can fit between the two markers. The challenge is to get 13–15 putts (or beat the record of 16).
- Use this drill before your round to dial in your feel for the green speed that day.
Final Thoughts
Although you can practice some golf putting drills at home, it’s easiest to go to a practice green and work on these or use your HackMotion to gather feedback while you practice.
When you have more room to work on your putting, you can develop better control and speed awareness from short and long distances. Always wear your HackMotion when working on speed to ensure your stroke is consistent and your wrist angles are optimized.
If you want expert guidance on building a reliable putting stroke, you can also learn from a professional golf coach who uses HackMotion to teach consistent tempo, face control, and speed management.
