Putting Stroke Drills: 10 Proven Ways to Improve Tempo, Control & Consistency
The biggest difference between how amateurs practice and how the pros practice is on the putting green.
Pros spend hours working on their stroke to create a consistent action they can rely on week in and week out. Amateurs bat around a few balls 10 minutes before their tee time and then wonder why they three-putt so many times.
You don’t have to spend hours on the putting green to improve, but you do need to make a dedicated effort. By using these drills, you can practice like the pros without having to spend too much time.
These drills address specific areas of the putting stroke that most amateurs overlook. Simply pick two or three to work on each week, and you’ll start seeing a noticeable improvement in your putting.
Confidence is key with putting, and you can’t have confidence without proper practice.
Putting Stroke Drills (Key Takeaways)
To improve your putting, focus on the details. These key takeaways will ensure that no matter what drill you choose to work on, you should always be practicing with a purpose.
- Use your big muscles, like your shoulders, to drive the stroke and produce power, even on short putts.
- Always spend time working on your pace and weight control first, then address alignment.
- Short putts demand a large percentage of your practice putts and will help ease the pressure on your chipping and pitching.
- Monitor your wrist movement to ensure clean and consistent contact on all putts.
- Your backswing should mirror your follow-through to avoid deceleration.
- Practice as much as possible to improve your ability to adapt from one green to the next.
Contents
10 Putting Drills to Improve Your Stroke
These drills will keep your practice sessions fun while also improving your stroke at the same time.
Putting work doesn’t have to be boring as long as you’re using actionable drills and concentrating on what you’re doing.
Chopsticks Drill
Managing how your body moves (or doesn’t move) is the first step to improving your putting stroke.
Knowing where the power is coming from and being able to control it will allow you to adjust to any length putt on any green speed.
This drill trains you to use your shoulders while keeping other aspects of your body dormant.
It may feel foreign to you at first since it’s so different from a full golf swing, but if you look at the motion of the greatest putters in the world, you’ll see that this drill encourages that same motion.
- Video Timestamp: 2:59 – 6:02
Chopsticks Drill – Step by Step
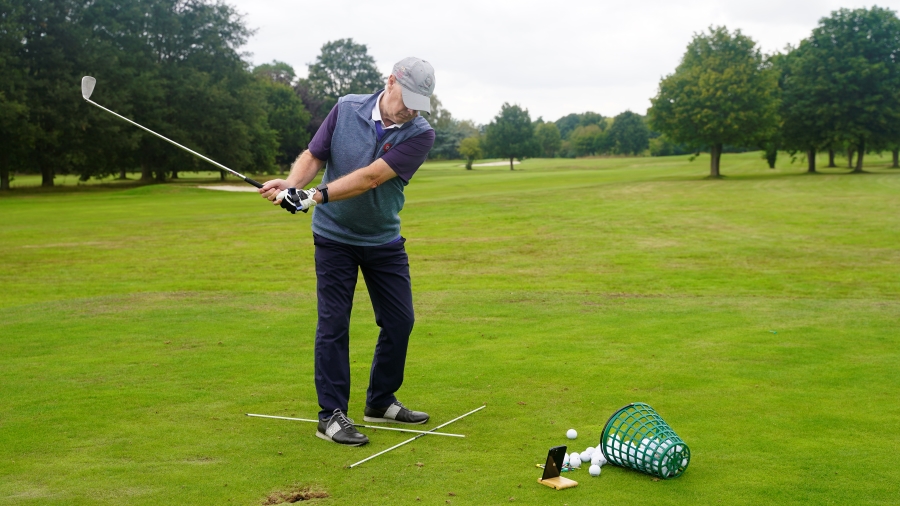
- Attach two alignment sticks with an elastic band about six inches from one end.
- Place the long ends of the alignment sticks under each arm so the point of attachment is in front of you at waist height.
- Rest your putter on the junction point of the alignment sticks and take your normal grip.
- Start with practice swings to get a comfortable grip and positioning of the alignment sticks under your arms.
- Hit putts with the alignment sticks in place at different holes varying in length.
- Focus on rocking the shoulders while keeping the lower body and head very still.
The Ladder Drill
All professional golfers and putting gurus will tell you that weight is more important than line.
So spending at least 60% of your putting practice time on good weight control is a great idea. A drill like this makes it more fun as you can track your progress and work on improving your personal best.
- Video Timestamp: 0:15 – 5:45
The Ladder Drill – Step by Step
- Lay down one alignment stick about 10 feet away from you, perpendicular to your putting line.
- Lay another alignment stick down about three feet past and parallel to the first one.
- Line up your ball just to the left of the alignment stick so that when you putt the ball, it won’t roll over the first stick.
- Ensure the first putt is past the first stick but not past the second.
- Your second putt should be past the first ball but not past the second alignment stick.
- Hopefully, your third putt is past the second ball but not past the second alignment stick.
- Keep doing this to see how many putts you can record.
- The drill is over if you hit a putt that comes up short of the previous putt or passes the second alignment stick.
Through the Gate
Use this drill to help you improve on those pesky short putts. This will train you to be more accurate and give you confidence on putts inside five feet.
Working on this length also helps take the pressure off your pitching and chipping since you’ll know that you don’t have to pitch it within inches to save your up and down.
- Video Timestamp: 9:11 – 10:49
Through the Gate Drill – Step by Step
- With your putter on the ground, place two tees at either end about a half inch outside of the heel and the toe.
- Three feet away, place another two tees in the ground that are slightly wider than the width of a golf ball.
- Use an alignment stick or chalk line to ensure the middle of the putter tees lines up with the middle of your target tees.
- Place a ball in the middle of the putter tees and stroke it through the ball gate.
- Your putter should smoothly pass through the first gate while your ball passes through the second.
The Donut Drill
Once you’re comfortable with the dual gate drill, you can up the difficulty with this donut drill.
It has the same inspiration as training you with a smaller target, but in this case, you use a real hole and can practice breaking putts.
- Video Timestamp: 1:53 – 2:28
The Donut Drill – Step by Step
- Find a putt that breaks significantly no longer than five feet.
- Use tees to block the front and the lower half of the cup.
- Hit three putts, and if you sink all three, either add a tee to the front edge or move one foot further away.
Heads Up Putting Drill
Putting requires more than just good mechanics and lots of practice; it also needs consistent tempo.
More so than other parts of the game, having the right tempo that matches your putting stroke will produce better results than trying to force-feed technique.
This is a challenging skill to practice, but this drill will help you master it. The best part is that you can use this drill anywhere. It’s so effective that many players even incorporate it into their pre-shot routine while on the course.
- Video Timestamp: 5:56 – 10:48
Heads Up Putting Drill – Step by Step
- Choose a flat putt between six and eight feet.
- Ensure it’s a new putt that you have never putted before.
- Go through your regular pre-shot routine and address your ball.
- Just before you are about to hit the ball, turn your head towards the hole so you can see it clearly.
- Strike the ball.
- Do this 3-5 times and then change holes or distances by a foot or so.
- Be sure to take some practice strokes while looking at the hole before each putt.
Coin & Pencil Drill
Maintaining a steady and neutral wrist position is something all amateur golfers struggle with.
It’s very common to flip the wrists through impact in an attempt to add power. However, this is very detrimental and is the leading cause of putts being off-line and having poor weight.
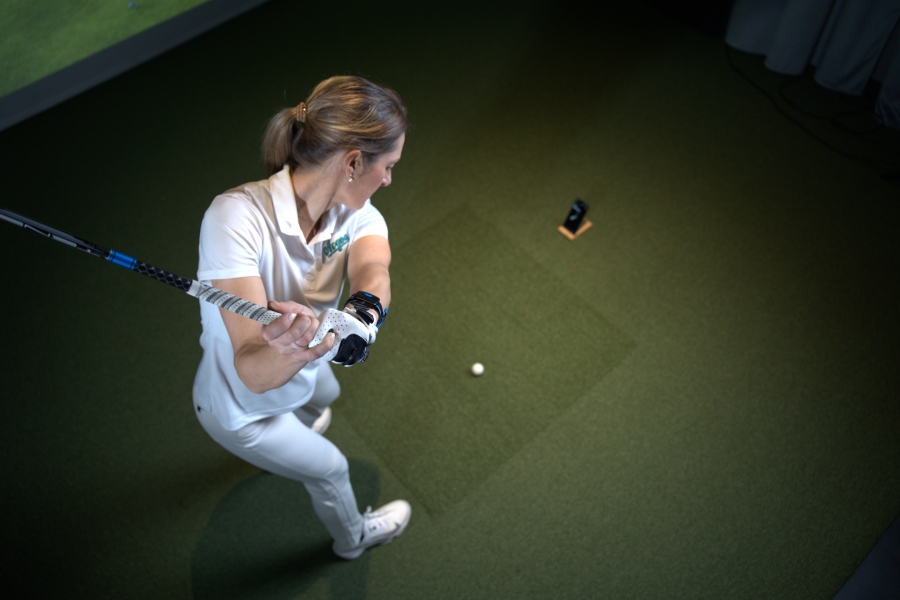
You can use this drill with Hackmotion for a physical and visual sense of how the wrist should move throughout the entire putting stroke. Having correct wrist action in putting will keep your putter face square and on the target line for a much longer period.
Coin & Pencil Drill – Step by Step
- Using the Hackmotion wrist strap (or a hair elastic), secure a pencil or chopstick perpendicular to your wrist so it starts at the top of your thumb bone and ends a third of the way up your forearm.
- Insert a coin between the chopstick and your thumb bone so it’s secure but not tight.
- Take a few practice strokes to stabilize the coin and review your stroke on Hackmotion to confirm your wrists are neutral.
- Hit three to five putts from each of five, ten, and fifteen foot distances.
- Revisit the distances that gave you the most trouble.
Pace Control Drill
Another great drill to control your stroke over varying distances. You’ll be able to track your results to ensure that you are succeeding from all lengths.
This drill helps you to train your mind’s eye to see each putt differently and gives you a new perspective.
Yes, sinking putts is the ultimate goal, but being too hard on yourself can destroy your confidence. This drill lets you build confidence even with your misses and will have you draining putts from further away with ease.
- Video Timestamp: 4:11 – 5:02
Pace Control Drill – Step by Step
- Choose a putt that is between 8 and 10 feet in length, relatively straight.
- Lay a club down one foot behind the hole, perpendicular to the target line.
- Hit three to five putts, ensuring that if they don’t go in the hole, they end up past the hole but not past the club.
- To increase the difficulty, choose a putt that is longer, and/or shorten the distance between the hole and the club behind the hole. (Don’t go closer than six inches because you always want to encourage your putts to be past the hole every single time.)
Metronome Putting Drill
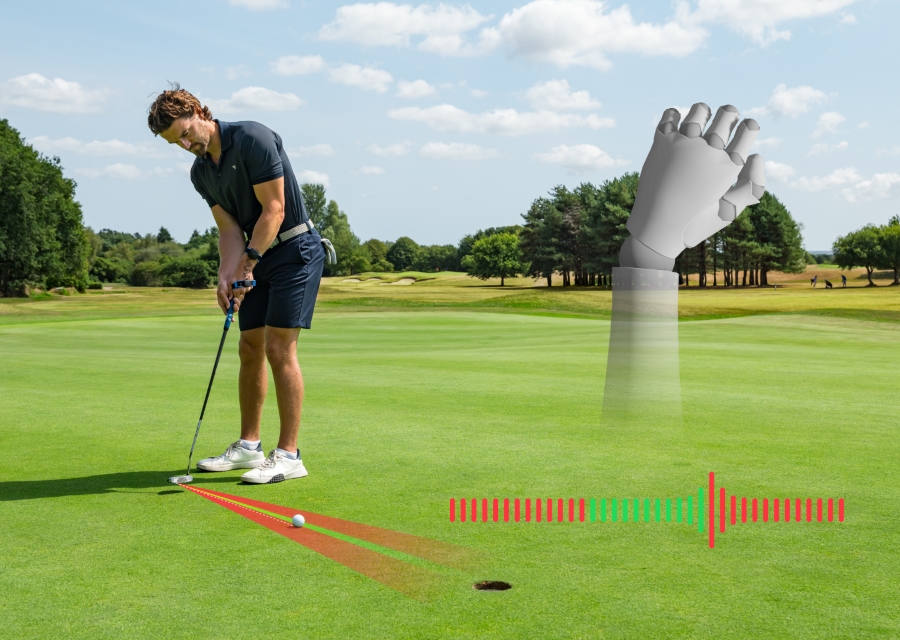
The Hackmotion system is more than just a wrist monitoring device. It’s a full-scale game improvement software package that improves all aspects of your game.
When it comes to putting, there is more to it than just good wrist action; you also need good tempo. But practicing this on your own can be tough.
Using the built-in metronome feature is the most efficient way to improve your tempo. The Hackmotion sensor will identify the perfect beats per minute for your putting stroke and then alert you if you go off-beat.
It’s like having a world-class golf professional at your side at all times.
- Video Timestamp: 2:54 – 5:54
Metronome Putting Drill – Step by Step
- Choose a putt that is inside of five feet.
- Select the metronome feature on your Hackmotion app to calibrate the perfect tempo for your stroke.
- Hit five to eight putts to the five-foot target, then move back three feet.
- Your tempo should not change, just the length of your stroke.
- Hackmotion will alert you if your tempo changes or any other aspect of your technique gets out of sync.
Backswing and Follow-through Drill
One of the unique aspects of putting is that the backswing mirrors the follow-through in terms of length.
To prevent deceleration, we can even extend the follow-through by 20-50% to give ourselves a bit of margin for error.
This drill will identify any discrepancies in your backswing and follow-through length. It will also help you develop a link between swing length and putt distance.
You’ll establish a benchmark to help you adapt more easily from putt to putt and from course to course.
- Video Timestamp: 0:48 – 9:50
Backswing and Follow-through Drill – Step by Step
- Start with six tees and place them in the ground in a straight line representing your target line. Each should be about six inches apart.
- Place three more tees about 8, 12, and 15 feet away, which will represent your targets.
- Address a ball in the middle of the first six tees and use them to represent your backswing and follow-through.
- You may need to adjust based on your tempo and the speed of the green, but the two middle tees should produce a putting stroke with enough power to reach the 8-foot target, the next set of tees should reach the 12-foot target, and the final tees that are furthest apart should create a swing that reaches the 15 foot target.
Basic Clock Drill
This drill is perfect for warming up before a round, especially if you’re playing a course you’ve never played before.
It allows you to get comfortable with the speed and break of the greens while also preparing you with a small target.
Use this drill before any round and also before starting any practice routine. It’s great for warming up all aspects of the putting stroke.
Basic Clock Drill – Step by Step
- Find a relatively flat section of the practice green that is away from any holes and place a tee in the ground.
- Using your putter as a measurement tool, place four more tees in the ground representing North, South, East, and West.
- Hit three putts from each location to the center tee. Do not move to the next tee until you’ve struck the middle tee three consecutive times.
- Always go through your pre-shot routine before each putt to read the break and get used to the speed of the green.
Final Thoughts
Simply hitting a few putts before each round does not count as putting practice. You must use these drills and concentrate on your progress if you want to see results.
Putting is the most important part of golf, so choose two or three of these drills to focus on every time you visit the driving range.
Take your HackMotion with you as it provides incredible value for your putting game. It covers all aspects of putting, from defining efficient tempo to monitoring minor movements in the wrists. Its attention to detail will keep you on track and ensure that bad habits do not manifest.
And if you want expert help refining your stroke, consider working with an experienced golf instructor who uses HackMotion during lessons for more precise feedback.
