6 Effective Wrist Hinge Drills to Improve Power and Control
Golfers constantly wonder if they’re hinging too little, losing power and control, or if they’re over-hinging, causing an inconsistent clubface and weak strikes.
The truth is wrist hinge plays a crucial role in sequencing the swing properly, generating power, and maintaining clubface stability.
You need wrist hinge in the swing; the key is to train the wrist hinge correctly.
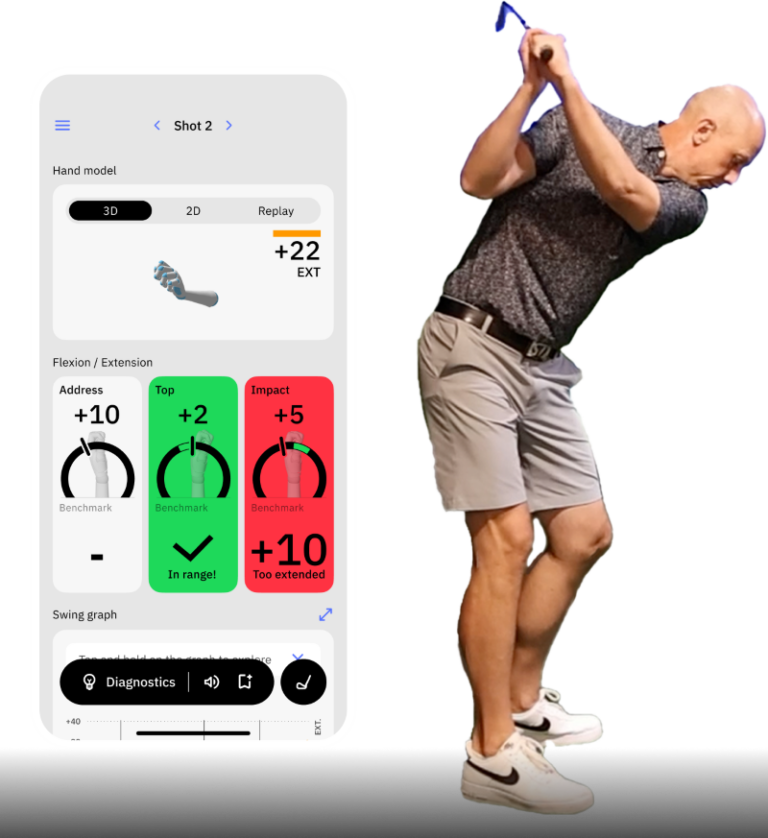
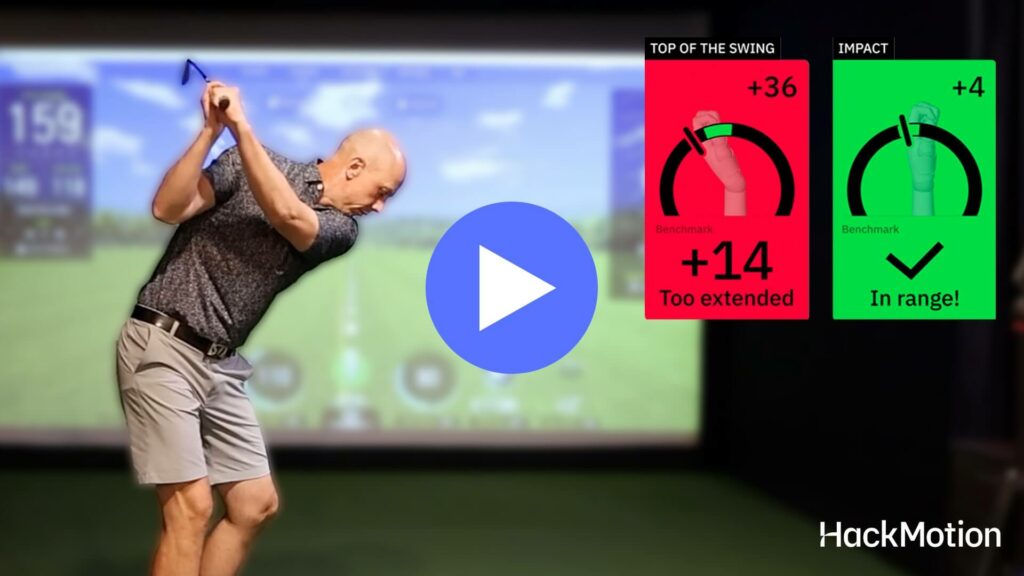
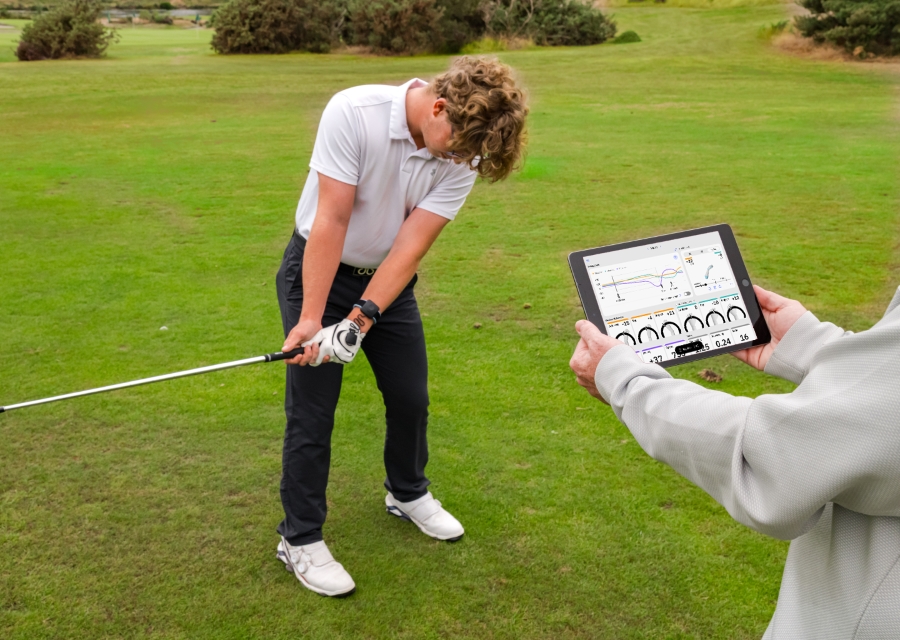
Drills are a great way to help you measure and refine the amount of wrist hinge in your swing. These six drills can be used with your HackMotion to deepen understanding.
Contents
The Secret to a Better Golf Swing Starts with Your Wrists!
Your clubface angle at impact controls over 80% of your shot’s direction—and it all comes down to your wrists. Click here for the best drills to master your wrist mechanics and take control of your swing.
6 Wrist Hinge Drills to Master Your Golf Swing
Connected Takeaway Drill
If your first move away from the golf ball is a wrist hinge, you may be taking it too far.
To prevent overhanging in the takeaway and improve wrist stability at the start of the swing, keep the motion simpler. This will make it easy to repeat.
- Video Timestamp: 1:41
Connected Takeaway Drill – Step by Step
- Setup: Stand in your normal golf posture and place the butt end of the club against your stomach.
- Move Together: Begin your takeaway by turning your body while keeping the club connected to your stomach. This ensures that your wrists and arms do not take over too early.
- Check Wrist Position: If your wrists break down too soon, the club will separate from your body, which is incorrect.
- Practice Slow Movements: Repeat this motion several times, ensuring the club stays in contact with your stomach as you start your backswing.
- Progress to a Swing: Once you feel the connection, take small swings while maintaining a smooth takeaway with minimal wrist break.
No Wrist Hinge Feel Drill
For golfers who struggle with excessive wrist hinge this No Wrist Hinge Feel Drill is a good one to start with.
You’ll find that by reducing excessive wrist hinge at the top of the swing you should be able to keep the clubface more square and ensure it doesn’t open through impact.
- Video Timestamp: 7:21
No Wrist Hinge Feel Drill – Step by Step
- Setup: Assume your normal golf posture.
- Feel Like You Have No Wrists: Take the club back while keeping the thumbs pointing away from your body. This should feel like you’re not hinging at all.
- Controlled Hinge: In reality, you will naturally create the right amount of hinge, but the exaggerated feel helps prevent overuse of the wrists.
- Pause at the Top: Stop at the top of your backswing and check your wrist angles—your lead wrist should be in a slightly flexed position, not overly cupped or extended.
- Hit Small Shots: Start with half swings, focusing on maintaining the “no wrist hinge” feel, then gradually increase the swing size.
Preset Wrist Hinge Drill
Setting the correct position early in the backswing is important. This gets you on the right track to make the rest of the swing simple and repeatable.
The Preset Wrist Hinge Drill has you put your club in the correct position and then rotate and turn from there.
Remember as you work through these drills with HackMotion that your wrist angles do not need to be exactly to the recommendations. However, when you can remain within range, it helps to get the clubface square and improves overall wrist action.
- Video Timestamp: 4:17
Preset Wrist Hinge Drill – Step by Step
- Preset Position: Start by setting the club shaft parallel to the ground, with the butt end of the club pointing towards your target line.
- Check Your Wrist Angles: Your lead wrist should be flat or slightly flexed, with around 15° of radial deviation (hinge).
- Turn to the Top: From this preset position, simply turn your shoulders to complete your backswing without adding additional wrist hinge.
- Swing Through: Return to impact while maintaining wrist stability—avoid excessive movement or breaking down the lead wrist.
- Practice Repetitions: Perform multiple repetitions, feeling the correct hinge before taking full swings.
Hit Hard, Stop Quick Drill
The Hit Hard, Stop Quick Drill helps you improve speed through impact without excessive wrist hinge.
If your ability to compress your golf shots is not quite where it should be, it could be because you are flipping before you get to the golf ball.
Use this drill to improve your wrist mechanics and stop the follow-through just after impact.
- Video Timestamp: 7:24
Hit Hard, Stop Quick Drill – Step by Step
- Setup: Stand in your normal golf stance and grip the club normally.
- Full Backswing: Take a full backswing, making sure not to over-hinge at the top.
- Hit Hard, Stop Quick: Swing down aggressively while trying to stop your follow-through as soon as possible after impact.
- Check Wrist Angles: The goal is to maintain a stable wrist condition through the hitting area. If you hinge excessively, you’ll struggle to stop the swing abruptly.
- Repeat for Control: Start slow, then gradually increase your speed while maintaining the short follow-through.
Towel Compression Drill
Another great drill for golfers who struggle with flipping is the Towel Compression Drill.
You can use this drill with or without HackMotion, but it helps with everything from iron compression to eliminating early release and ensuring there is not too much of a wrist hinge through impact.
If you are new to golf and want to learn how to hit a golf ball correctly, the Towel Compression Drill is a great place to start.
- Video Timestamp: 3:19
Towel Compression Drill – Step by Step
- Place a Towel Behind the Ball: Lay a towel about a grip-length behind the ball. This will act as a barrier to help train your wrist angles.
- Setup Normally: Address the ball with a neutral grip and normal stance.
- Swing with Wrist Stability: Focus on maintaining a firm lead wrist as you strike the ball—do not allow the club to flip and hit the towel.
- Check for Proper Shaft Lean: At impact, your hands should be ahead of the ball, ensuring a descending strike.
- Gradual Progression: Start with small shots, ensuring clean contact without hitting the towel, then build up to full swings.
Wrist Hinge Checkpoint Drill
Finally, if you need a good checkpoint drill and some ranges for those checkpoints, this is the drill for you.
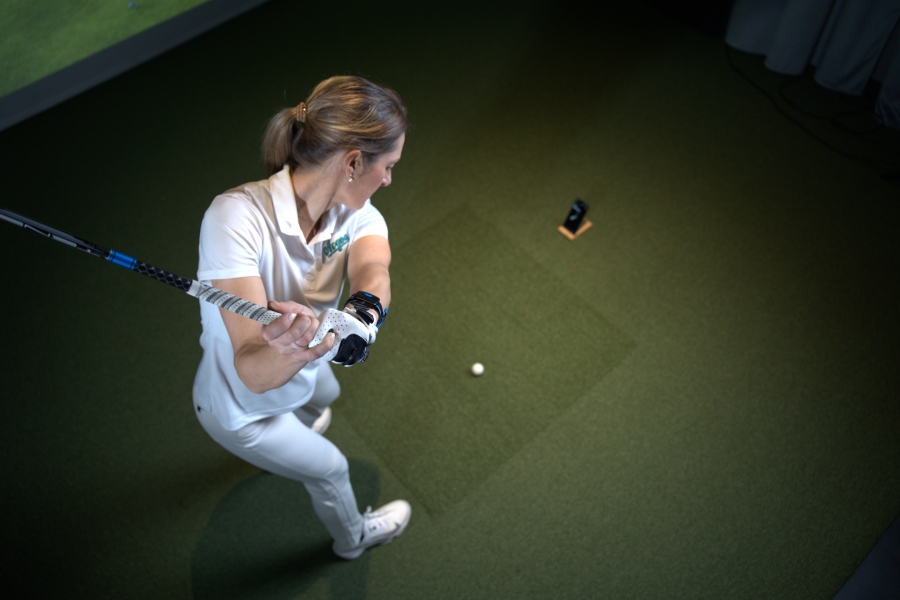
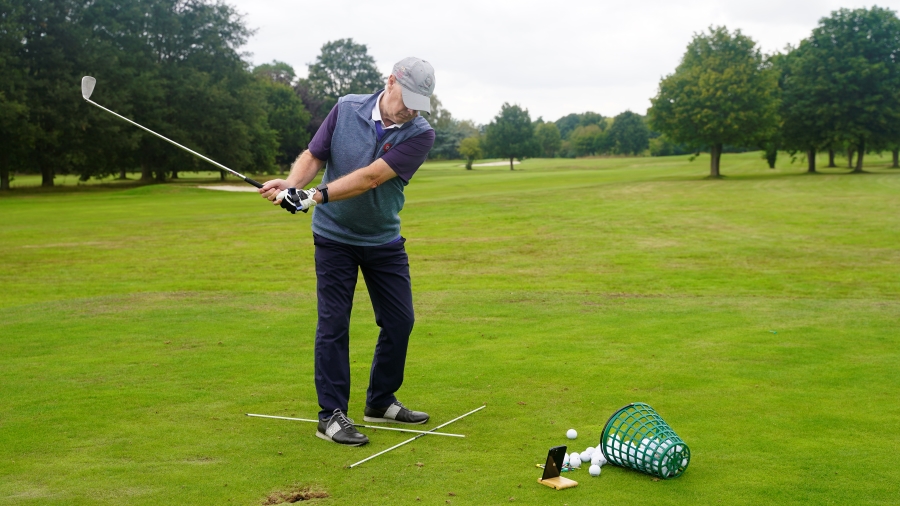
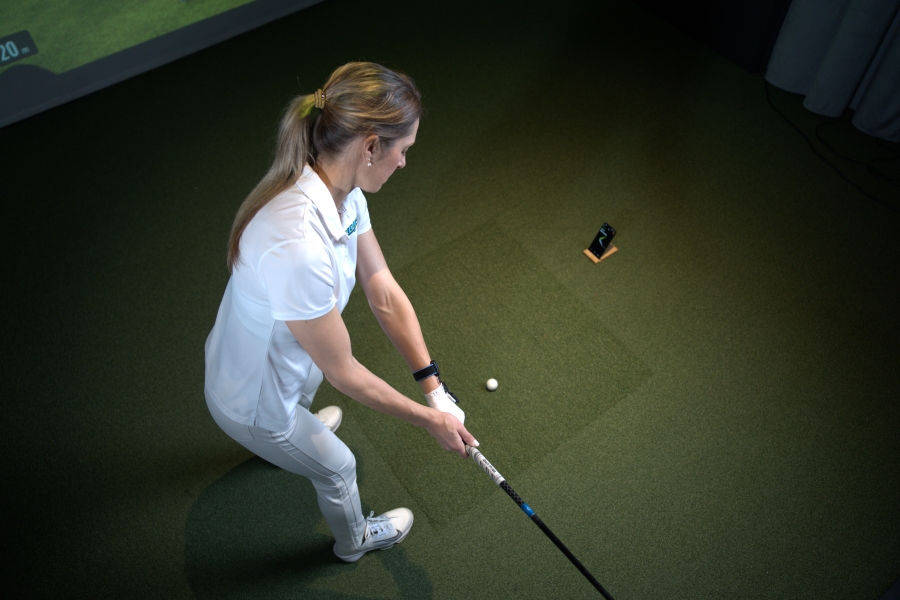
Wear your HackMotion and get some measurements in slow motion to ensure your wrist position is correct.
Repetitive practice of these positions will help you feel more confident when standing over a golf ball. Give this one a try.
- Video Timestamp: 6:02
Wrist Hinge Checkpoint Drill – Step by Step
- Setup Normally: Take your golf stance and grip the club in your standard position.
- Move to Checkpoint Position: Begin your takeaway and stop when the club shaft is parallel to the ground.
- Check Your Wrist Angles: The lead wrist should be flat or slightly flexed (0° to -5°). The trail wrist should be slightly extended. You should have about 15-20° of radial deviation (wrist hinge).
- Hold & Feel the Position: Stay in this checkpoint for a few seconds to feel the correct hinge.
- Turn to the Top: From this position, simply rotate your shoulders to complete the backswing without adding excessive wrist movement.
- Swing Through: After multiple slow-motion repetitions, progress to hitting balls while stopping briefly at the checkpoint before finishing the backswing.
Final Thoughts
Wrist hinge can feel like a difficult concept because there are mixed theories on how much wrist hinge is necessary in the golf swing.
However, with the use of HackMotion, you can start to study and manage the way that wrist hinge in golf impacts your ball flight.
Use these drills in combination with your HackMotion data to start hitting longer, straighter, and more consistent shots. If you want help understanding how wrist hinge affects your swing, consider training with a golf swing coach who uses HackMotion to teach proper hinge patterns and ball-flight control.
