8 Proven Drills for Maintaining a Flat Lead Wrist in Your Golf Swing
A flat lead wrist promotes forward shaft lean at address, clean contact, more distance, and better consistency in your golf game.
For most golfers, once you get the feeling of that flat lead wrist, it becomes much easier to repeat.
We love great golf drills that get you the feedback you need to make the appropriate changes to your wrist action in the golf swing.
Contents
The Secret to a Better Golf Swing Starts with Your Wrists!
Your clubface angle at impact determines 80% of your shot’s direction—your wrists control that angle. Click here for the best drills to master your wrist action and take control of your game.
8 Effective Drills to Keep Your Lead Wrist Flat
Combined Top Drill
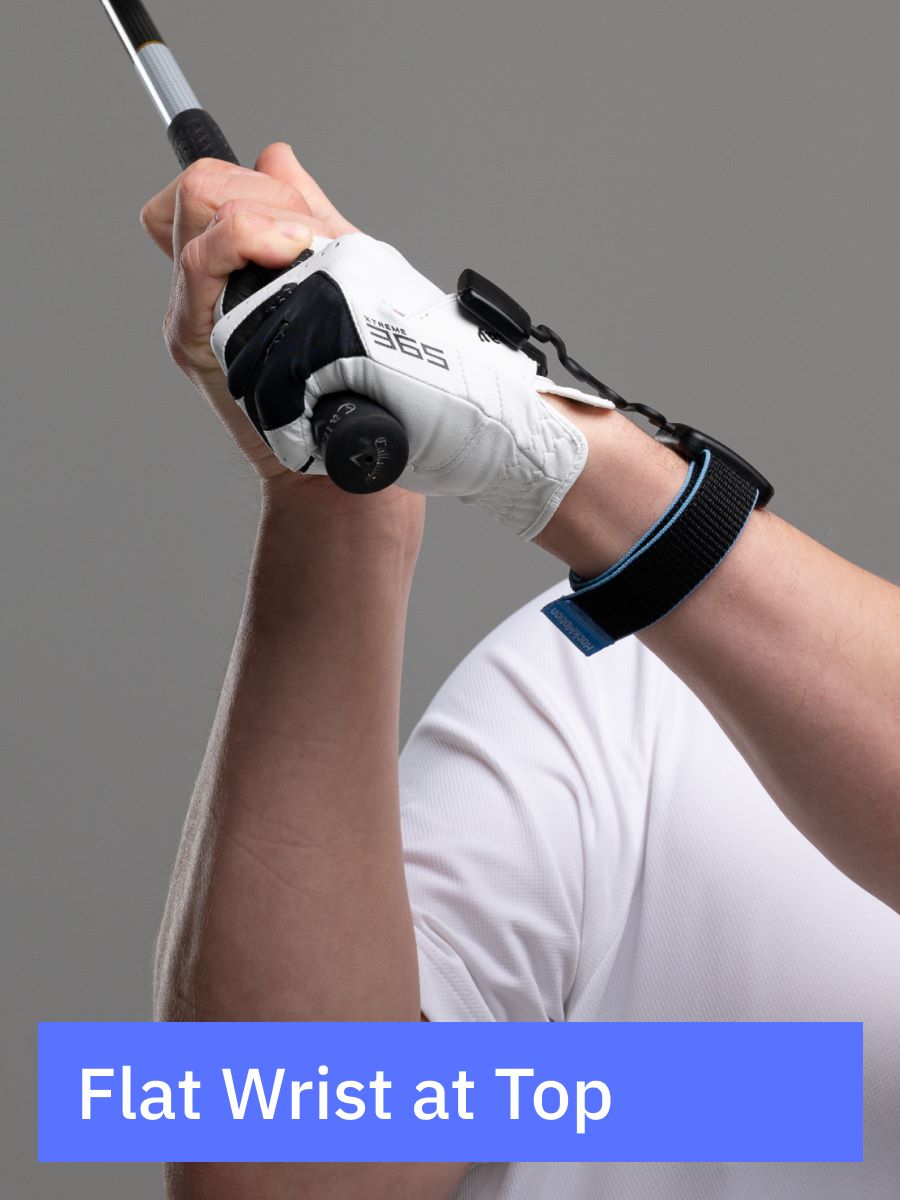
Having a flat lead wrist at the top of your golf swing puts you in the perfect position to strike the ball with a flat or slightly flexed lead wrist.
However, this position of a flat lead wrist at the top does not come naturally. You have to practice it.
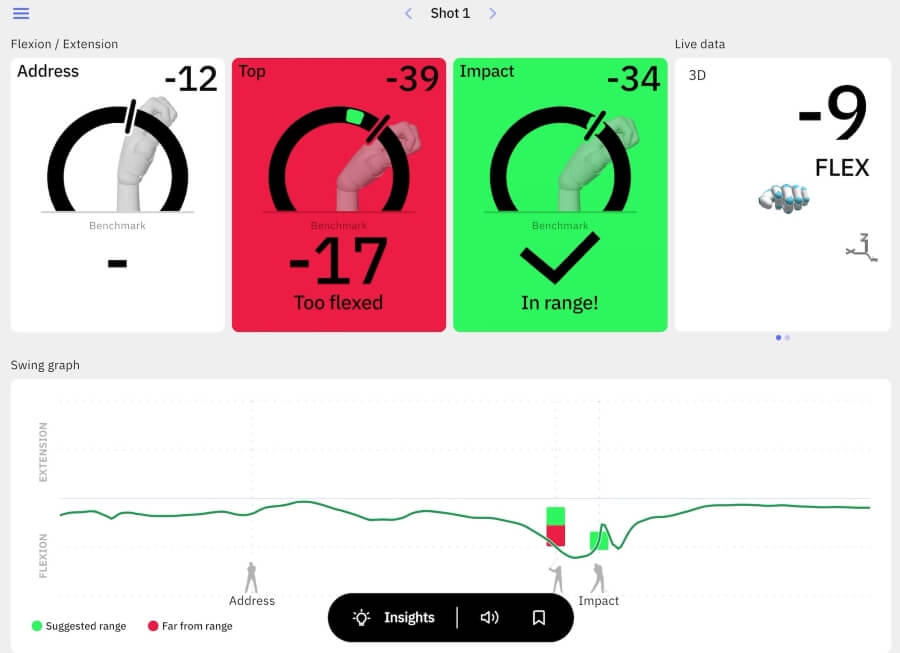
This Combined Top Drill is located within the HackMotion app. You’ll be able to practice in real time and ensure that your lead wrist gets into the flat position each time.
Start slow and pick up speed as you get confident.
Combined Top Drill in HackMotion
Train your top position by mastering optimal wrist angles. Challenge yourself to reach the ideal wrist position during a full-speed backswing.
HackMotion Combined Top Drill – Step by Step
- Set Up: Stand still at address wearing your HackMotion sensor.
- Move to Top: Slowly rotate into your backswing until you reach the top; pause there.
- Adjust Wrist Angles: Use real-time HackMotion feedback to get your lead wrist in the “green zone.”
- Reset & Repeat: Return to address, then repeat.
- Goal: Perform at least 10 repetitions and aim for at least 50% of those reps to be in range.
Release Drill
No two great golfers have the same swing. However, they do have something in common.
From the position where the club is first parallel to the ground to the point it is last parallel to the ground, the lead wrist position moves from flat or slightly flexed to flexed.
The release drill trains the release position through impact and helps keep the hands forward at contact. It is great for golfers who have gotten into the habit of flipping.
Perfect Your Release with HackMotion
Fine-tune your release for consistent contact. Start with a short swing to master control before adding power.
HackMotion Release Drill – Step by Step
- Set Up: Address the ball planning for a shorter swing.
- Club Parallel (P7) to Impact: Swing from club-parallel in the downswing into impact.
- Hands Forward: Keep your hands slightly ahead of the ball at contact.
- Check Wrist Angles: Use HackMotion to confirm your lead wrist is in the correct zone.
- Reps: Perform at least 10 repetitions, then gradually increase speed once comfortable.
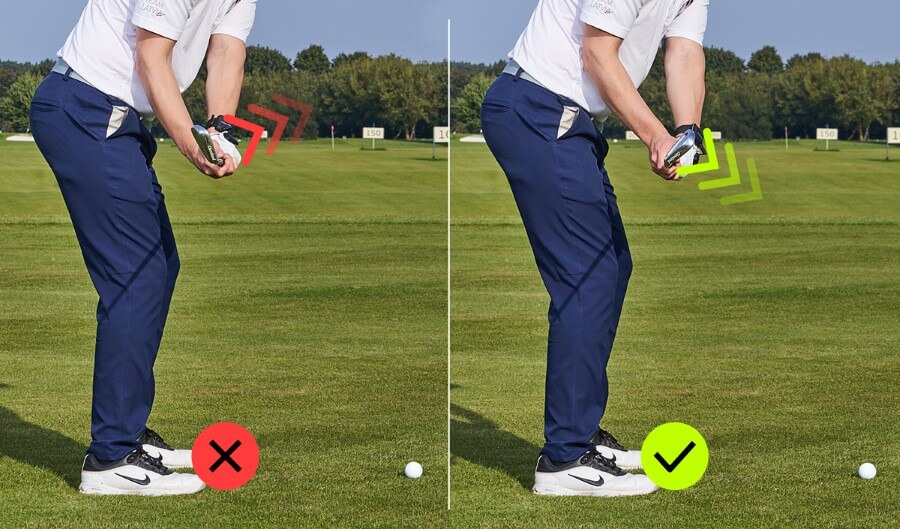
Motorcycle Drill
The Motorcycle Drill is the most well-known wrist action drill for encouraging a flat lead wrist in your golf swing. It is also built into the HackMotion app, so you can practice it in real time.
The Motorcycle Drill encourages you to flex (bow) the lead wrist in the downswing, preventing an overly extended wrist at impact.
This helps square or slightly close the face. The Motorcycle Drill is a great place to start for golfers who slice the ball.
Motorcycle Drill – Master Wrist Flexion in the Downswing
Focus on continuously adding flexion until the club reaches parallel, then smoothly complete your swing.
HackMotion Motorcycle Drill – Step by Step:
- Set Up: Address the ball as usual.
- Downswing Flexion: As you start down, gradually “rev” the wrists into flexion (like revving a motorcycle). By the time the club is parallel to the ground (P6), you should have your desired lead wrist bend.
- Continue to Impact: Maintain that flexion and allow a natural release through the finish.
- Experiment with Speed: Start slowly, then increase speed, being sure to preserve proper angles.
- Practice Variations: Hit some balls with this feeling, but also rehearse it by stopping at impact without hitting to ingrain the position.
Driver Head Stability Drill
While the iron swing is where most golfers think about the importance of a flat lead wrist, this wrist position is just as important in the driver swing.
The chance of flipping and losing power in your drive is high without a flat lead wrist.
Also, it’s worth noting that an open clubface at impact is caused by a lead wrist with too much extension.
This Driver Head Stability drill shows how proper hip sway and head stability let you maintain better wrist angles with the driver.
- Video Timestamp: 3:39
Driver Head Stability Drill – Step by Step:
- Door Frame Setup: Stand with your lead ear close to a door frame or an upright alignment stick.
- Push Hips Forward: Make small practice backswings, then slide your hips toward the target on the downswing while keeping your head stable near the door frame.
- Maintain Wrist Angles: Focus on preserving a flat lead wrist instead of letting it extend (cup).
- Progress to Full Swings: Start slow (no ball), then gradually add speed and eventually hit shots, continuing to sway the hips forward and keep the lead wrist flat at impact.
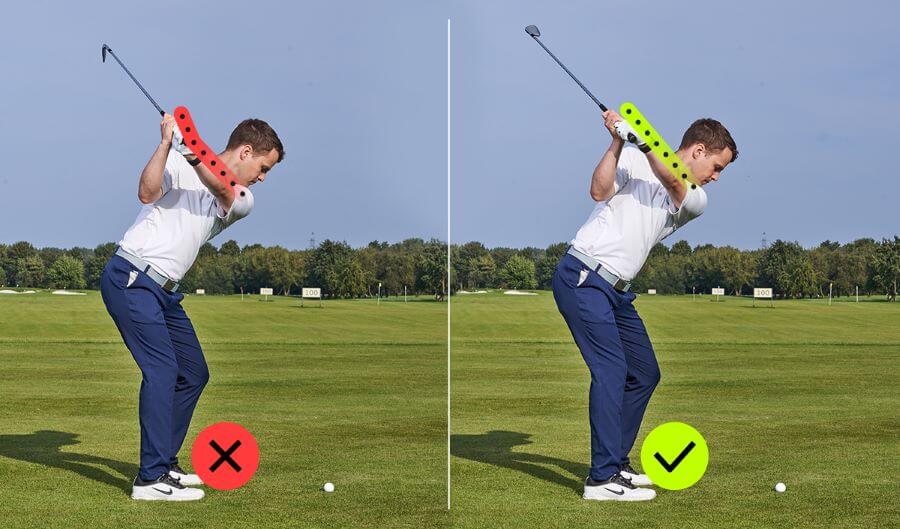
Halfway Backswing Check
Sometimes, waiting to check the wrist angle at the top of the backswing is just a little too late.
This Halfway Backswing Check ensures your lead wrist is moving from a bit of extension at address to a flatter position by the time it is halfway back in the backswing.
Having your lead wrist cup too much on the takeaway is a problem that becomes difficult to fix before impact.
- Video Timestamp: 2:50
Halfway Backswing Check Drill – Step by Step:
- Address Normally: Note your slight extension at setup (a few degrees).
- Pause at Shaft Parallel (Backswing): As soon as the club reaches parallel to the ground, stop.
- Check Wrist: Your lead wrist should have moved noticeably toward flat (or slightly flexed).
- Groove the Feel: If HackMotion data shows you’re still extended, consciously “twist” the club face down (bow the wrist) more.
- Resume Swing: From that correct halfway position, continue to the top and hit the shot.
Towel on the Ground Drill
This simple Towel Drill forces you to keep your hands ahead of the clubhead through impact. This encourages a flatter lead wrist position.
All you need to do is ensure you don’t hit the towel and you’ll start seeing much cleaner iron shots, compressed golf balls, forward shaft lean, and a flatter lead wrist through impact.
- Video Timestamp: 1:15
Towel on the Ground Drill – Step by Step:
- Set the Towel: Place a towel on the ground about a grip’s length behind the ball.
- Address the Ball: Focus on forward shaft lean and a flat or slightly flexed lead wrist.
- Swing Down: If you “flip” (extend your wrist early), the club will bottom out too soon and clip the towel.
- Compress the Ball: Aim to miss the towel, keep the lead wrist from overextending, and strike ball-first.
- Check Feedback: Use HackMotion or video to confirm your wrist angles remain flat as you miss the towel.
Ruler Drill
If you tend to cup or extend your lead wrist at the top of your backswing, the Ruler Drill is a great solution.
While this can be done with a golf tee, the ruler is a bit more obvious and makes it easier to feel.
- Video Timestamp: 6:01
Ruler Drill – Step by Step:
- Slide a Ruler/Card: Place a small plastic ruler or credit card along the back of your glove hand so it rests against your forearm if you cup your wrist.
- Address with Slight Extension: You’ll feel the ruler pressing lightly into your arm.
- Go to Top Slowly: As you swing back, feel the ruler move away from your forearm, indicating your wrist is flattening or slightly bowing.
- Maintain Space: If you re-cup, you’ll feel the ruler digging back into your forearm.
- Hit Shots: Start with slow-motion swings; gradually increase speed while keeping the ruler off your forearm at the top. You can also use this drill when hitting chip shots around the green.
Stop at Parallel Follow-Through Drill
The Stop at Parallel Follow-Through Drill is great for golfers who struggle with flipping and losing that flexion in the lead wrist through impact.
The drill promotes a stable and flat lead wrist through impact. You’ll learn through this drill what great contact feels like and you may even start using a shot that looks just like this on the course.
- Video Timestamp: 11:41
Stop at Parallel Follow-Through Drill – Step by Step:
- Take a Normal Swing: But plan to stop when your arms reach about hip height in the follow-through.
- Check Club Face: The leading edge should be roughly vertical, not pointing at the sky or the ground.
- Shaft Position: Ensure the shaft hasn’t overtaken the lead arm (no “roll-over” release).
- Adjust as Needed: If you see the face pointing up (open) or drastically down (closed), tweak your wrist flex or extension to square it. Wearing your HackMotion can help with making sure you are in the right position.
- Repeat & Blend: Do several slow to moderate-speed reps, then blend into a fuller finish.
Final Thoughts
Before your next driving range practice session, take a quick look through this list of drills and pick out one or two to focus on.
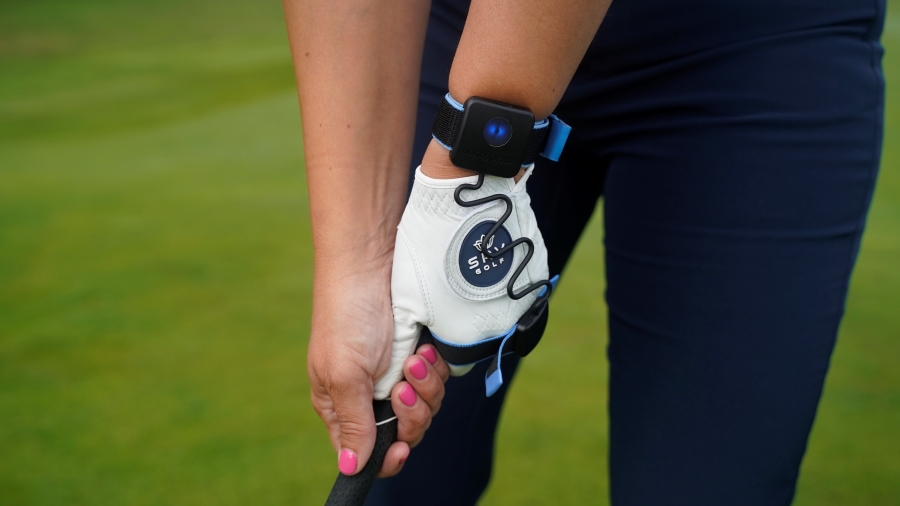
Wear your HackMotion when you practice so that you can monitor your progress. HackMotion is like wearing your coach on your wrist.
It’s a great way to get feedback and actionable tips that will help lower your scores. For even more detailed guidance, you can also work with qualified golf coaches who use HackMotion to provide data-driven practice feedback.