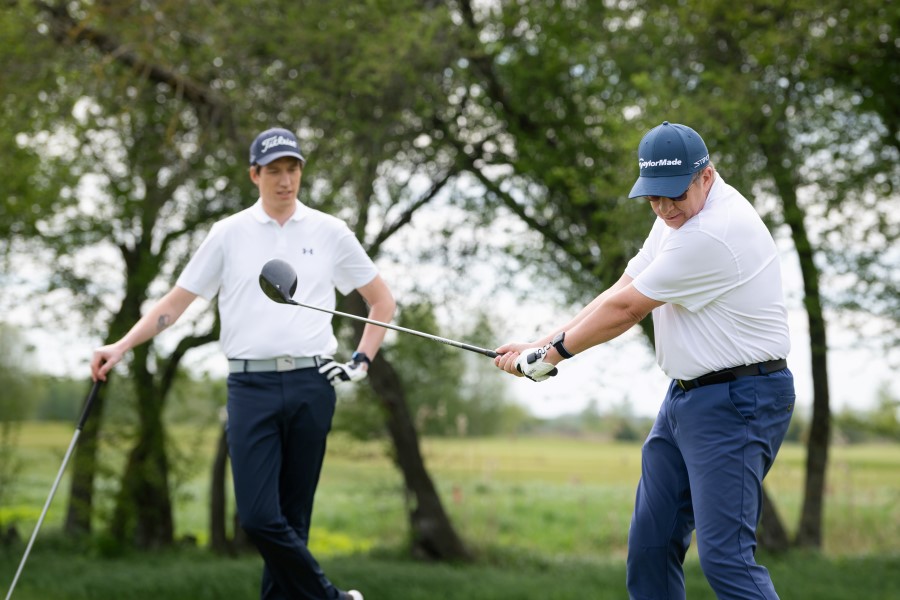
How to Fix a Flying Right Elbow in Your Golf Swing (Causes and Quick Fixes)
The flying right elbow looks terrible in the golf swing, but it’s not the looks we are concerned about here.
Most importantly, it can lead to slices, hooks, loss of power, and poor trajectory control.
If you’ve seen a video of your swing and you know the right elbow (for right-handed golfers) flies away from you during the swing, you will want to read through this information and get a few ideas on how to fix it.
The good news is the flying right elbow comes with some terrible feedback and feel. As soon as you can feel the right move, you should see progress rather quickly.
Flying Right Elbow in Golf (Key Takeaways)
If you don’t have time to read our entire guide on the flying right elbow in golf, here are the most important pieces of information you can take.
- The flying right elbow will create slices, loss of distance, and inconsistency in your golf shots.
- One of the easiest ways to fix the flying right elbow is to get your lead wrist into a flat or slightly flexed position at the top of the backswing; this position naturally keeps the right elbow more tucked and closer to your body.
- Better shoulder and hip rotation helps get you power and ensures you don’t have to use the right elbow or any other motion to manufacture power.
- Use simple drills like a golf glove under the right armpit to help you feel the right arm stay connected to your body in the golf swing.
Contents
What Causes a Flying Right Elbow?
A few different things can cause the flying elbow in golf. However, the most common cause is incorrect wrist position in the backswing.
If you notice any of these issues, your flying elbow should be one of your top priorities to fix.
- Pushing the club back too quickly on the takeaway with the lead arm, the right elbow breaks away early.
- Inadequate rotation of the shoulders where they end up sliding and lifting instead of rotating.
- Holding the golf club too tightly will increase arm tension and get the elbow into an incorrect position.
- Excessive use of the right arm instead of leading with the right arm sometimes causes you to lift the club and push the right elbow out.
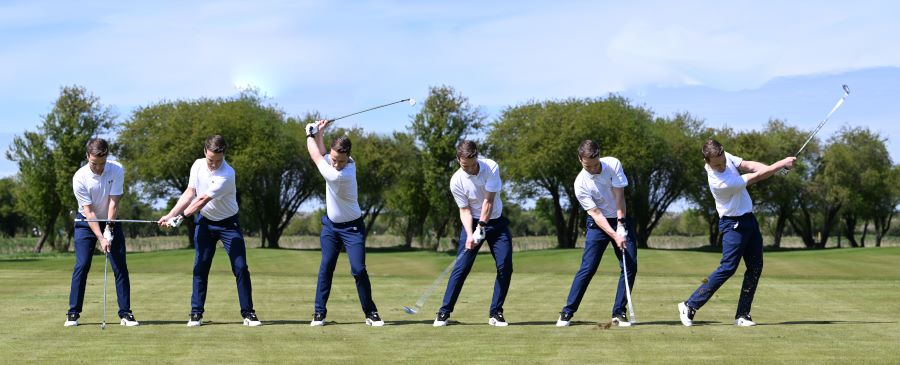
Fixes for a Flying Right Elbow in Your Golf Swing
Now that you have a better understanding of what causes the right elbow to fly let’s get into more details about how to fix it.
Use each of these drills and methods to get that right elbow to stay in place.
Keep the Elbow Close to the Body
As soon as your elbow starts to move away from your body on the downswing, you are in a position that could leave you with an open clubface, loss of power, and much more.
Even golfers like Tiger Woods work on keeping this right elbow closer to their body on the downswing.
You’ll hear some golfers talk about dropping it into the slot or even tucking the elbow.
You can do this by hooking an alignment stick through your belt loops on the right side so that you feel your elbow stay close to the body on some practice swings.
Some golfers also use a headcover or glove under their right elbow in the swing to get that more connected feel.
Improve Wrist Action
When your wrist action in your golf swing is incorrect you’ll end up with your elbow moving further away from your body.
After analyzing more than 1,000,000 golf swings we know that golfers who have more extension in their lead wrist struggle with the flying right elbow.
This extension in the lead wrist, especially at the top of the backswing, gets the club into a more upright or steep position. From here, the elbow is already separated from the body.
To fix this problem, you can use your HackMotion.
Look to decrease extension in the lead wrist at the top of the swing. In addition, as you approach the golf ball, you’ll want to have the lead wrist in a slightly flexed or forward press position.
This simple little change with your wrists can get the club on the plane and make it easier for you to hit straight golf shots.
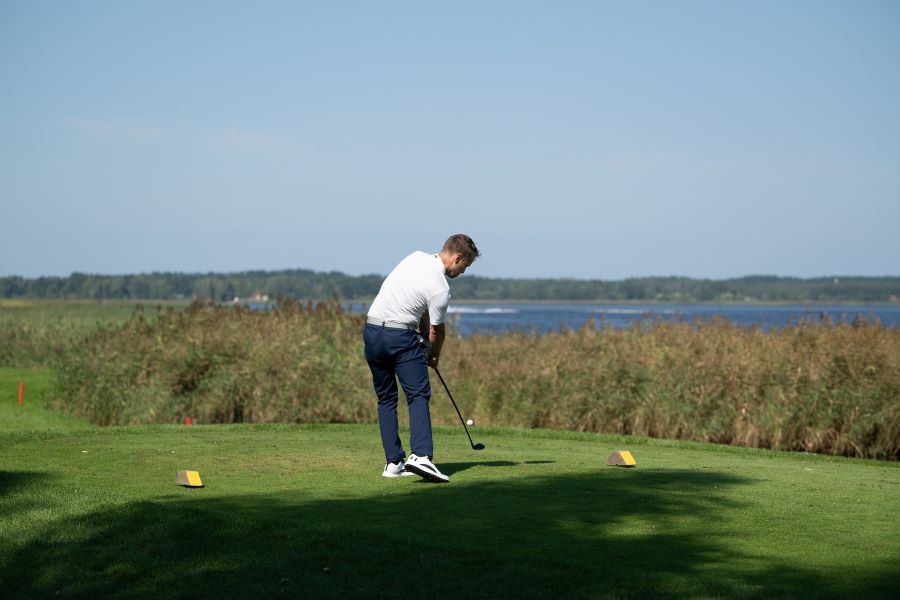
Turn the Elbows in
Another reason your right elbow may be getting away from your body is the way you set up to hit. You must be sure that your elbow is turned in rather than out at setup.
You’ll have to do a bit of forearm rotation in order to get to this position. However, once you are in it, you can easily take the club back on the proper plane without having to worry about the right elbow flying.
For some golfers, it feels like the club can now rotate instead of feeling like it lifts up and off the ground.
When you look down at the setup, you’ll see more of the underside of the forearm as opposed to the top of the arm.
Let the Elbow Fold On the Backswing
Whether you are trying to get an extension, keep the club on a plane, or simply don’t know where the golf club goes when it is behind you, you will want to ensure you allow it to fold.
Those who try to extend or keep the right elbow straight as long as they can tend to have a hard time with its position on the downswing.
Make a simple turn about halfway up, and then from there, let your elbow fold. If you can practice this motion in front of a mirror, it will help ensure it happens naturally.
Keep the Arms Closer Together
To do this you can use an impact drill or even a band of some kind.
The goal is to keep your arms together as you swing. When the arms seperate from each other it’s impossible to get them back together and timed correctly.
Take some practice swings and look at your arms during your takeaway. Are you starting to move the right elbow away from your left elbow as the club goes back?
You may feel like the right side has to be a little tucked in. However, the great thing about using a band or an impact ball is that you are forced to stay more connected, and it becomes easier to repeat this motion.
Drills to Keep the Elbow from Flying in the Golf Swing
Trail Elbow Tuck Drill
This is a simple drill designed to keep your elbow close to your body throughout the swing using a towel or glove under your arm.
- Place a small towel or glove under your right armpit.
- Swing normally, focusing on keeping the towel or glove secure through impact.
- Allow it to naturally drop only after impact in your follow-through.
Soft Grip Pressure
When grip pressure gets too tight, it increases arm tension. Learn to soften it using this simple grip pressure drill.
- Grip the club lightly, significantly softer than normal.
- Make slow practice swings, emphasizing relaxation of the arms and wrists.
- Gradually transition to full swings, maintaining relaxed grip pressure.
Casting Drill
While the Casting Drill will help eliminate casting from your golf swing, it also works perfectly to fix the flying right elbow.
This drill is built into the HackMotion app and prevents premature unhinging of your wrists, improving elbow positioning and club control.
Fix Your Casting with HackMotion
Train to fix casting by generating power with your core and lower body.
HackMotion Casting Drill – Step by Step:
- Normal Backswing: Make a regular backswing, turning fully with good shoulder rotation.
- Slow Transition: Start the downswing by shifting weight to your lead side and rotating your hips — avoid pulling down with the arms.
- Maintain Trail Wrist Bend: Use HackMotion or feel to keep your trail wrist extended (bent) as you begin the downswing.
- Let Arms Drop: Allow your arms to fall naturally while maintaining wrist angles, creating lag instead of casting.
- Build Speed Gradually: Start with slow, controlled swings, then gradually increase speed while preserving trail wrist bend.
HackMotion Tip:
If your trail wrist extension graph flattens too early in HackMotion, you’re likely casting. Rehearse slower transitions to hold wrist angles longer.
Hit Hard, Stop Quick Drill
The Hit Hard Stop Quick Drill is a simple drill that helps promote synchronization between your arms, body, and wrists. To keep the elbows connected, you’ll have to stop your swing shortly after impact.
- Video timestamp – 6:57
Hit Hard, Stop Quick Drill – Step by Step:
- Add a Smart Ball: Place a smart ball (or similar aid) between your forearms to promote connection between arms and body.
- Make Practice Swings: Swing while holding the ball in place without letting it drop.
- Hit Small Punch Shots: Focus on accelerating through impact, then stopping the club immediately after contact while maintaining arm-body connection.
- Progress to Full Swings: Gradually build to larger swings, still stopping the club quickly after impact to improve sequencing and power transfer.
Trail Arm and Wrist Drill
This drill focuses on correctly positioning your trail elbow and wrist to ensure proper clubface control and consistent elbow alignment throughout your swing.
- Video timestamp – 0:13
Trail Arm and Wrist Drill – Step by Step:
- Set Trail Elbow: Position your trail elbow forward and in front of your body (position three).
- Rotate Trail Wrist: Turn your trail wrist and forearm so your palm faces slightly downward (position one).
- Slow Rehearsals: Make slow, deliberate practice swings while maintaining these positions.
- Progress to Ball Striking: Gradually increase your swing speed and begin hitting balls while keeping the trail arm and wrist in sequence.
Final Thoughts
The flying right elbow causes so much inconsistency in the golf swing that you simply can’t keep it in play.
Work your way through each of these fixes so that you can approach the ball from the proper angle and gain more distance and accuracy.
Remember how much the lead wrist position plays into this; if you want the simplest and quickest fix, get that wrist into the right spot.