Understanding & Creating Lag in Your Golf Swing: Proven Tips & Drills for Compression
Lag is one of the key ingredients that separates great ball strikers from average ones.
It’s the angle created between your lead arm and the club shaft during the transition, and it directly affects how much power and compression you can generate.
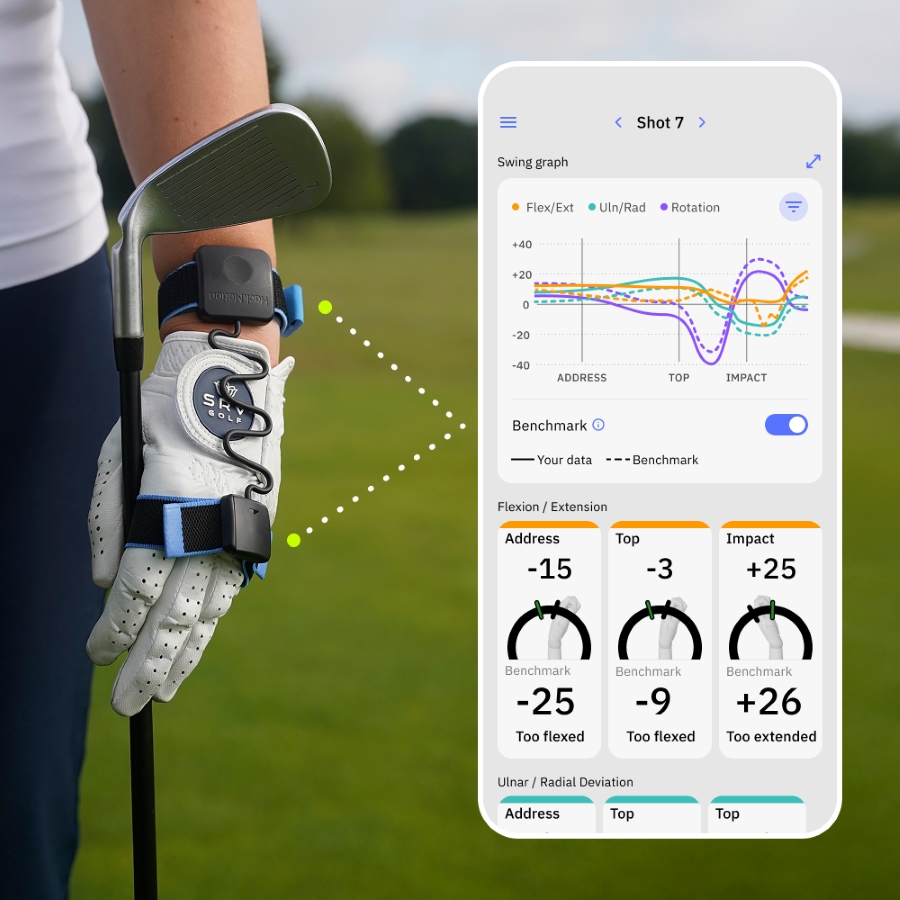
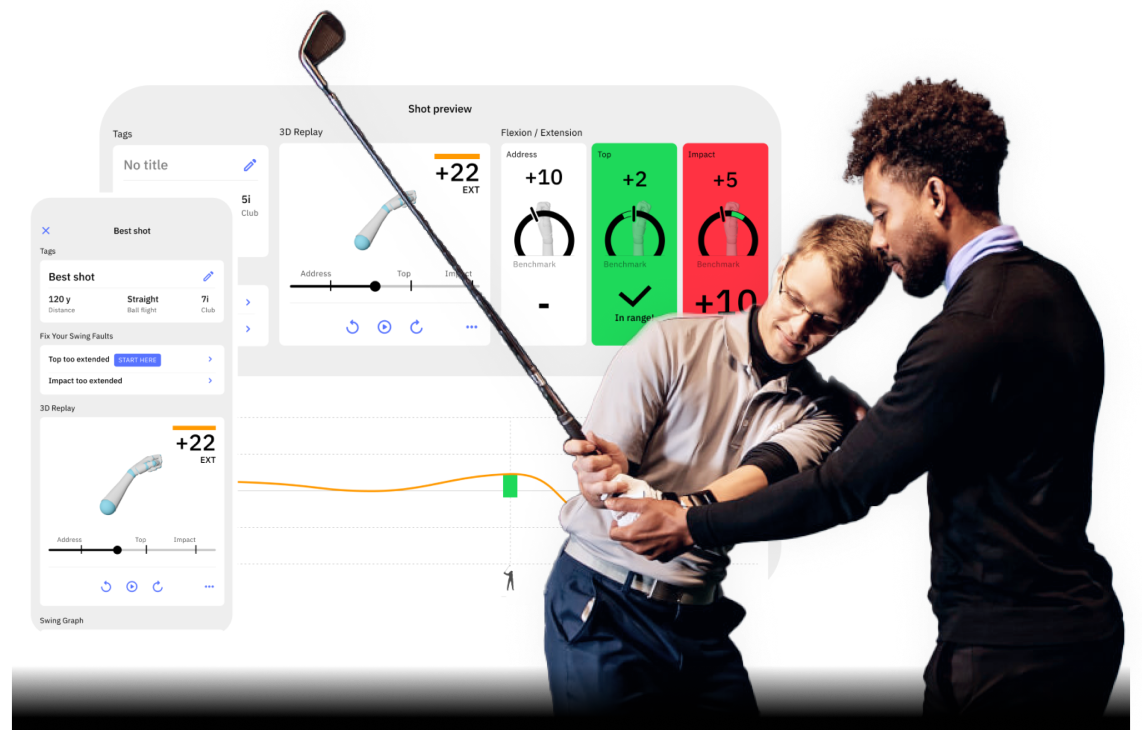
After analyzing more than 1,000,000 swings with the HackMotion wrist sensor, we’ve learned that wrist action plays a central role in creating and maintaining lag.
If you’re looking to add lag, strike the ball more solidly, and pick up extra yardage, the following tips and drills will give you a clear path forward.
Creating Lag in The Golf Swing (Key Takeaways)
If you don’t have time to read our guide on understanding lag, here are the most important things to remember.
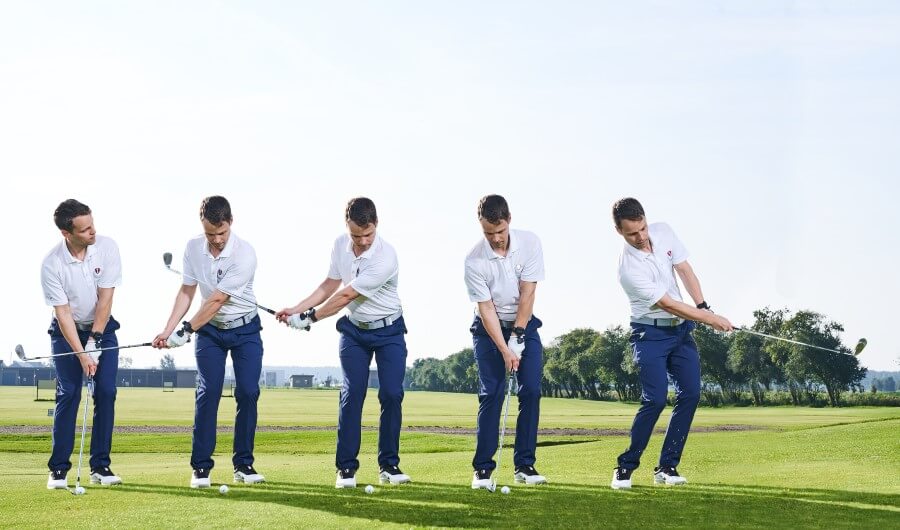
- Lag requires proper sequencing: pressure into the lead foot, unwinding hips, chest rotation, and a shallowing club.
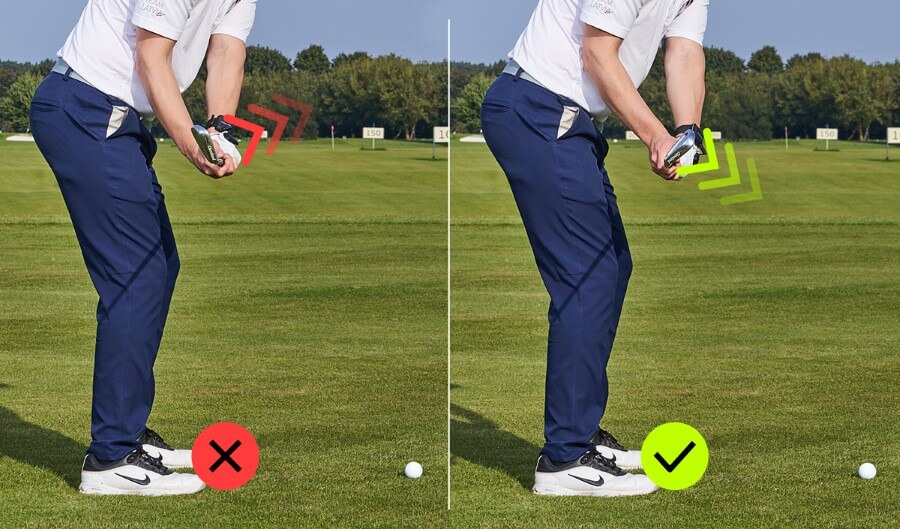
- Avoid excessive cupping (extension) in the lead wrist to prevent an open clubface and ineffective lag.
- Adding radial deviation (wrist hinge) during the downswing is ineffective for increasing lag in the golf swing.
- Body rotation during the downswing is essential for maintaining lag and ensuring a powerful, controlled impact.
- HackMotion provides real-time feedback and drills on wrist angles to improve lag control and swing performance.
Contents
Understanding Lag in the Golf Swing
Lag is the angle between your lead forearm and the club shaft during the downswing. For most amateurs, it feels like the club is trailing behind the hands as you approach impact.
When maintained correctly, lag creates a whip-like effect, adding clubhead speed, distance, and a more efficient transfer of energy into the ball.
But here’s the key: lag is not something you force by aggressively hinging your wrists.
That’s one of the most common myths in golf, often fueled by photos of players like Sergio Garcia that appear to show more wrist hinge in the downswing.
In reality, professionals aren’t adding hinge, they’re sequencing correctly. The club shallows naturally, which makes it look like more radial deviation from certain camera angles.
The takeaway: lag comes from proper body sequencing and wrist control, not from forcing extra hinge.
How to Create Lag in the Golf Swing
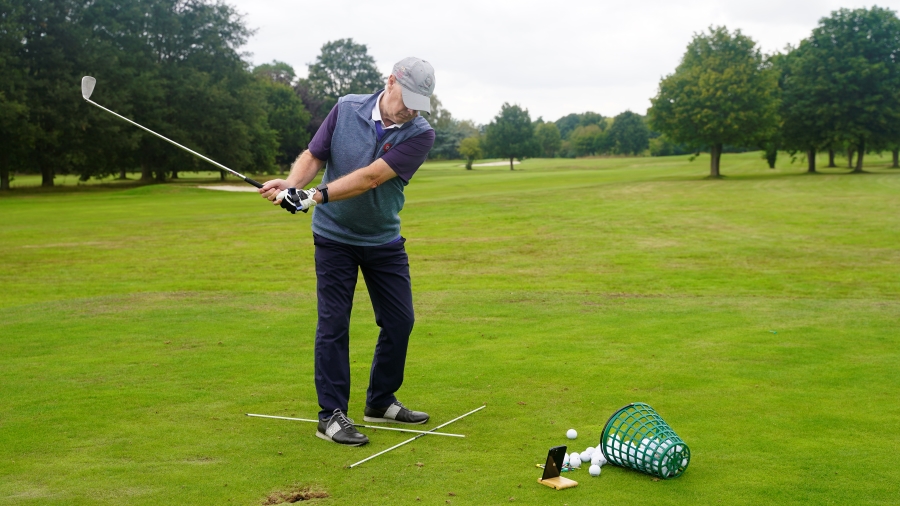
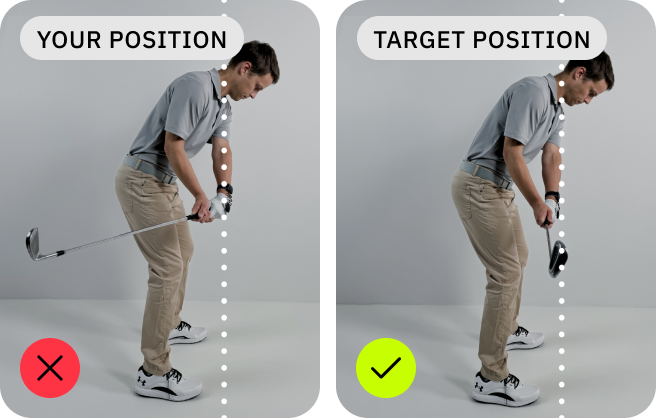
Lag is created when the clubhead trails behind the hands on the downswing, storing energy that can be released at impact.
More lag means more compression, distance, and control—but it only works if the wrists and body are moving in sync.
For amateurs, the challenge is learning to keep the wrists stable while sequencing the downswing correctly. Below are the key ways to create lag, why they matter, and drills you can use to train them.
Control Wrist Extension at the Top
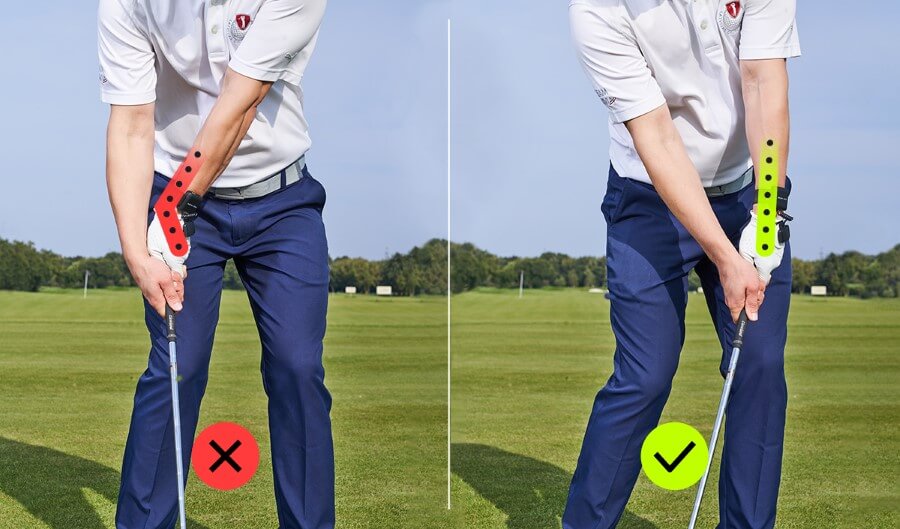
Too much lead wrist extension (cupping) at the top of the backswing makes it nearly impossible to deliver a strong, flexed wrist position at impact.
Professional players often reach the top with a flat or slightly bowed lead wrist, giving them a head start on maintaining lag through the downswing.
By getting the wrist angles correct earlier in the swing, you make it far easier to keep the club trailing behind your hands and release that stored energy at the right time.
Combined Top Drill in HackMotion
Train your top position by mastering optimal wrist angles. Challenge yourself to reach the ideal wrist position during a full-speed backswing.
HackMotion Combined Top Drill – Step by Step
- Address the ball normally with HackMotion on.
- Make a rapid backswing, just like a real shot, without pausing.
- At the top, check if your wrist angles are in the HackMotion green zone.
- From that position, transition smoothly into the downswing, blending the correct wrist angle into your normal sequence.
- If needed, rehearse by going to the top quickly, pausing briefly, then swinging down. Shorten the pause over time until you can reach the correct position at full speed.
Hinge at the Right Time
Wrist hinge (radial deviation) is necessary to create lag, but most amateurs either hinge too soon or exaggerate it. Both mistakes add extension (cupping) and leave the clubface open.
Proper lag isn’t about forcing hinge, it’s about allowing the wrists to hinge naturally as the body turns.
The key is timing: hinge gradually during the takeaway and set it fully by the time the club is parallel to the ground in the backswing.
A compact hinge helps you keep structure and prevents an overswing that bleeds away lag.
HackMotion Faldo Drill
Reach a solid Top position with just the right amount of wrist hinge.
HackMotion Faldo Drill – Step by Step:
- Start at address and preset the wrist hinge by lifting the club until it’s parallel to the ground. This should create about 90° of hinge.
- From this position, complete your backswing using only shoulder rotation. Keep arms and wrists relaxed.
- Avoid letting the arms or wrists travel further—stay compact and controlled.
- Begin with slow reps, then build speed once the motion feels comfortable.
- Use HackMotion to confirm you’re holding the correct hinge in the green zone without overdoing it.
Maintain Flexion in the Downswing
The downswing is where most golfers lose lag. If the lead wrist stays extended, the club releases too early, causing weak contact and an open face.
To maintain lag, the lead wrist needs to move into flexion (bowing) as the body rotates toward the target.
This move keeps the clubface square, stores the lag angle, and allows the lower body to lead while the arms and club follow. The more consistent your flexion, the easier it is to compress the ball and deliver maximum power at impact.
HackMotion Motorcycle Drill – Step by Step:
- Start at address and swing to the top.
- At the top, mimic revving a motorcycle throttle with your lead wrist.
- Transition into the downswing, focusing on gradually adding flexion in the lead wrist.
- Use HackMotion to monitor wrist angles and confirm you’re staying in range.
- Repeat until the motion feels natural, then blend it into full swings.
Avoid Early Casting
Casting is one of the most common lag destroyers. Many golfers throw the club from the top, thinking it will create speed.
Instead, it releases the angle too early, costing both power and control. True lag comes from letting the lower body start the downswing while the arms and wrists trail behind.
This creates a delayed release, which delivers the stored energy right at impact. Learning to hold the angle longer, not throw it away, is the difference between a weak strike and a powerful one.
HackMotion Casting Drill – Step by Step:
- Make a normal backswing, then start the downswing by shifting weight left and rotating hips, don’t pull down with your arms.
- Keep the trail wrist extended (bent) as the downswing begins. Use HackMotion to check this angle.
- Allow the arms to drop naturally while the club “lags” behind your hands.
- Build speed gradually, making sure the wrist angles hold until later in the downswing.
- HackMotion Tip: If your trail wrist straightens too early on the graph, you’re casting.
Other Ways to Build More Lag
While wrist mechanics are the foundation, lag also improves when your overall sequencing and setup are correct:
- Start with width: A wide takeaway gives you room to create lag later in the swing.
- Lead with the lower body: Initiating the downswing with the hips allows the club to fall into place and trail behind the hands.
- Stay relaxed in the arms: Tension kills lag, looser arms let the club “whip” through impact.
- Strength and mobility: Good forearm and wrist strength plus shoulder mobility make it easier to hold angles longer.
Final Thoughts
Creating and maintaining lag in your golf swing is essential for maximizing clubhead speed, achieving powerful ball striking, and controlling your shots.
Utilizing tools like HackMotion to provide real-time feedback allows you to fine-tune your wrist angles and ensures you’re on the right path toward more consistent and controlled shots.
The key is to take advantage of real-time feedback and data to improve your fundamentals and lower your scores.


