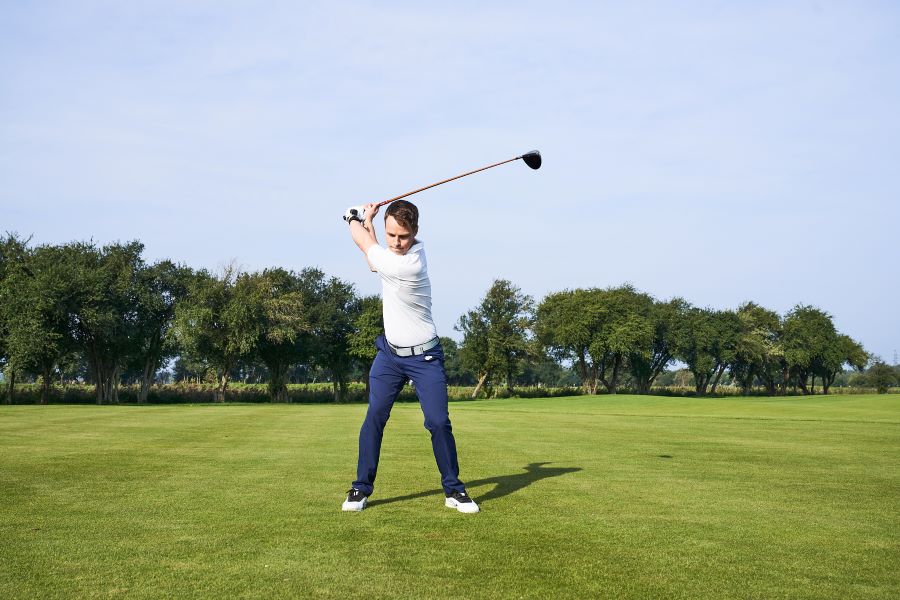
Proper Driver Impact Position – 5 Critical Elements to Check & Drills That Actually Work
Impact position with the driver is different than it is with wedges or irons. With irons, you’re looking for compression, spin, and control. With the driver, it’s about launching the ball high, keeping the face square, and generating maximum distance.
The challenge is that many golfers don’t know what their wrists and body are actually doing at impact.
After analyzing more than a million swings with the HackMotion wrist sensor, we’ve learned the exact checkpoints that separate a solid driver impact position from one that leaks power and accuracy.
In this guide, we’ll break down the five critical elements of proper driver impact and give you specific drills (including HackMotion favorites) to help you train your wrists, body, and timing for longer, straighter drives.
Impact Position with Driver (Key Takeaways)
If you don’t have time to head to the range and work on your impact position with the driver right now, here are the most important points to take with you:
- The lead wrist should be flat and slightly ahead of the clubhead to get a consistent and powerful impact position with the driver.
- Keep the head behind the golf ball to improve power.
- The ball position should be off the lead heel to improve ball flight and hit the ball on the upswing.
- Letting the trail shoulder fall a little lower than the lead shoulder will increase the launch and total distance.
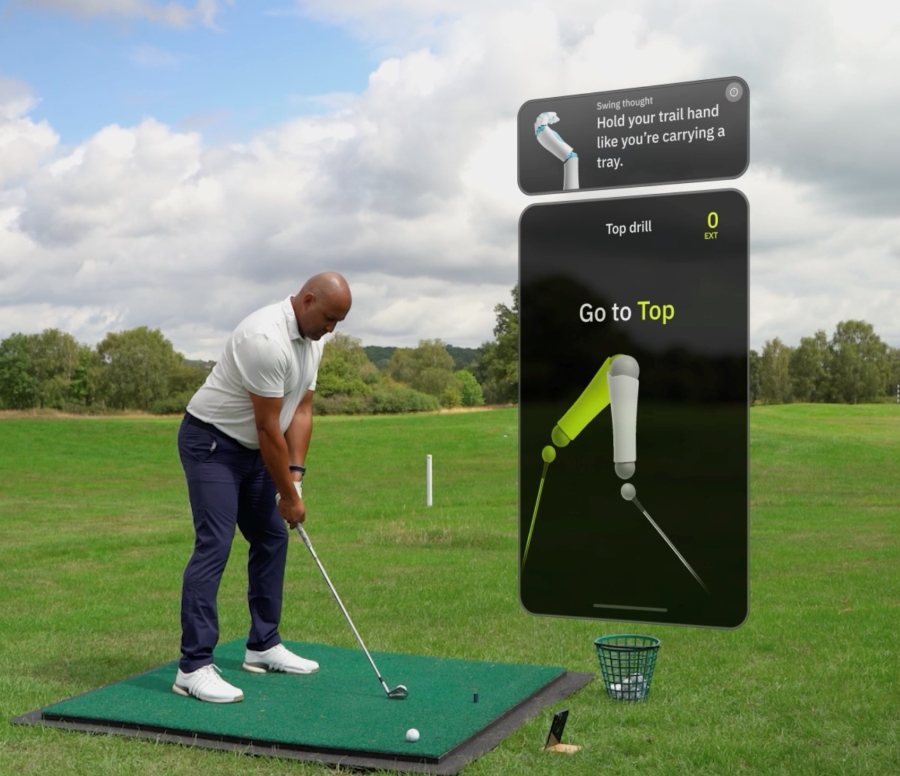
- Wearing the HackMotion while working on your impact position with the driver can help find any issues causing a loss in power or consistency.
Prefer watching instead of reading? The video below is a lesson on driver impact position from the full Driver Blueprint course – you can access the complete course here.
5 Checkpoints for Driver Impact Position
There are five checkpoints for driver impact position. These include ball position, head and spine angle, hip and shoulder alignment, hand and shaft position, and weight distribution.
Here’s a look at how you should handle each of these.
Ball Position Forward (Off the Lead Heel)
The correct ball placement with the driver is just inside the lead heel. If the ball position is too far back in the stance, there will be issues with both launch and ball flight. The same can be said for the golf ball being too far forward.
If you have trouble finding the proper ball position at setup, try setting up to the driver with your feet completely together.
Then step just an inch or so to the left with the lead foot (right-handed golfers) and take a bigger step with the trail foot until you are comfortable.
Key Takeaway:
Proper ball position makes it possible to hit up on the ball. Too far forward or back disrupts your launch and consistency.
Head Behind the Ball with Spine Tilted Back
When you contact the driver, your head should be behind the ball. Keeping the head behind the ball at impact and the spine tilted away from the target promotes an upward strike.
In addition, if you can stay in this position, you’ll have an easier time squaring the clubface and maximizing total distance. The common tendency for golfers is to throw their upper body at the golf ball and lose the position of staying behind.
Key Takeaway:
Head behind, spine tilted this creates the upward strike and prevents flipping the wrists.
Hips Open, Shoulders Slightly Open
Once you have your ball position correct and the head and spine angle in place, it’s time to work on the hip and shoulder angle.
Always ensure your setup is correct to begin with; it will help you get the hips and shoulders into the correct position more easily.
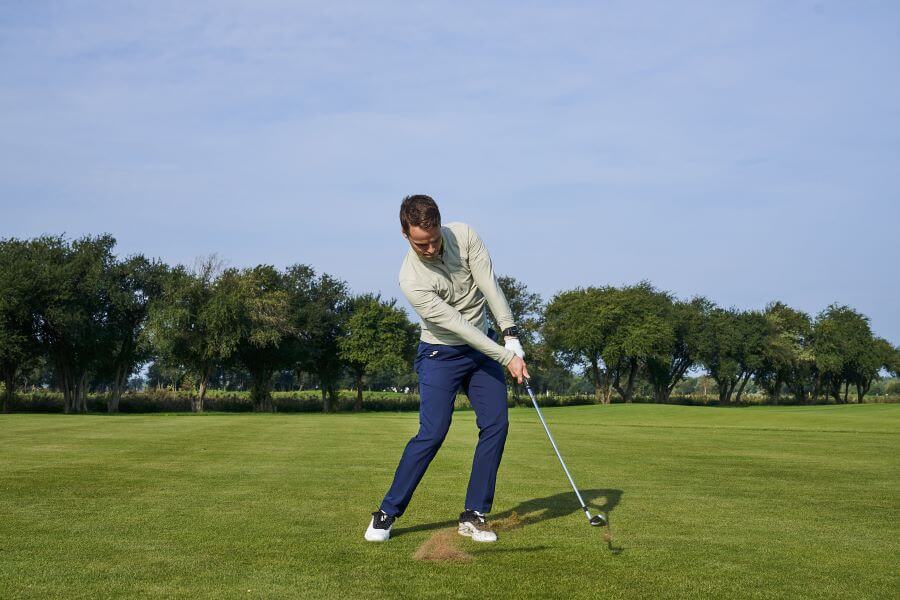
At impact, the hips will be open to the target line with the lead hip rotated toward the target. Most professionals are more than 30 degrees open to the target line. This open position helps generate power and improve the weight shift onto the lead side.
As far as the shoulders are concerned, you may also notice them being slightly open, though not as much as the hips. The trail shoulder should be just slightly lower than the lead shoulder to get that upward strike.
Key Takeaway:
Hips move forward and open, and shoulders stay slightly open. This creates power while keeping you from hanging back.
Flat Lead Wrist and Subtle Shaft Lean
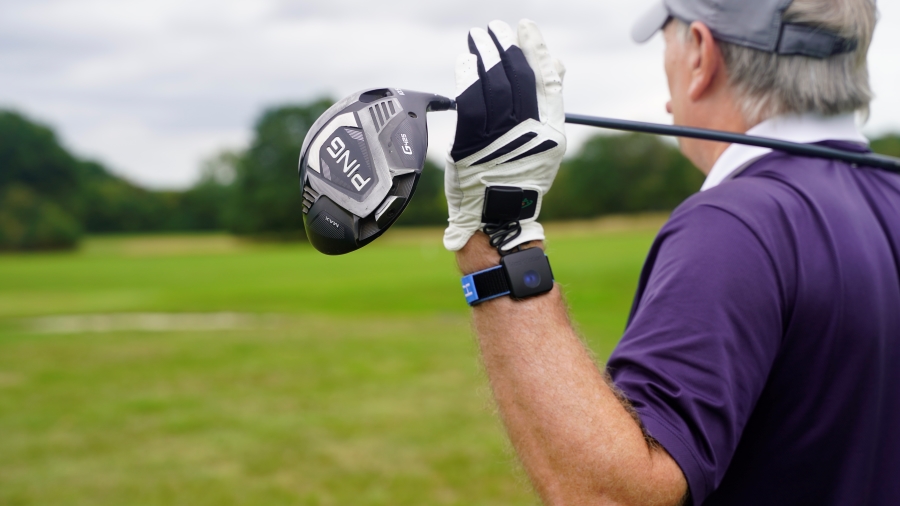
Without wearing the HackMotion on your wrist, it can be difficult to tell exactly what your hands are doing at impact. At impact, the hands should be slightly ahead of the clubhead, making sure that the lead wrist is flat.
Even though we are not working on a descending blow with the driver, it’s still important that the hands are just slightly ahead of the clubhead.
For some golfers, this may feel more like a flat lead wrist than a bowed lead wrist, and that is completely acceptable.
When the lead wrist is flat, the clubface is prevented from opening. For golfers who struggle with a slice, this slight change in the position of the lead wrist can make all the difference in squaring the clubface.
Key Takeaway:
The lead wrist should move from extension at setup to flat or slightly flexed at impact, creating just enough shaft lean to square the face and add power.
Weight Forward into the Lead Side
Proper weight shift toward the lead foot is necessary for both power and control.
At setup, you’ll have about 55% of your weight on your lead foot; when you get to the top of your backswing, you’ll have nearly 80% of the weight on the trail foot.
As you get to impact, you want to return that weight to the lead foot. You can do this by turning and still being able to stay behind the golf ball with your head and spine.
It’s a move that all professionals have, and it is the only way to guarantee consistency in the yardage and accuracy of your drives.
Key Takeaway:
By impact, up to 90% of your weight should be on the lead foot. This forward move creates the tilt and power you need without flipping the wrists.
Drills to Improve Driver Impact Position
If you need a few ways to work on your impact position with your driver, you can do so through drills.
Golf drills help you improve your feel and consistency. In addition, they make it easier to practice things like feel and position.
Drag the Stick Drill
This drill teaches you how to keep the lead wrist flat through impact while using your hips and spine tilt, not your hands to deliver the club.
By dragging the alignment stick, you’ll feel resistance that forces you to move correctly and prevents wrist flipping.
Drag the Stick Drill – Step by Step:
- Place an alignment stick at an angle behind your trail foot so it rests along the ground.
- Take your setup, keeping the lead wrist slightly flexed.
- As you move into the downswing, drag the stick along the ground while maintaining that flat/flexed wrist.
- Push your hips forward and keep your arms straight, avoid pulling the club up with your wrists or elbows.
- Continue dragging through and past impact, creating a side bend in your spine and tilt in your shoulders until your arms reach full extension.
- Repeat slowly, focusing on the sensation of resistance and a flat wrist throughout.
Key Benefit: Trains a flat lead wrist at impact and proper body rotation, eliminating the flip that robs power and consistency.
Twist the Wrists Drill
Most golfers don’t realize how much their wrists twist in the backswing – and how critical that is for controlling face angle at impact. This drill teaches you to consciously adjust the twist to fix slices or hooks.
Twist the Wrists Drill – Step by Step:
- Take the club back to waist height (P2) and pause — the face should point slightly down.
- If you slice, exaggerate twisting the wrists down (more flexion) to close the face.
- If you hook, feel the face more open at P2 (less twist) to reduce closure.
- Hit shots while experimenting with twist amounts and observe the ball flight.
- Use HackMotion feedback: most pros move from extension at setup ? flatter at the top ? flexion at impact.
Key Benefit: Gives you direct control over face angle and ball flight by learning the right amount of wrist twist for your swing.
Impact Strike Location Drill
Even with good mechanics, poor strike location will cost you both distance and accuracy.
This drill teaches you to identify and adjust where you’re striking the face for consistent drives.
Impact Strike Location Drill – Step by Step:
- Apply face tape or spray foot powder on your driver face.
- Hit a few shots and check your strike pattern (center, toe, or heel).
- If you’re striking the toe, stand slightly closer to the ball. If you’re striking the heel, stand a little farther away.
- Practice intentionally hitting from the toe and heel to learn the extremes, then return to center.
- Notice how toe strikes often draw and heel strikes fade or slice — use this to diagnose misses.
Key Benefit: Builds awareness of strike patterns so you can make setup or swing adjustments to consistently hit the center of the face.
Conclusion
Impact is the part of the driver swing that matters. This is how you will improve your distance and accuracy in your golf game.
Focus on key things like ball position, head and spin angle, hip and shoulder alignment, and hand and wrist position.
Your goal at impact is to ensure your driver clubhead position is square, and that is done with the wrists. Wear your HackMotion as you practice to ensure you are always in the right position.
