What Should My Right Arm Do in the Golf Swing? (Understanding Your Trail Arm’s Role)
This article is for right-handed golfers seeking to better understand what the right arm (your trail arm) should actually do during the swing.
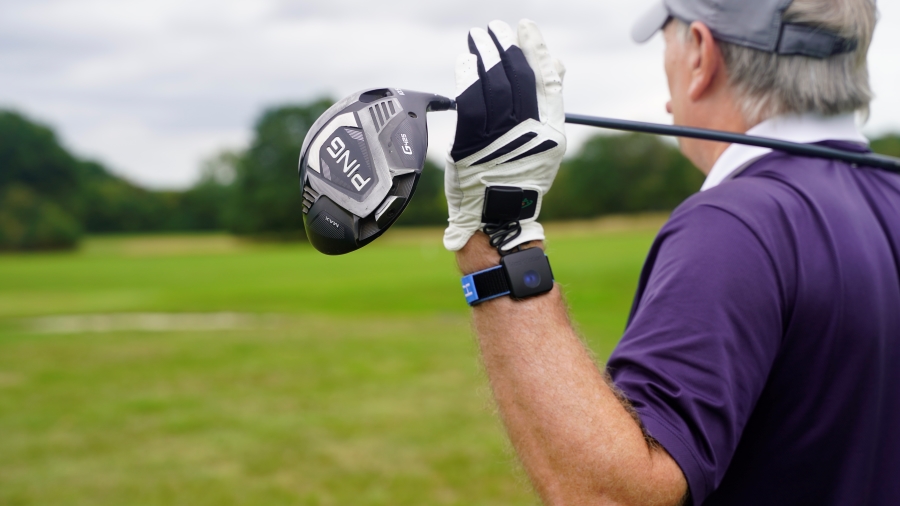
There’s plenty of talk about the lead arm, wrist, and shoulder. Now that we have a better understanding of the trail side thanks to tools like HackMotion we need to evaluate it a little more clearly.
By the end of this article, you’ll understand how the right arm and wrist function independently and you’ll have some drills you can use to improve your right arm action fast.
Trail Arm’s Role in Golf Swing (Key Takeaways)
If you don’t have time to review all of the details of the trail arm in the golf swing, here are the most important things to take with you right now:
- Your trail elbow and wrist move independently, they are not supposed to match positions.
- To get to the right position set up with your elbow in Position 3 (externally rotated, pit of elbow out) and wrist in Position 1 (slight extension, palm not facing out).
- Most golfers go Position 3/3 (both elbow and wrist facing out), which leaves the clubface wide open.
- Proper trail wrist extension at impact is key to compressing the ball and preventing flip or cast.
- HackMotion helps you track wrist angles in real-time and measure progress.
Contents
Positioning the Trail Arm: The 3 and 1 Concept
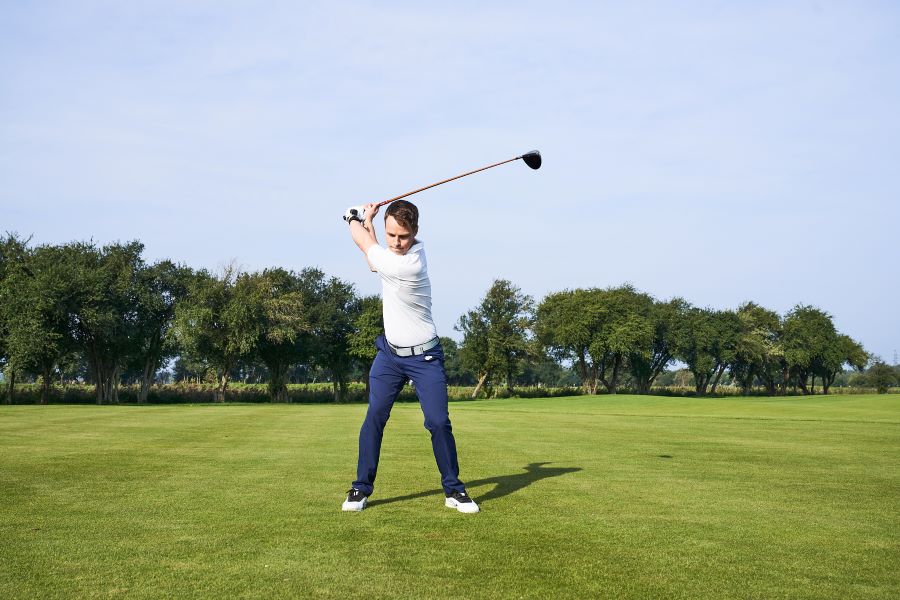
One of the biggest breakthroughs in trail arm mechanics comes from understanding Position 3 and Position 1 in the golf swing.
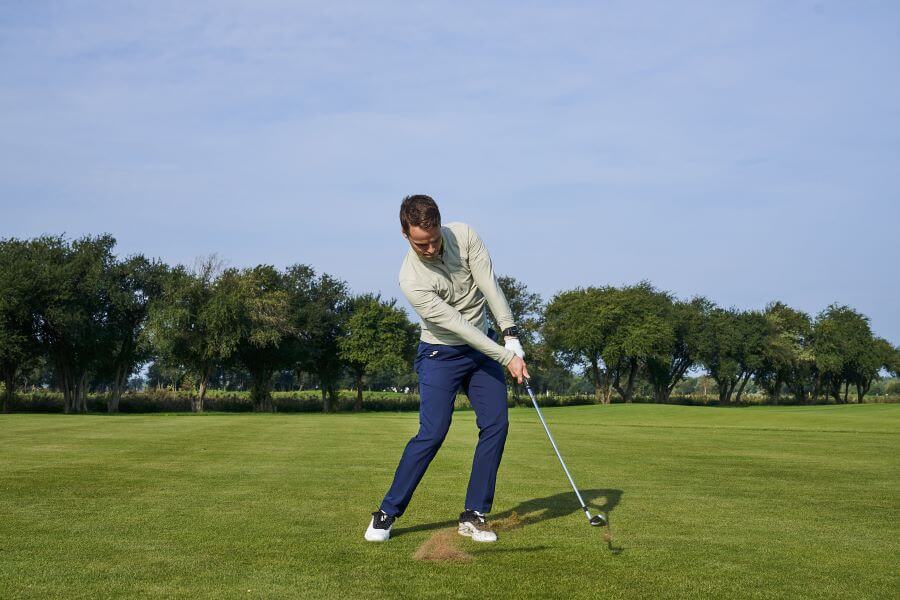
- Position 3 (elbow): Upper arm externally rotated, pit of elbow points outward (like you’re losing an arm wrestle or in the “giving blood” position). This positioning is present at setup and should remain through the backswing and into the downswing, keeping the right elbow in front of the body and close to the right hip.
- Position 1 (wrist/forearm): Wrist and forearm rotated slightly inward with the palm more toward the body, maintaining slight extension in the wrist. At setup, this helps establish a neutral clubface. As you transition into impact, this wrist angle increases, promoting shaft lean and solid contact.
This combination allows the elbow to stay in front while the wrist controls the clubface.
What Most Golfers Get Wrong
Amateurs often have both the elbow and the wrist externally rotated, which causes the clubface to stay wide open.
Then, in an effort to square the face, they:
- Flip the wrists at the bottom
- Cast the club early
- Or pull the right elbow out of position
Using HackMotion to Train the Trail Wrist
When you work with HackMotin to train your trail wrist the goal isn’t to get an exact amount of extension at certain areas of the swing.
Instead you’ll want to make sure your trail wrist extension stays in the following ranges. What you’ll notice as you practice is the following:
- Start with ~10–15° of extension at setup.
- Increase to ~60–70° at the top of the swing.
- Retain 20–30° of extension into impact.
HackMotion provides real-time feedback and audio alerts to help you hit those numbers. Trail wrist training is different than lead wrist training and having these guidelines can help.
The most common amateur fault is going from wrist extension at setup to a flat or flexed trail wrist at impact, leading to scooping, loss of shaft lean, and weak contact.
3 Drills to Improve Trail Arm Mechanics
Now that you have the basics of what the proper trail arm action looks like, here are three drills to help you train this position.
The Motorcycle and Audio Feedback drills can be worked on in real time while wearing the HackMotion wrist sensor.
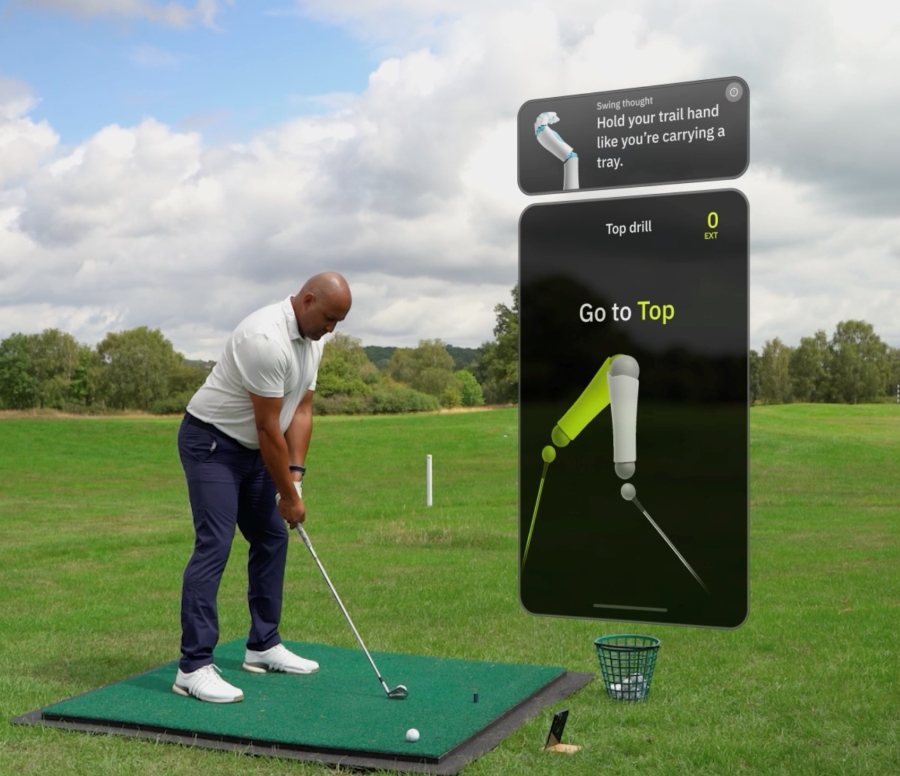
3 and 1 Drill (Position Training)
This drill teaches you to isolate elbow and wrist motion correctly.
If you are someone that is holding on to the incorrect position through impact and leaving the clubface open, the 3 and 1 drill or position training can help get you in the right place.
3 and 1 Drill – Step by Step:
- Set up with the elbow in Position 3 (pit of elbow out) and wrist in Position 1 (slight extension).
- Make slow half swings while preserving this feeling.
- Use HackMotion to verify trail wrist extension throughout.
- Focus on not letting the trail wrist flatten before impact.
Audio Feedback Extension Drill
This drill trains proper wrist extension from setup into impact using HackMotion’s audio feature. You’ll find this to be a good drill to work on that forward shaft lean at impact.
This time you’ll feel it with the trail wrist as opposed to the lead wrist.
For some players the trail wrist is the dominant hand and this position feels easier to get to when training the trail side.
Audio Feedback Extension Drill – Step by Step:
- Set your HackMotion extension range to trigger audio at 25–30°.
- At setup, push your hands forward until you hear the sound.
- Rehearse slow swings maintaining that extension.
- Hit shots trying to retain that forward lean and audio cue.
Motorcycle Drill (Top of Swing Wrist Control)
Perhaps the most popular wrist action drill in the game is the motorcycle drill. This drill increases wrist extension at the top and improves clubface control.
It is commonly worked on with the lead wrist but you can also train it with the trail wrist.
HackMotion Motorcycle Drill – Step by Step:
- At the top of the swing, simulate twisting the throttle on a motorcycle.
- This adds wrist extension and closes the face slightly.
- Set your HackMotion feedback range for 60–70° at the top.
- Swing down while trying to preserve that trail wrist bend.
Troubleshooting Common Trail Arm Mistakes
There are several common trail arm mistakes that you may run across and here are some signs and quick fixes to address these.
- Scooping/flipping at impact? You’re likely losing wrist extension. When your wrist goes from extended to flat or flexed too early, the clubhead overtakes the hands, resulting in weak, high shots and inconsistent contact.
- Weak or high shots? Your trail wrist may be flat or flexed, adding unwanted loft. This eliminates shaft lean and prevents you from compressing the ball, often leading to ballooning iron shots or poor distance control.
- Right elbow drifting out? You may be trying to save the shot with your arms instead of using wrist mechanics. When the elbow loses structure and moves away from your side, it typically indicates you’re compensating for an open face.
Final Thoughts
If you’ve been treating your trail arm and wrist like a single unit, or trying to train the trail wrist in the same way you’ve trained the lead wrist now is the time to stop. The elbow sets the path, but the wrist controls the face and understanding their independence is the secret to better ball striking.
Use the 3 and 1 setup, monitor your wrist angles with HackMotion, and work through the drills above to finally take control of your swing. It doesn’t take long to feel the difference. Your trail arm can be your greatest asset so make sure it’s working for you not against you.